Install and Configure vRealize Suite Life Cycle Manager 1.2

This post details the installation and configuration of the vRealize Suite Life Cycle Manager 1.2 which was recently released by VMware to automatically provision vRA components as part of their Cloud initiative.

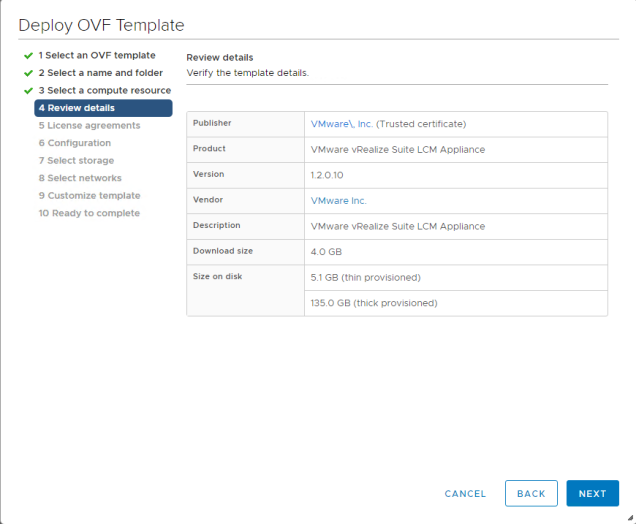
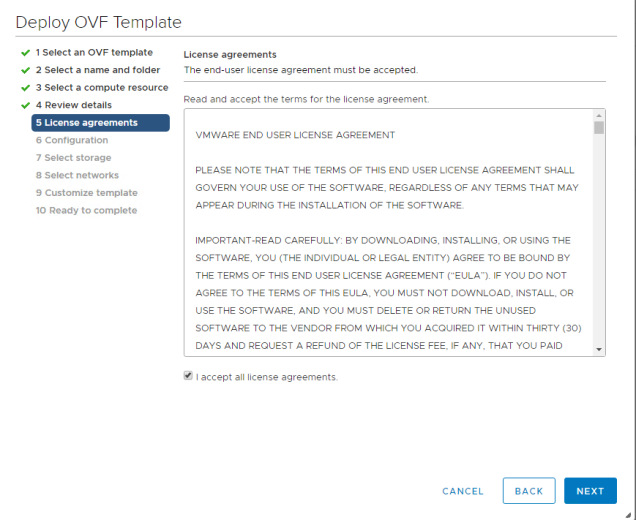
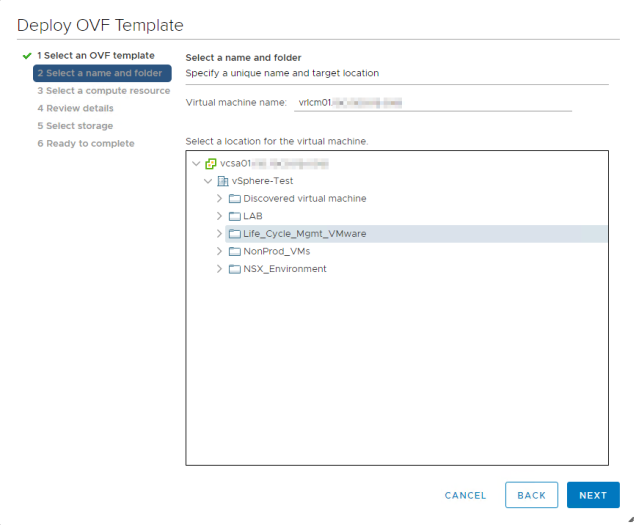
First, Download the Life Cycle Manager ova from the vRealize Suite 2017 components and deploy it using the vCenter web client

vRLCM_Installation01

vRLCM_Installation02

vRLCM_Installation03

vRLCM_Installation04

vRLCM_Installation05

vRLCM_Installation06
Select Enable Content Management option to enable content management.

vRLCM_Installation07

vRLCM_Installation08

vRLCM_Installation09
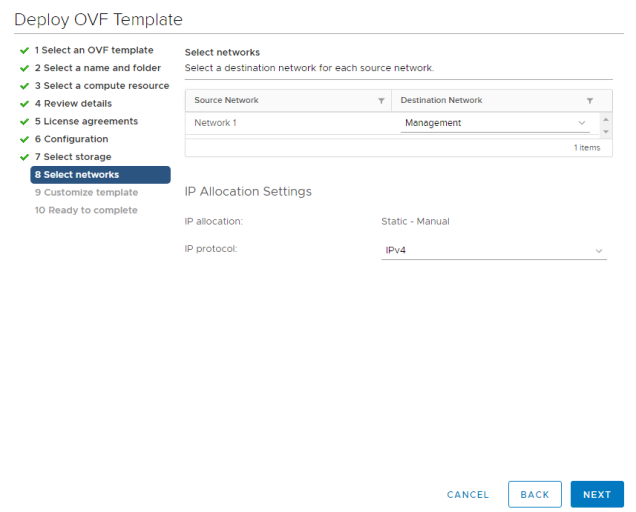
Provide the Hostname, default gateway, network IP address, subnet mask, DNS servers and the domain names in this window and click Next to finalize the deployment of the appliance.
vRLCM_Installation10
Click Finish to finalize the settings and to deploy the Life Cycle Manager Appliance

Once the vm has been deployed and powered ON, you will have to go to a web browser to configure the appliance.

https://IP_Address_of_the_Appliance/vrlcm

vRLCM_Configuration01

use the following credentials to login into the life cycle manager web UI

username: admin@localhost

password: vmware
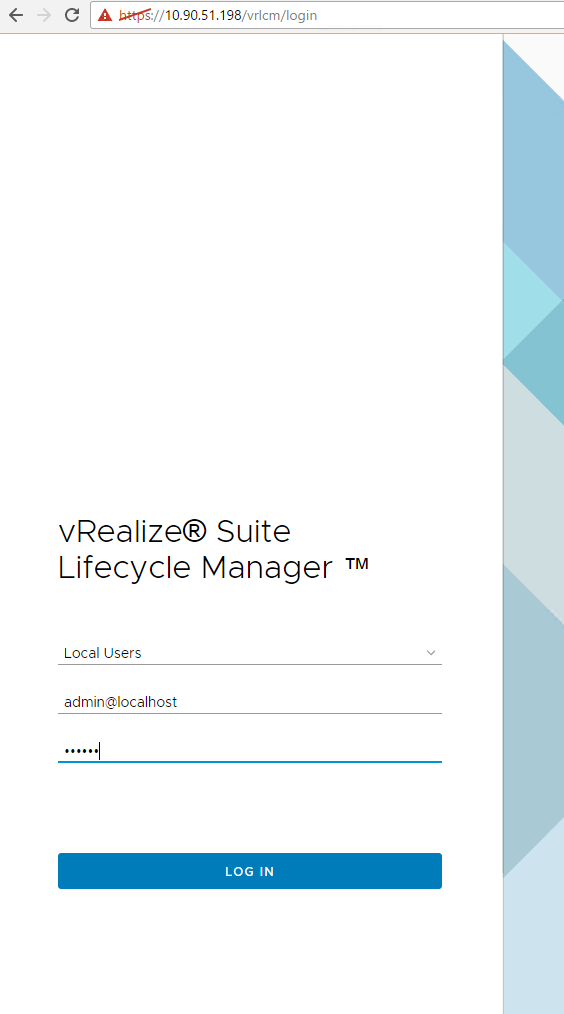
vRLCM_Configuration02


vRLCM_Configuration03
The first thing you get after logging into the web UI is to update the root password

vRLCM_Configuration04

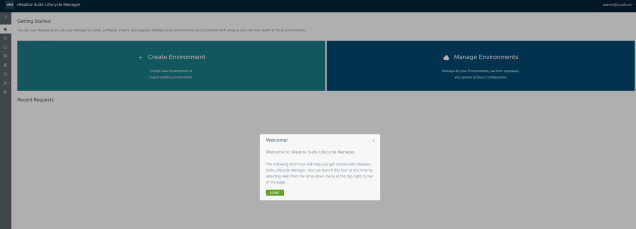
Click start to get started with the Life Cycle Manager

vRLCM_Configuration05

vRLCM_Configuration06

vRLCM_Configuration07

vRLCM_Configuration08

vRLCM_Configuration09
Once you click Next, it will say Done!

Now, we will create a New Environment in the lab

Click on Create Environment option to get started

Once you click on Create Environment option, you will be taken to a tab where it mentions that you will need to take care of a few things before you create the environment.
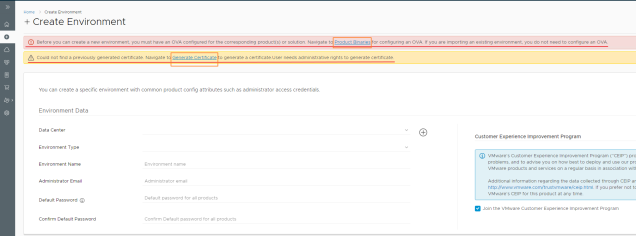
vRLCM_Configuration10.png

Let us take care of the Product Binaries first.

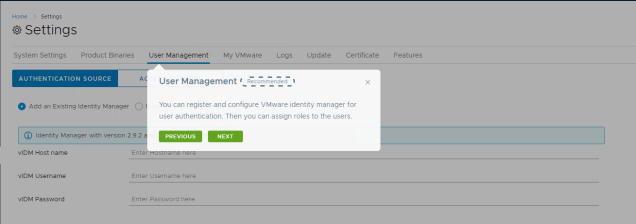
Click on Product Binaries option on the tab
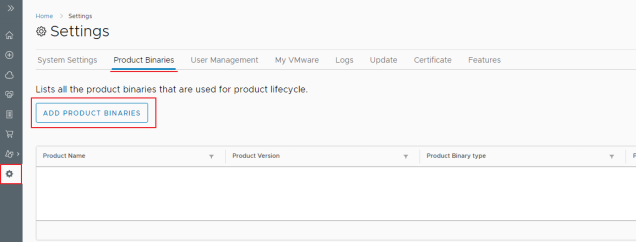
vRLCM_Configuration11

vRLCM_Configuration14
I have used my VMware portal credentials to get the product binaries as I couldn’t get the local and NFS to work to get the product OVA’s.

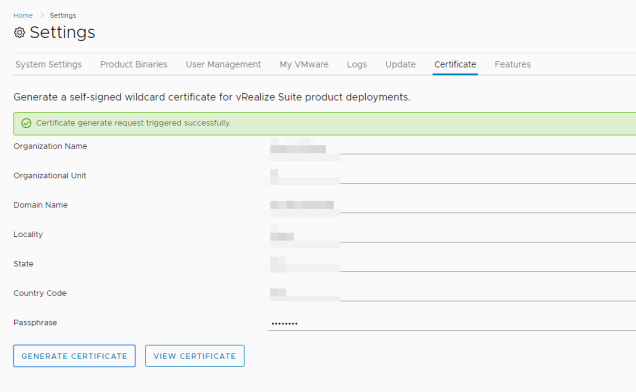
Once you add the product binaries, let’s go and create a Certificate

vRLCM_Configuration12

vRLCM_Configuration13

Once these two pre-requisites are done, Let us move ahead …

On the main page, click on the Datacenters option on the left-hand side to create a Datacenter before we create the environment

vRLCM_Configuration15

vRLCM_Configuration16
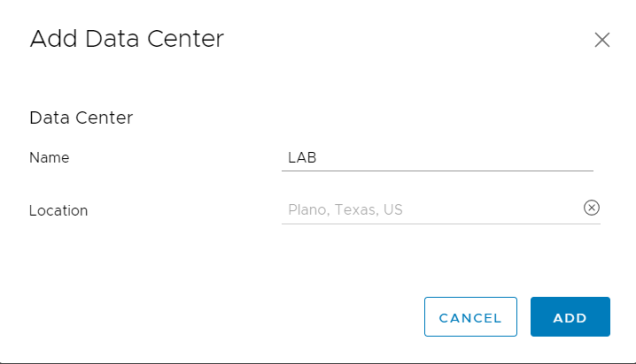
Click on Add Data Center to provide a name for the Datacenter

vRLCM_Configuration17

Next, we add the vCenter server

vRLCM_Configuration18

vRLCM_Configuration19

vRLCM_Configuration20

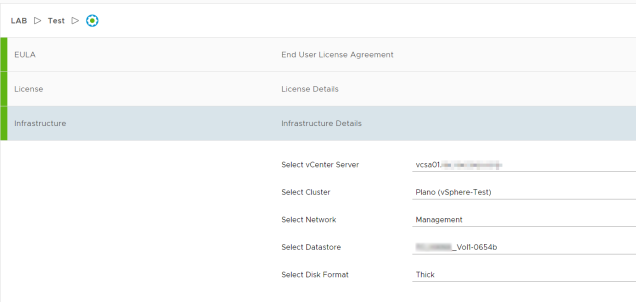
Now, Let us go ahead and create an Environment
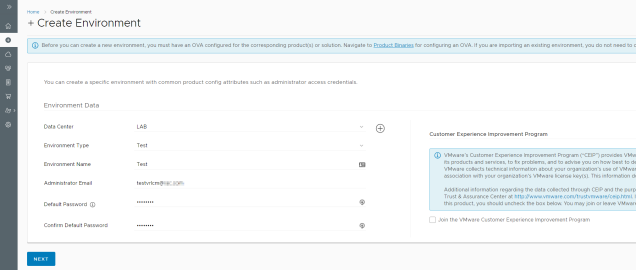
vRLCM_Configuration21

vRLCM_Configuration22

vRLCM_Configuration23
Accept the EULA Agreement by scrolling down, once you accept it, the NEXT button will appear

vRLCM_Configuration24

vRLCM_Configuration25

vRLCM_Configuration26

vRLCM_Configuration27

vRLCM_Configuration28
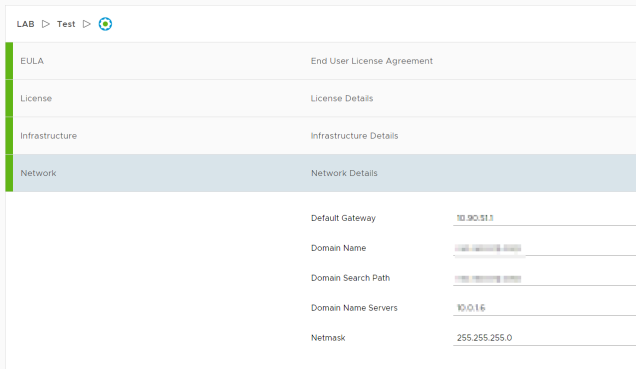
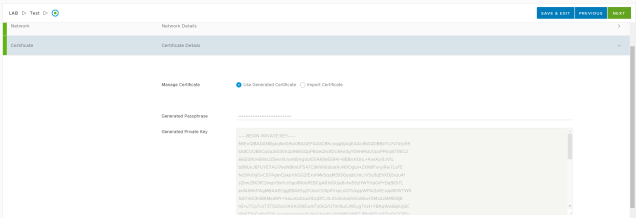
Provide all the required information. I have provided an existing SQL server and IAAS server, I have used 1 IAAS server for DEM Worker, Orchestrator, Proxy service
vRLCM_Configuration29
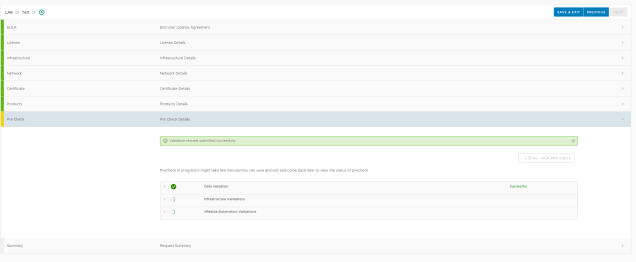
Click on RUN PRE CHECK option to perform the pre-checks before it deploys the environment

vRLCM_Configuration30

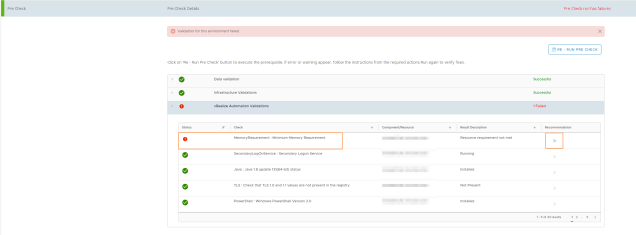
In this pre-check, you could get a validation failure which will need to be rectified before you run the pre-check again. its like shown in the picture below

vRLCM_Configuration31

vRLCM_Configuration32

Once you rectify the issue, run the pre-check again

vRLCM_Configuration33

Once the pre-check comes back clean, click on Next to move ahead

vRLCM_Configuration34


Click Submit and the life cycle manager will do the rest.

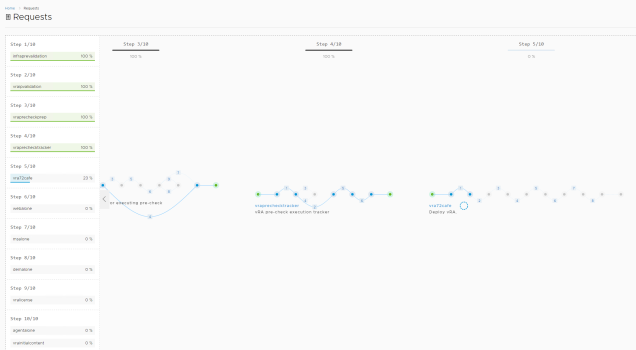
to check the progress, you can click on Requests icon on the left side of the page and clicking on in progress as the pic below

vRLCM_Configuration35

vRLCM_Configuration36

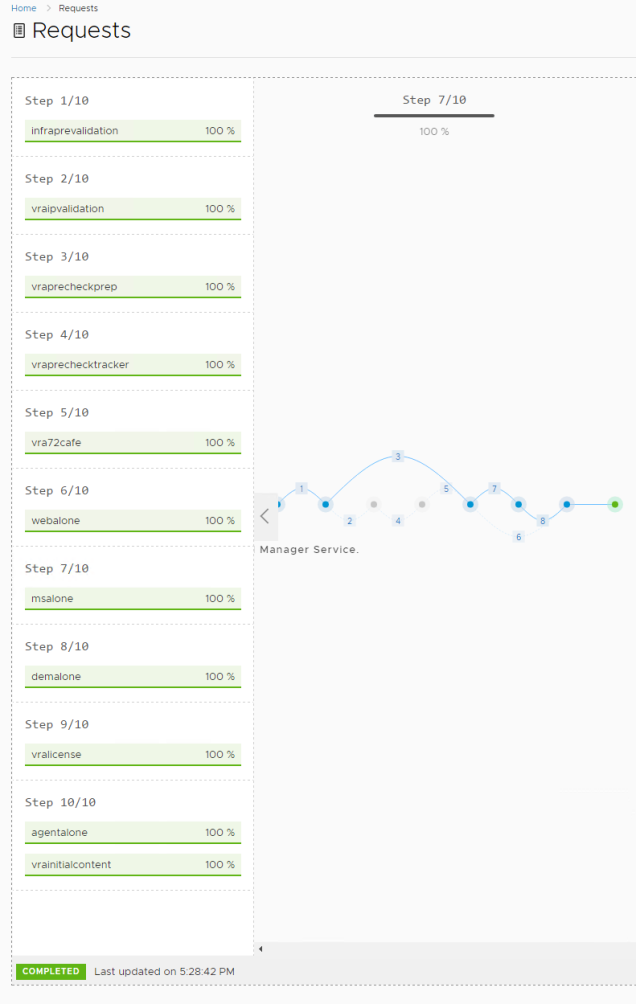
This process will take a long time … go, get some tea/coffee and it will still be deploying the environment …
vRLCM_Configuration37

vRLCM_Configuration38

This shows how to Install and configure vRealize Life Cycle Management and to create a vRA 7.4 environment.


3 thoughts on “Install and Configure vRealize Suite Life Cycle Manager 1.2

  1. Beau April 12, 2019 / 6:00 pm

    This is truly useful, thanks.

    Like

  2. Anonymous August 10, 2018 / 9:42 am

    Awesome write up Pradeep. Am sure we will all benefit from this post!!!

    Like

Leave a comment