Recently I had to get rid of multiple vms through VRA, However, I found that some of the vms status was showing as missing. This happens if the VM has already been deleted through the vCenter and VRA can’t find that VM in the vCenter.
The way you can see the missing status is you go to the deployments tab, check the Status if its ON, OFF or Missing (?) as the screenshot shows below:
The missing status is displayed next to the VM Name
Some of the info in the screenshot has been removed to protect my Organization Data and the VM Names have also been changed for the same purpose.
In VRA 7.6, you can unregister it easily using the GUI, You click on the Deployment Name
Then click on the VM Name itself (in this case its DC1Test001), then click on the small gear icon and then click on the option “Unregister” in the drop down menu as in the screenshot below:The unregister option will remove this VM from the VRA internal DB so that it doesn’t show up in VRA.
Hope this post helps, as I was not able to see any blog posts regarding this simple unregister procedure in VRA 7.6
Only thing I would change in the kb article instructions would be the 6th step.
6th step — look for the work ‘vmlinuz’ in the second line and then hit e on that line to edit the line, then add the command init=/bin/bash to the end of the line and hit Enter
7th step — hit b to boot from that line to get to the root prompt
10th step — After you reset the password and it says that the new password has been accepted, type reboot to reboot the appliance
This post details the installation and configuration of the vRealize Suite Life Cycle Manager 1.2 which was recently released by VMware to automatically provision vRA components as part of their Cloud initiative.
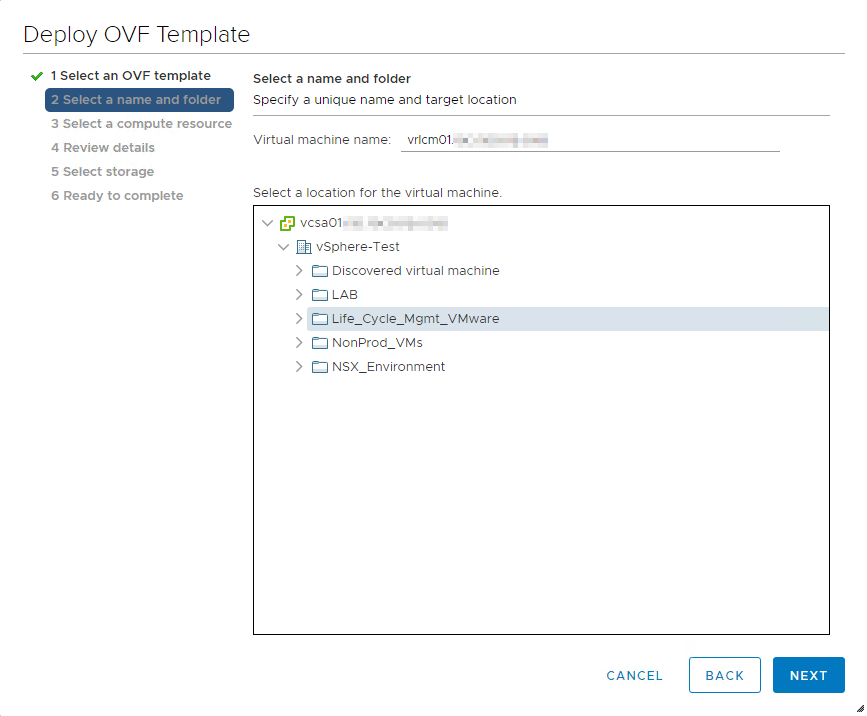
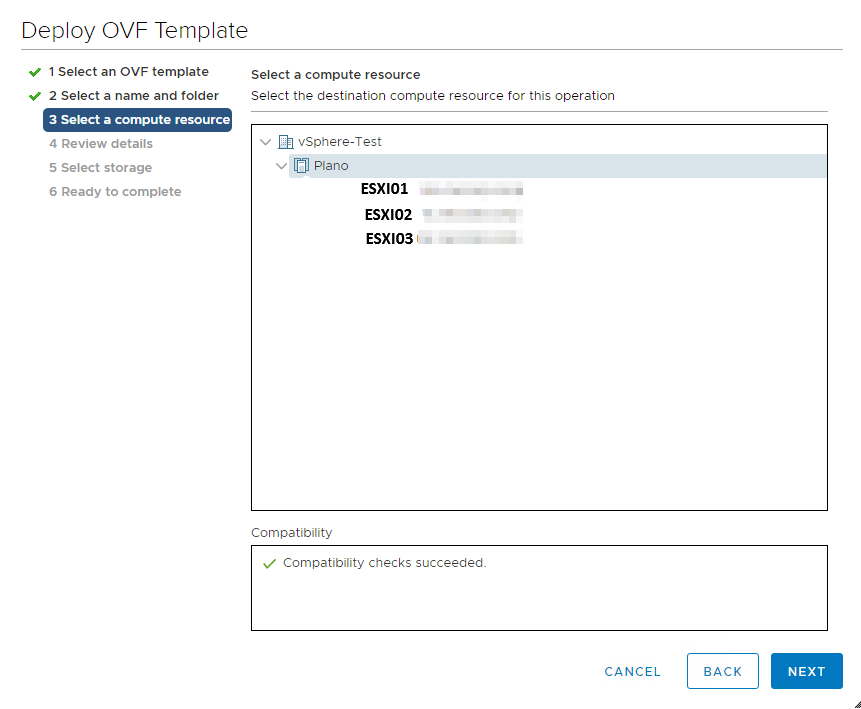
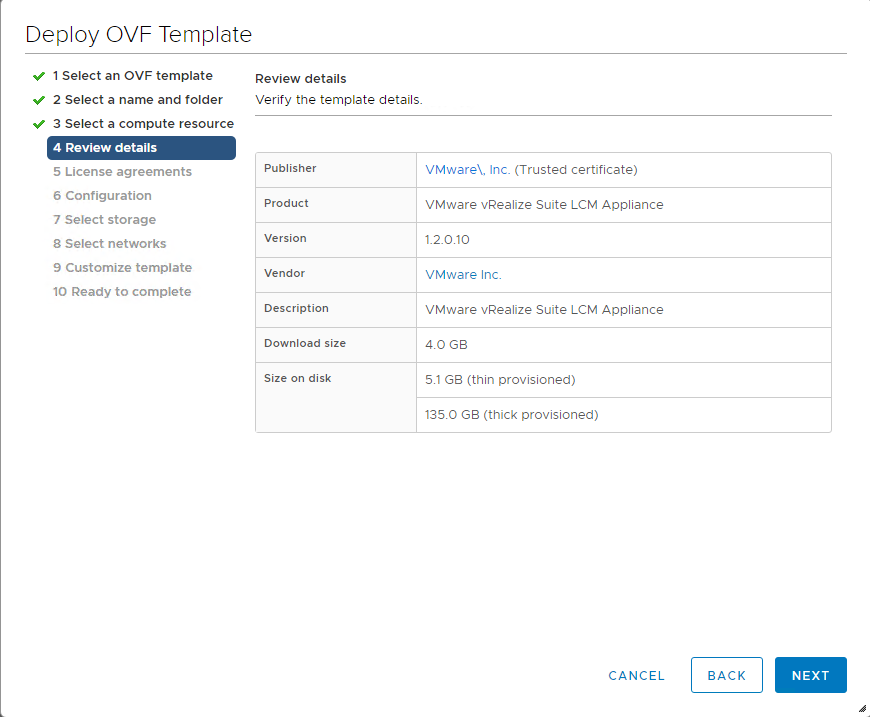
First, Download the Life Cycle Manager ova from the vRealize Suite 2017 components and deploy it using the vCenter web client
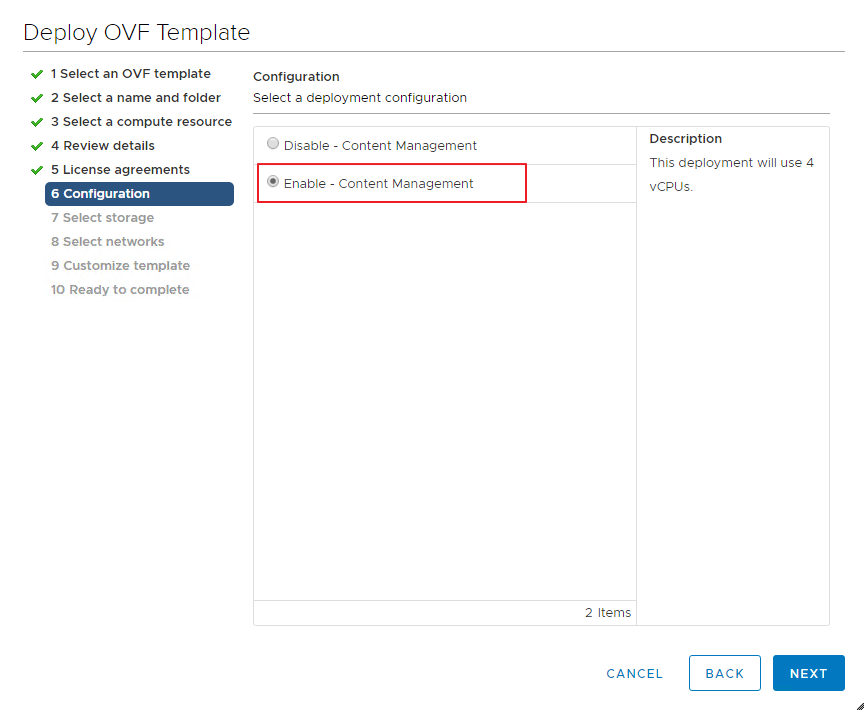
Select Enable Content Management option to enable content management.
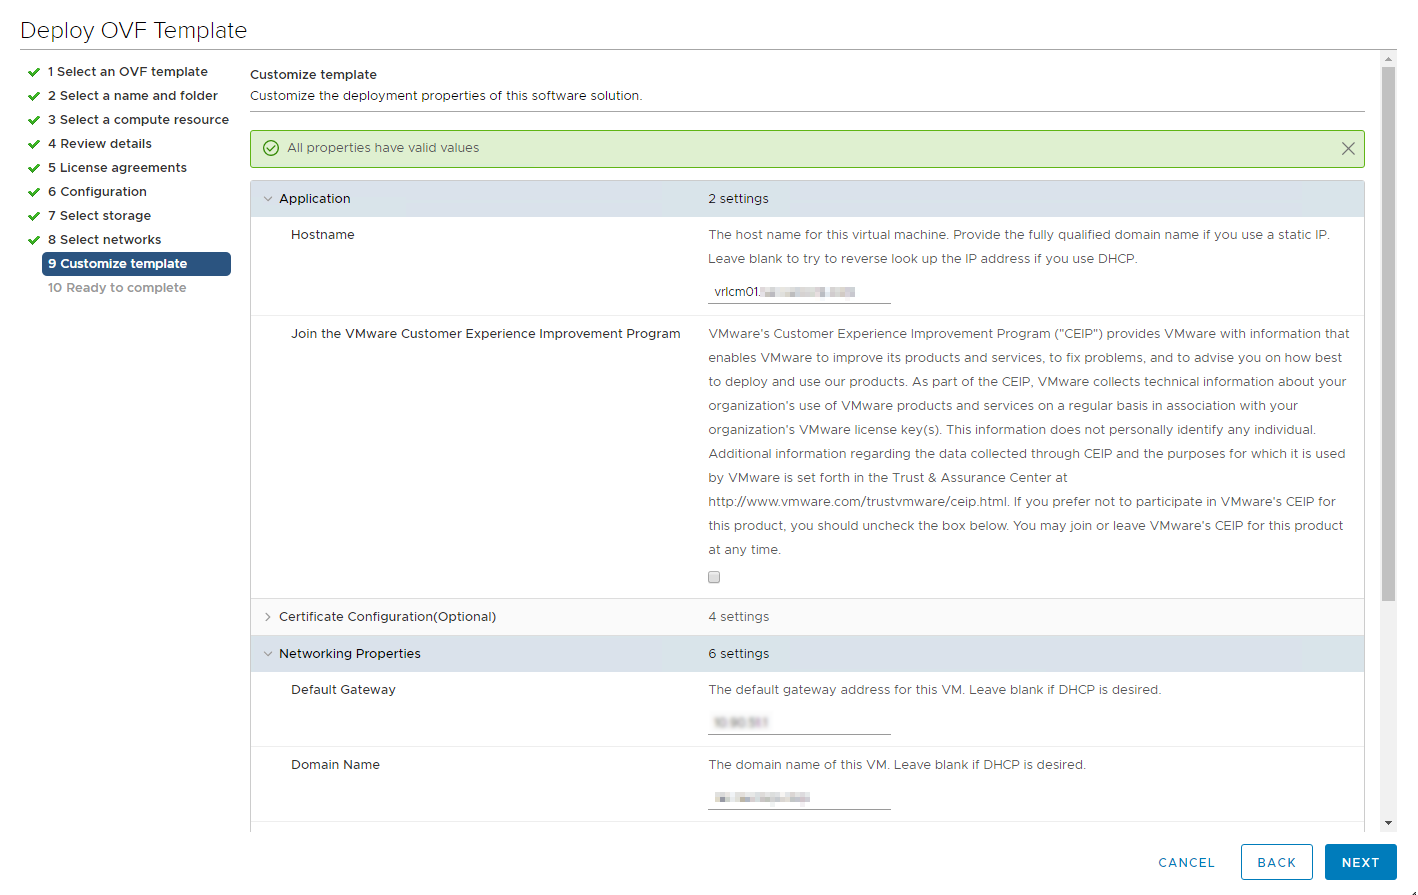
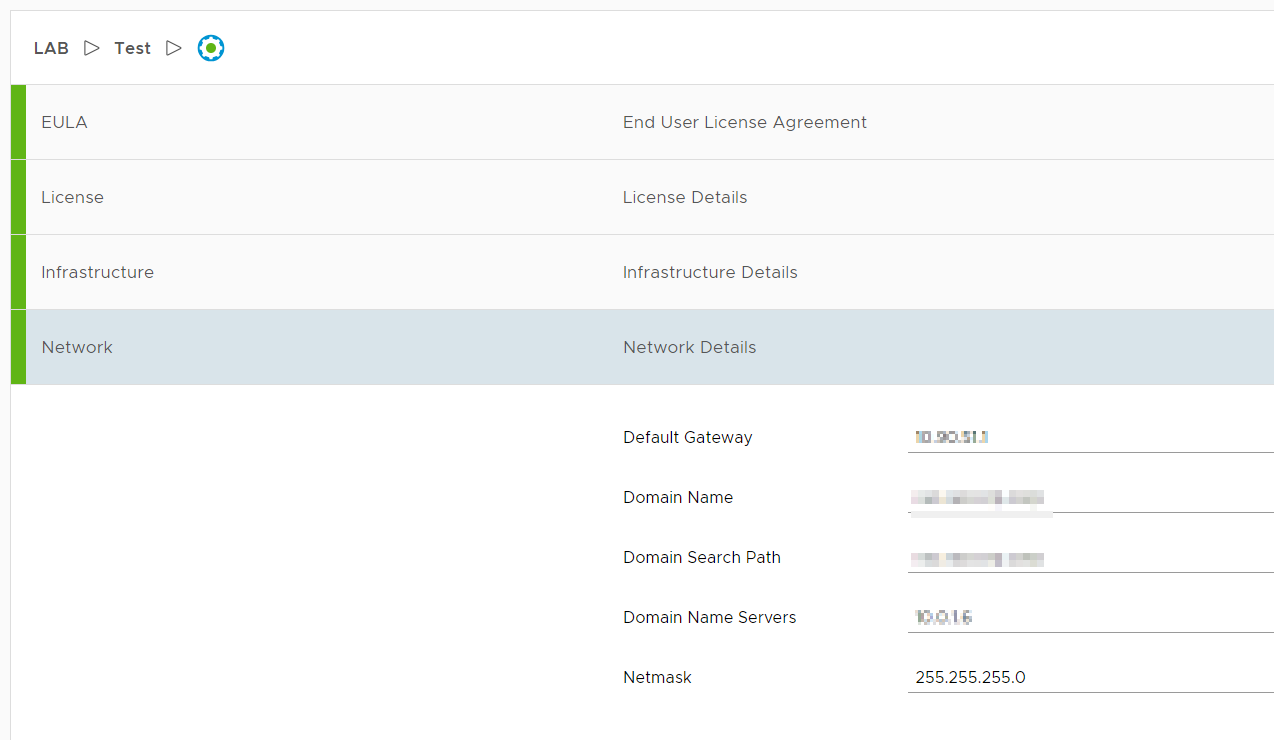
Provide the Hostname, default gateway, network IP address, subnet mask, DNS servers and the domain names in this window and click Next to finalize the deployment of the appliance.
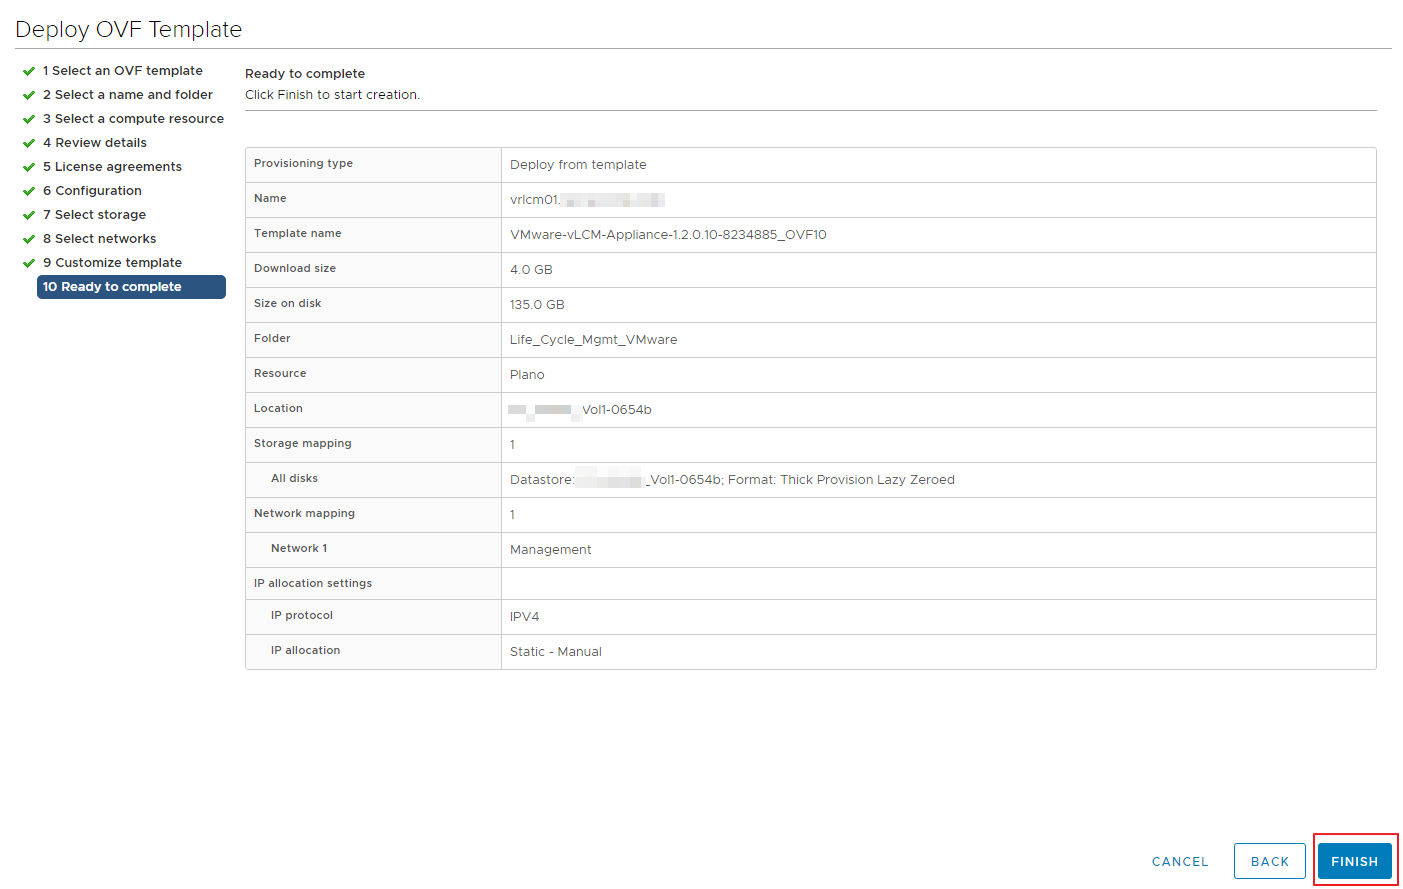
Click Finish to finalize the settings and to deploy the Life Cycle Manager Appliance
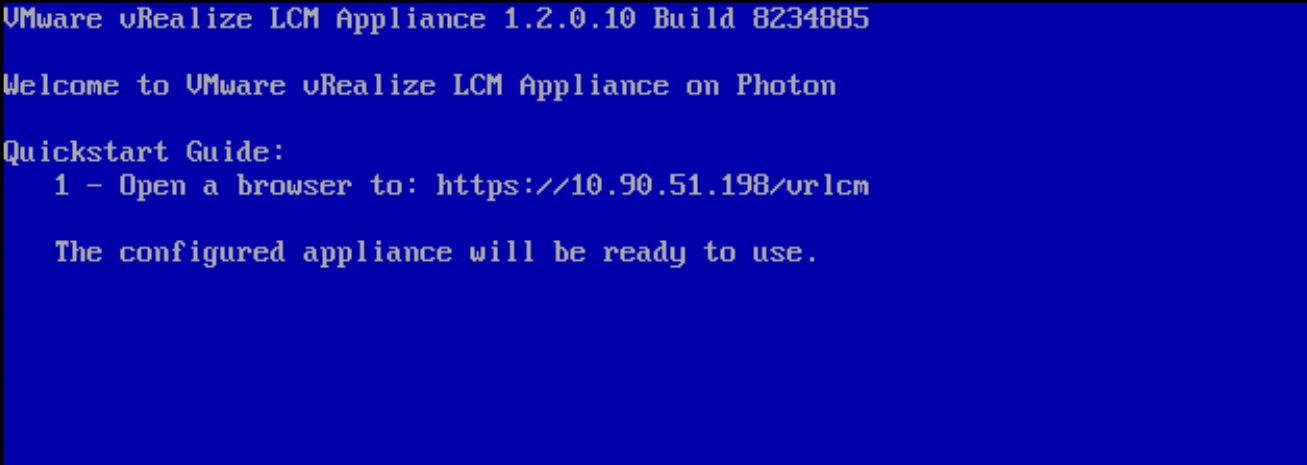
Once the vm has been deployed and powered ON, you will have to go to a web browser to configure the appliance.
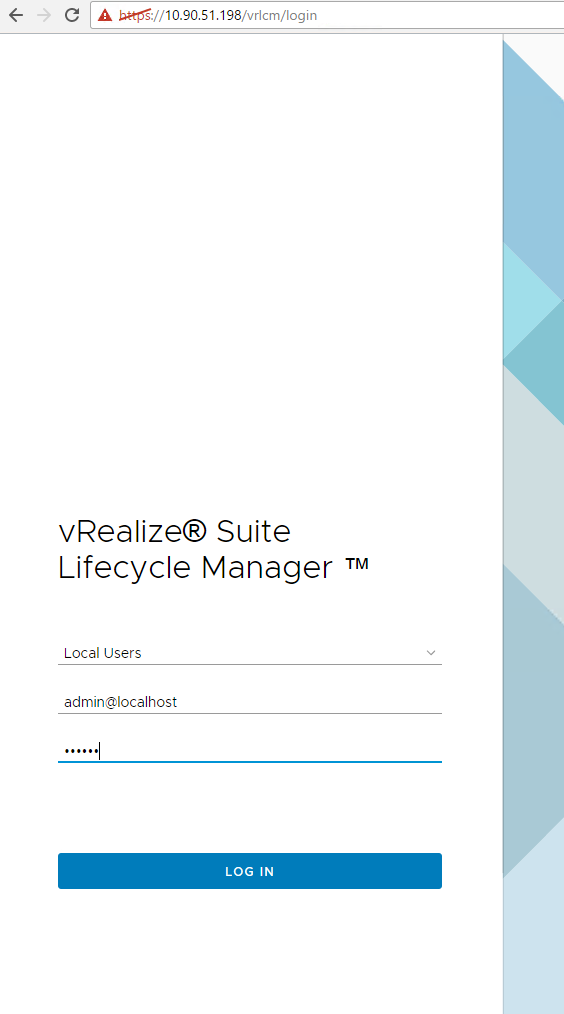
use the following credentials to login into the life cycle manager web UI
username: admin@localhost
password: vmware
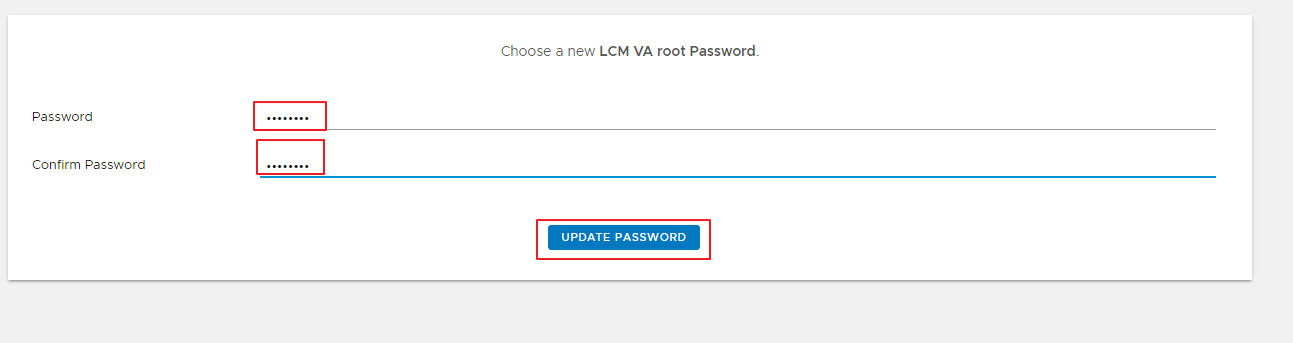
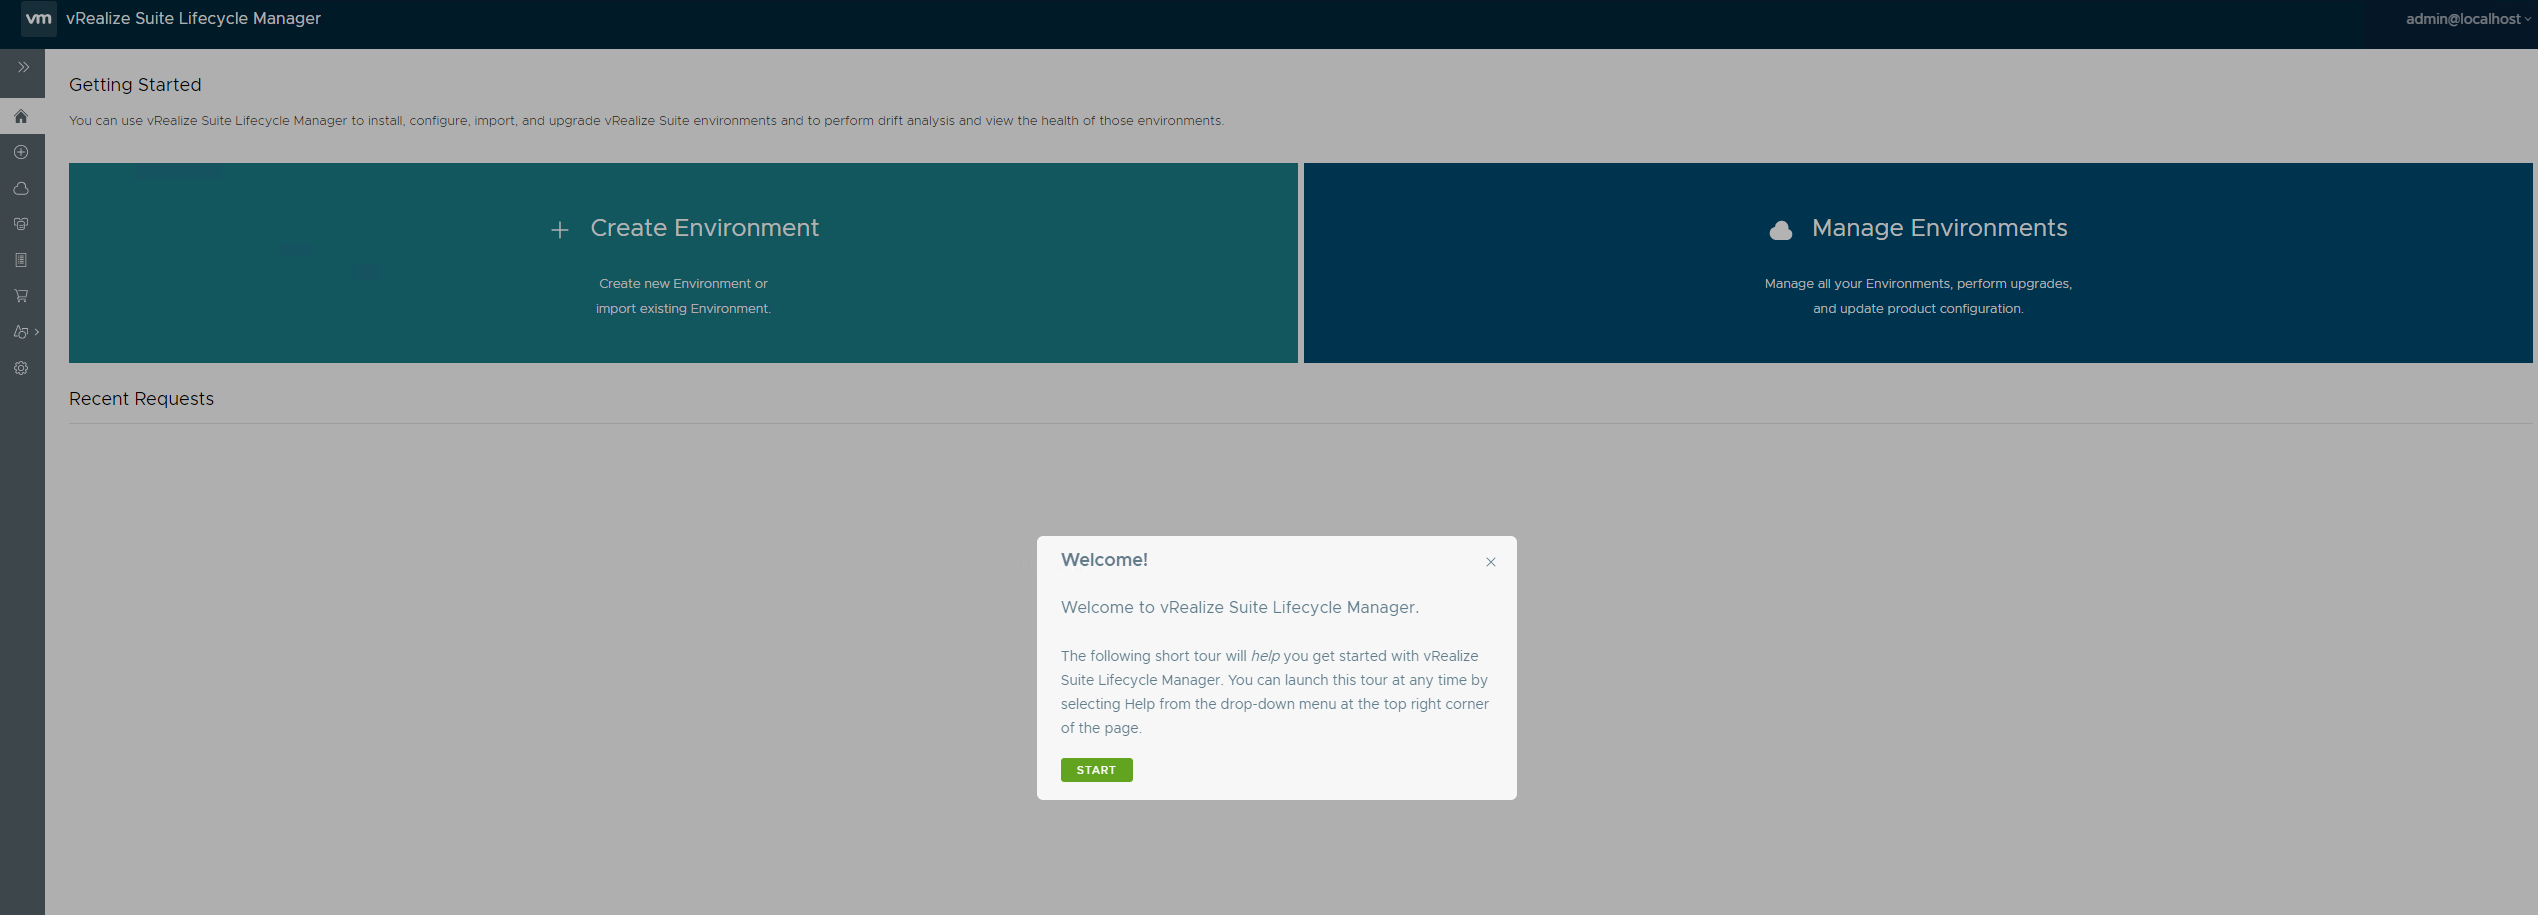
The first thing you get after logging into the web UI is to update the root password
Click start to get started with the Life Cycle Manager
Once you click Next, it will say Done!
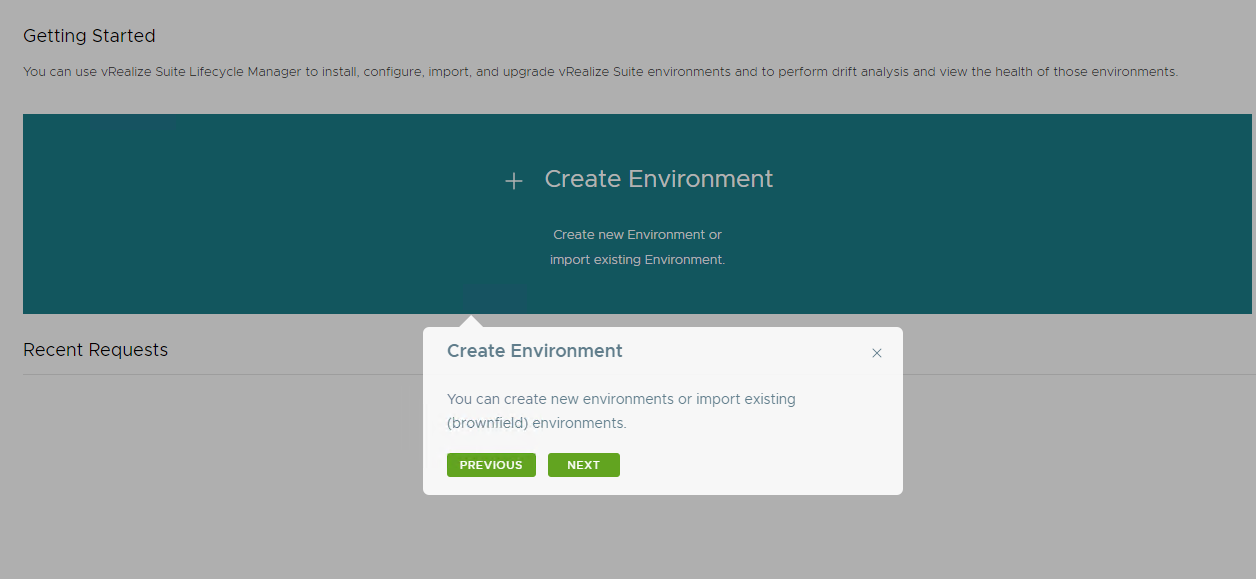
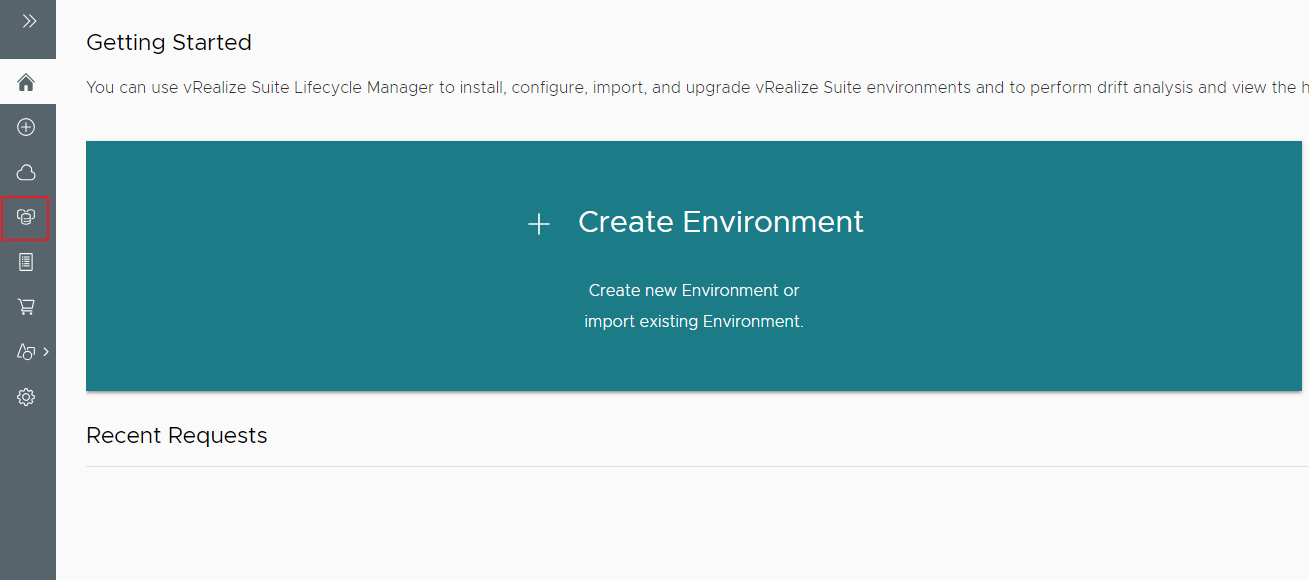
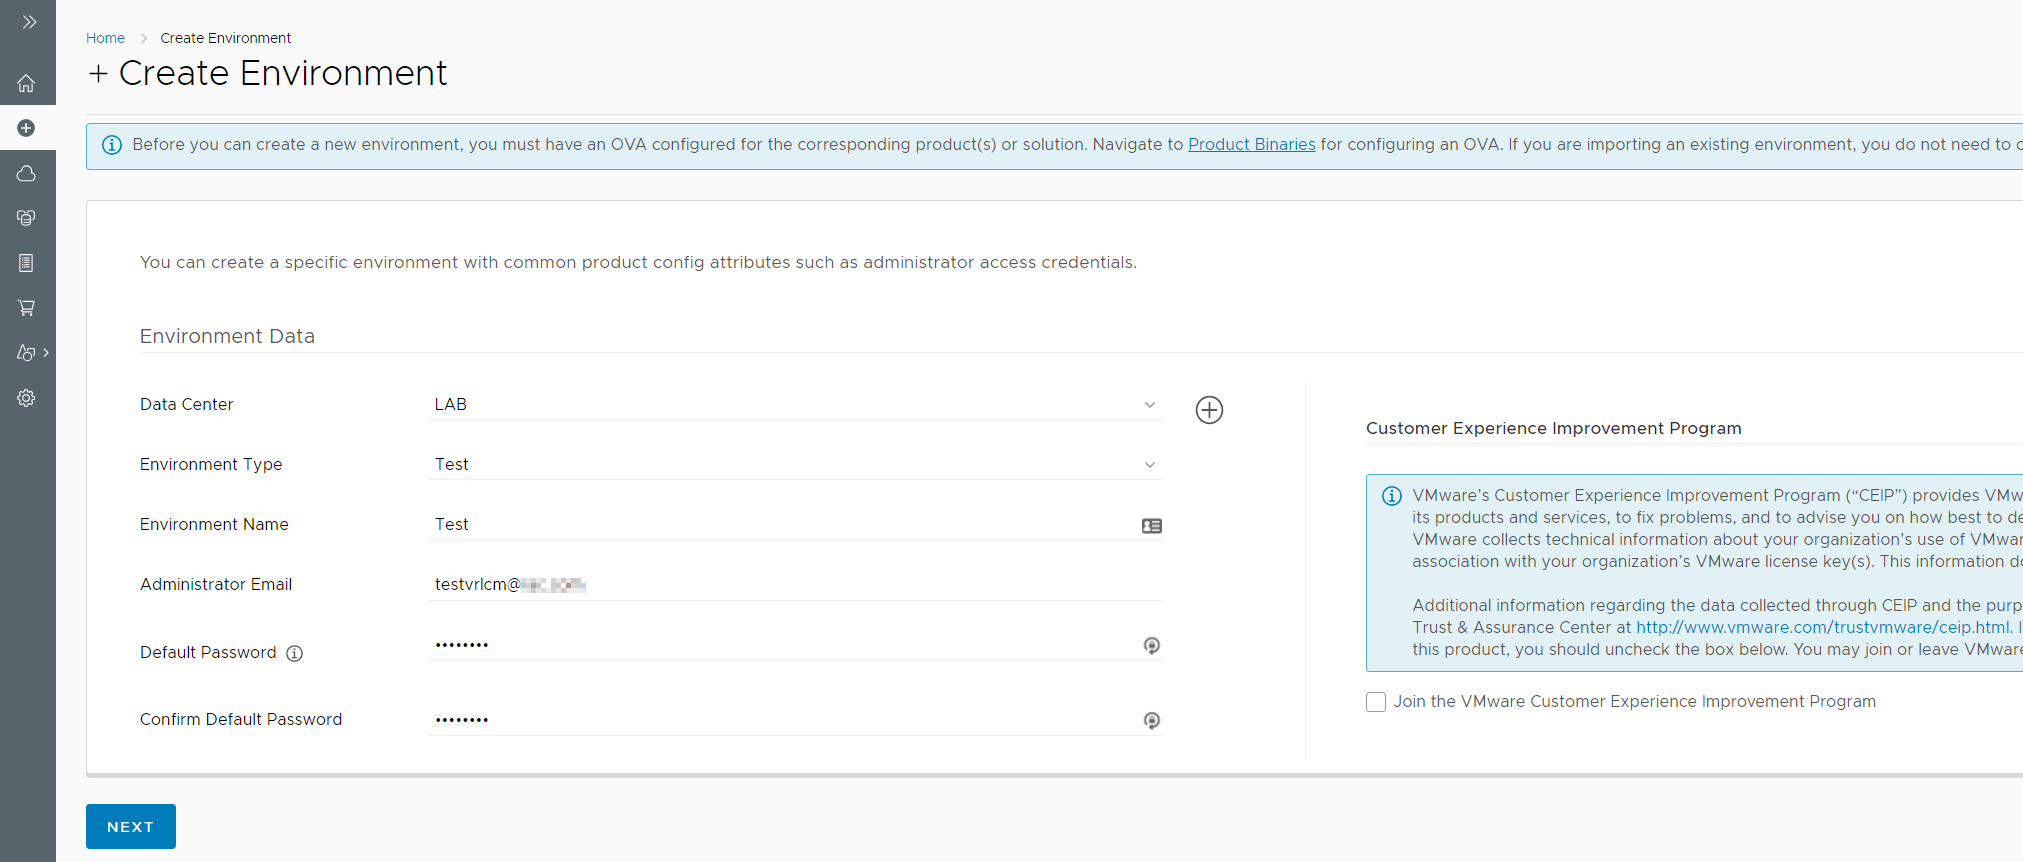
Now, we will create a New Environment in the lab
Click on Create Environment option to get started
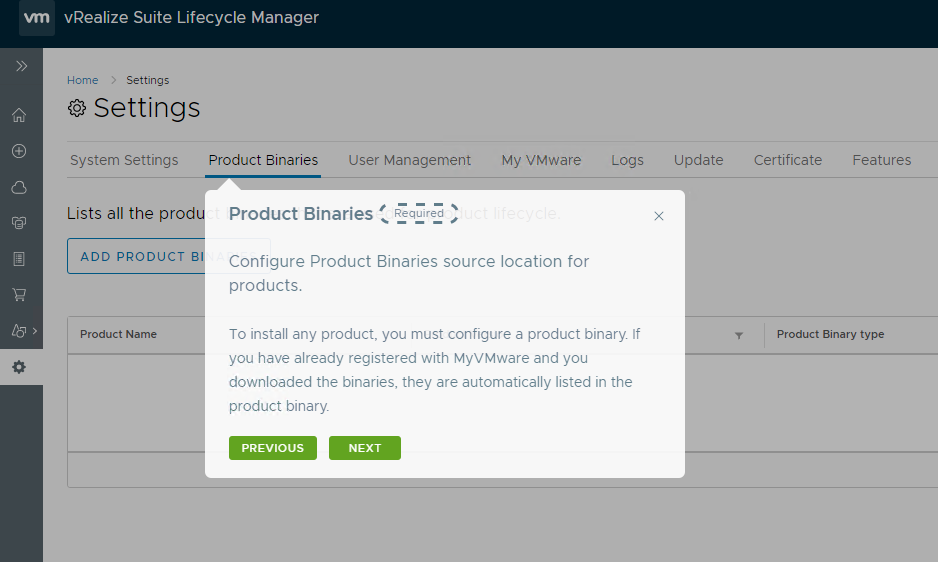
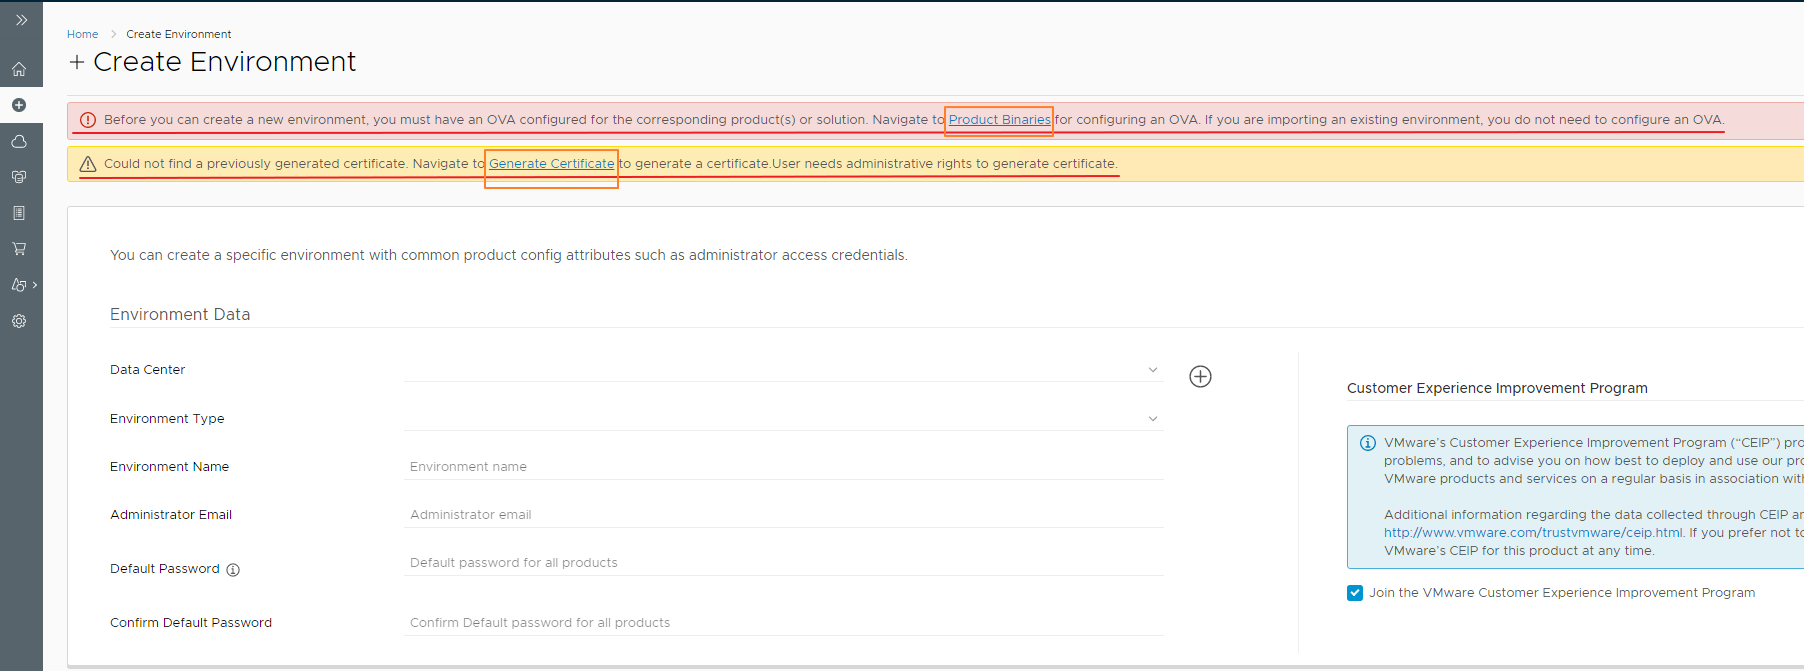
Once you click on Create Environment option, you will be taken to a tab where it mentions that you will need to take care of a few things before you create the environment.
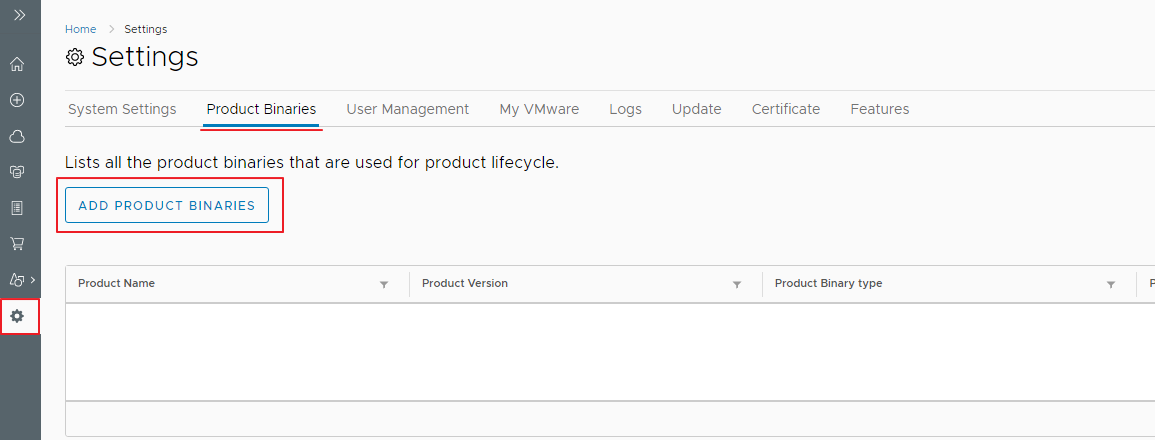
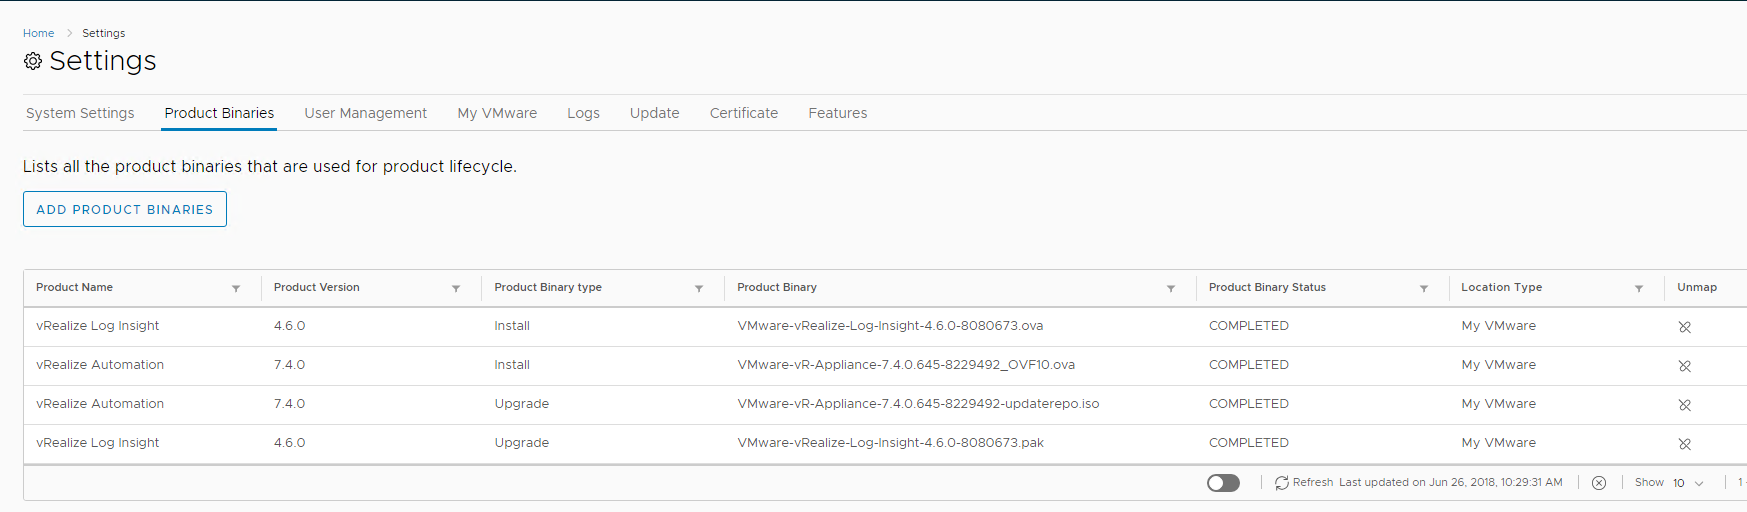
Let us take care of the Product Binaries first.
Click on Product Binaries option on the tab
I have used my VMware portal credentials to get the product binaries as I couldn’t get the local and NFS to work to get the product OVA’s.
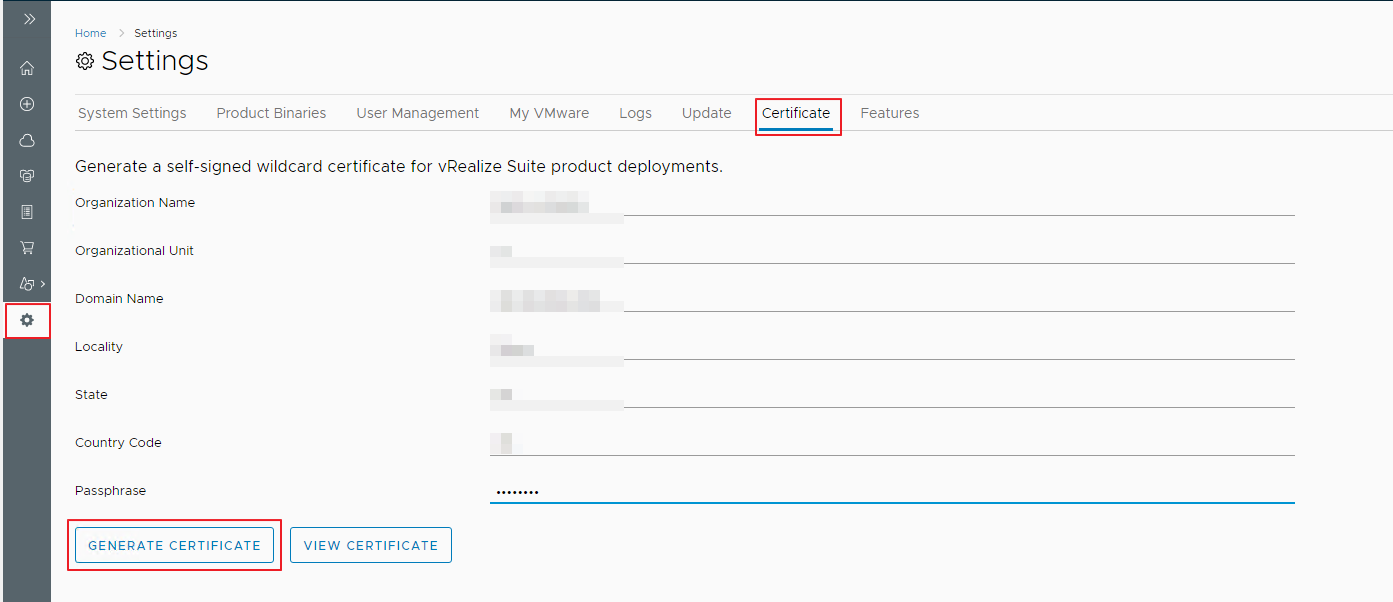
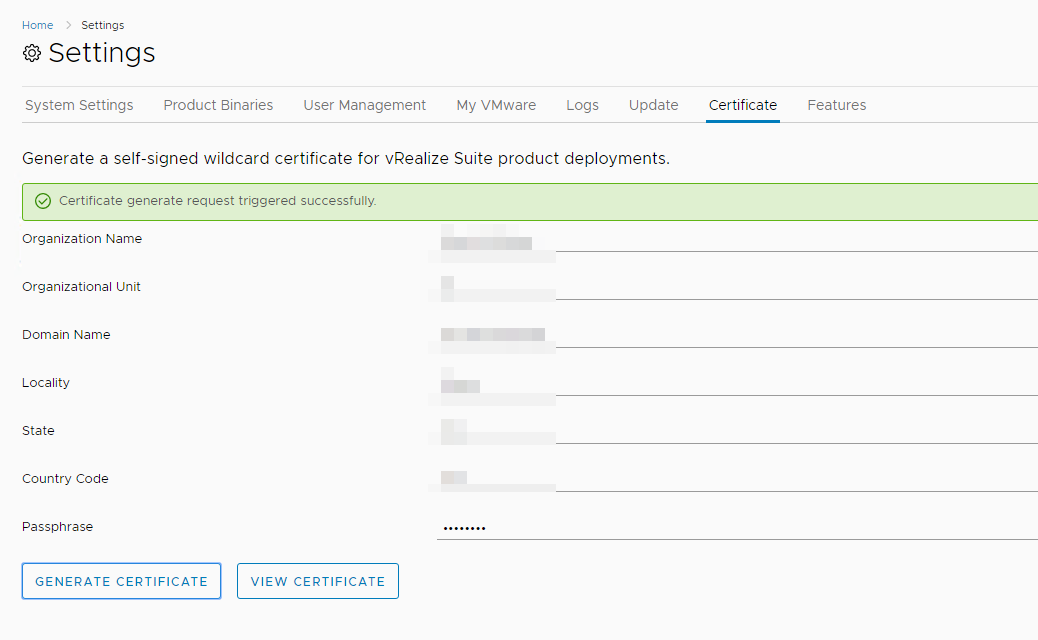
Once you add the product binaries, let’s go and create a Certificate
Once these two pre-requisites are done, Let us move ahead …
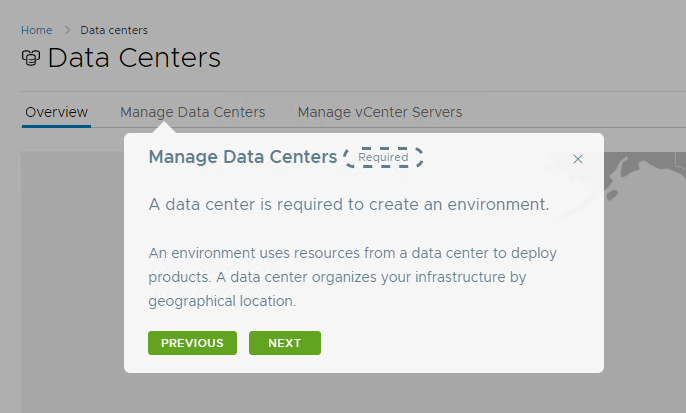
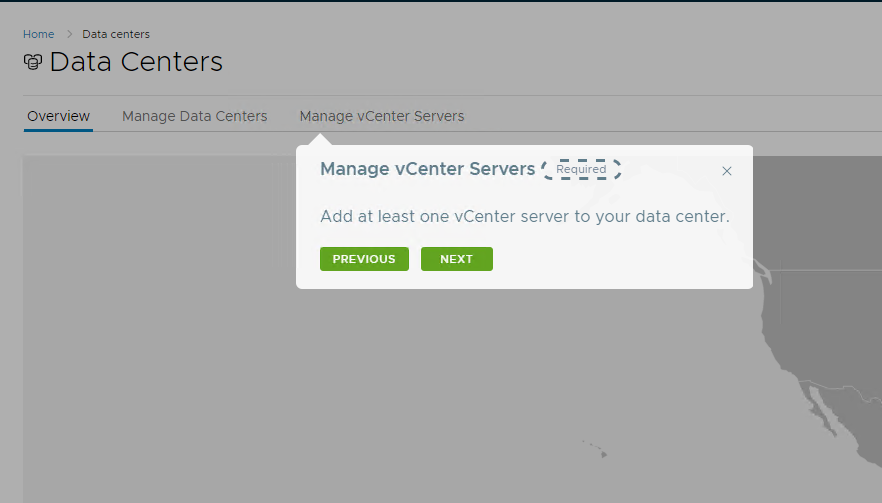
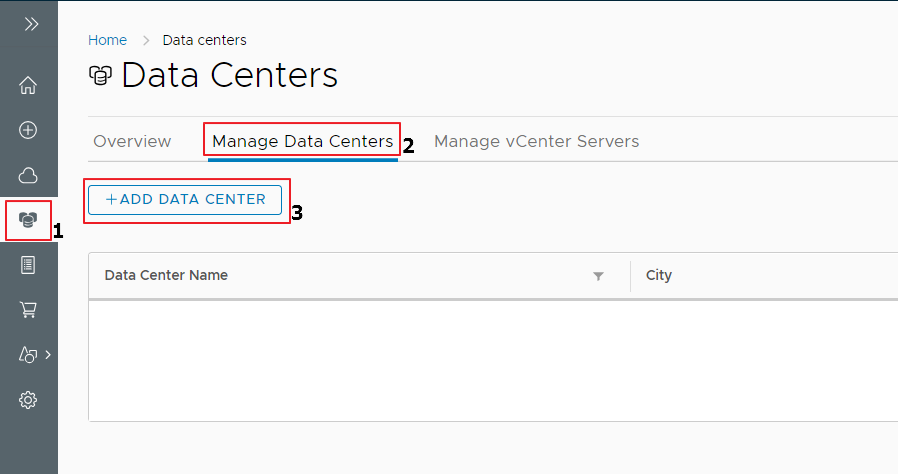
On the main page, click on the Datacenters option on the left-hand side to create a Datacenter before we create the environment
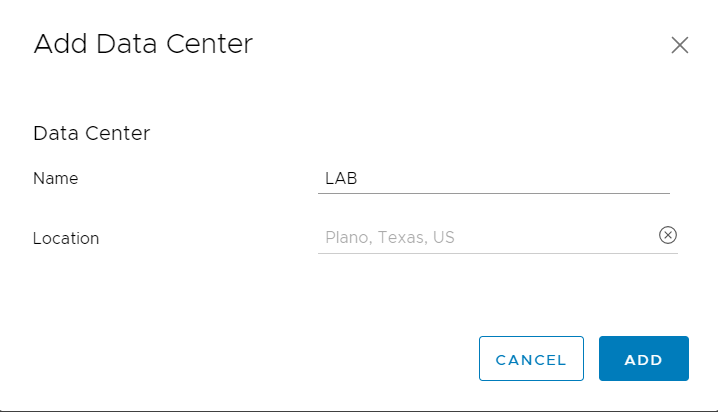
Click on Add Data Center to provide a name for the Datacenter
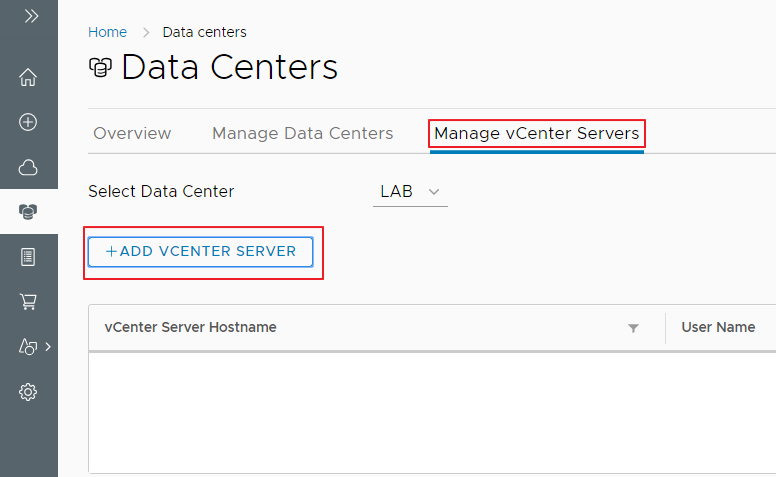
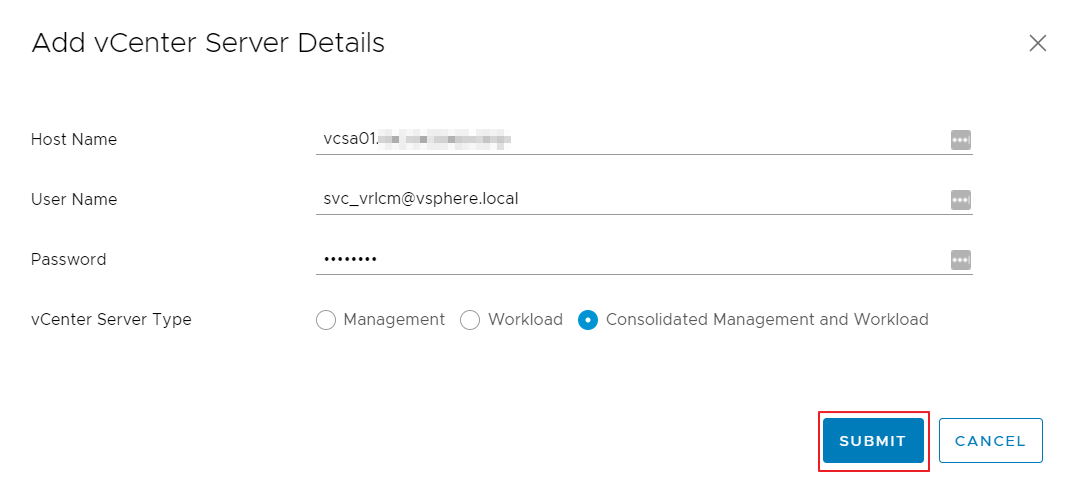
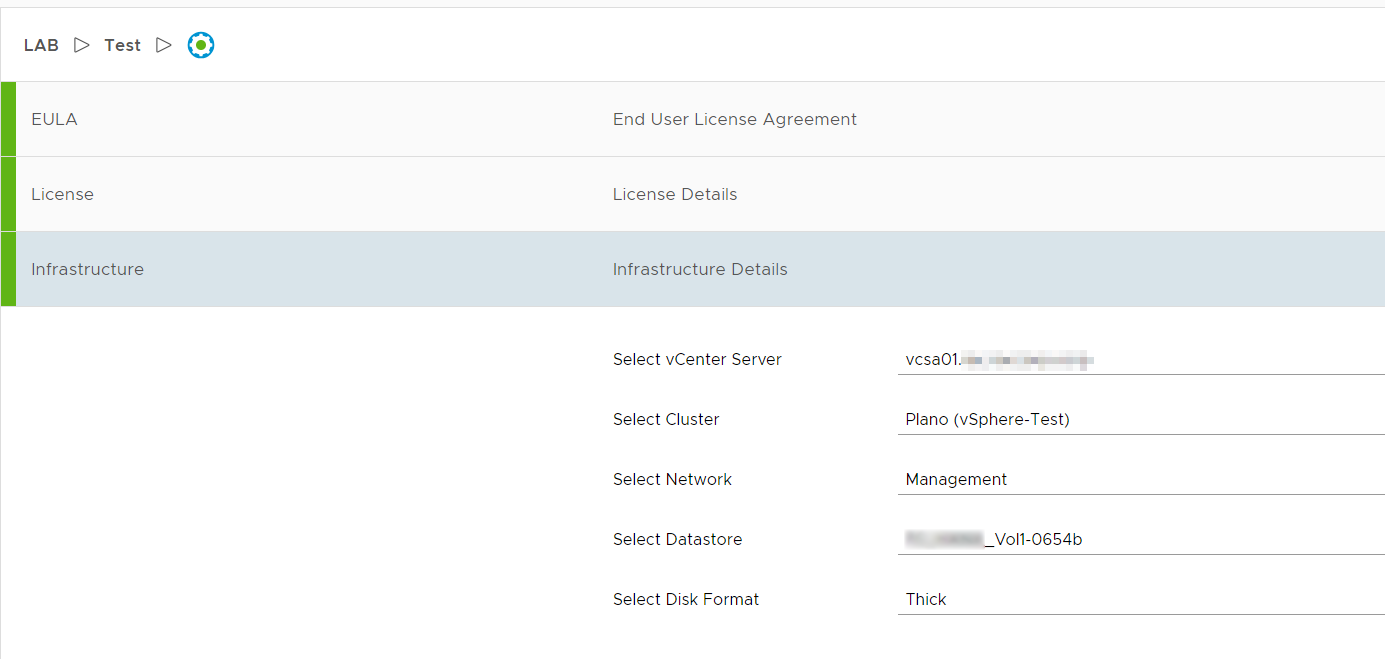
Next, we add the vCenter server
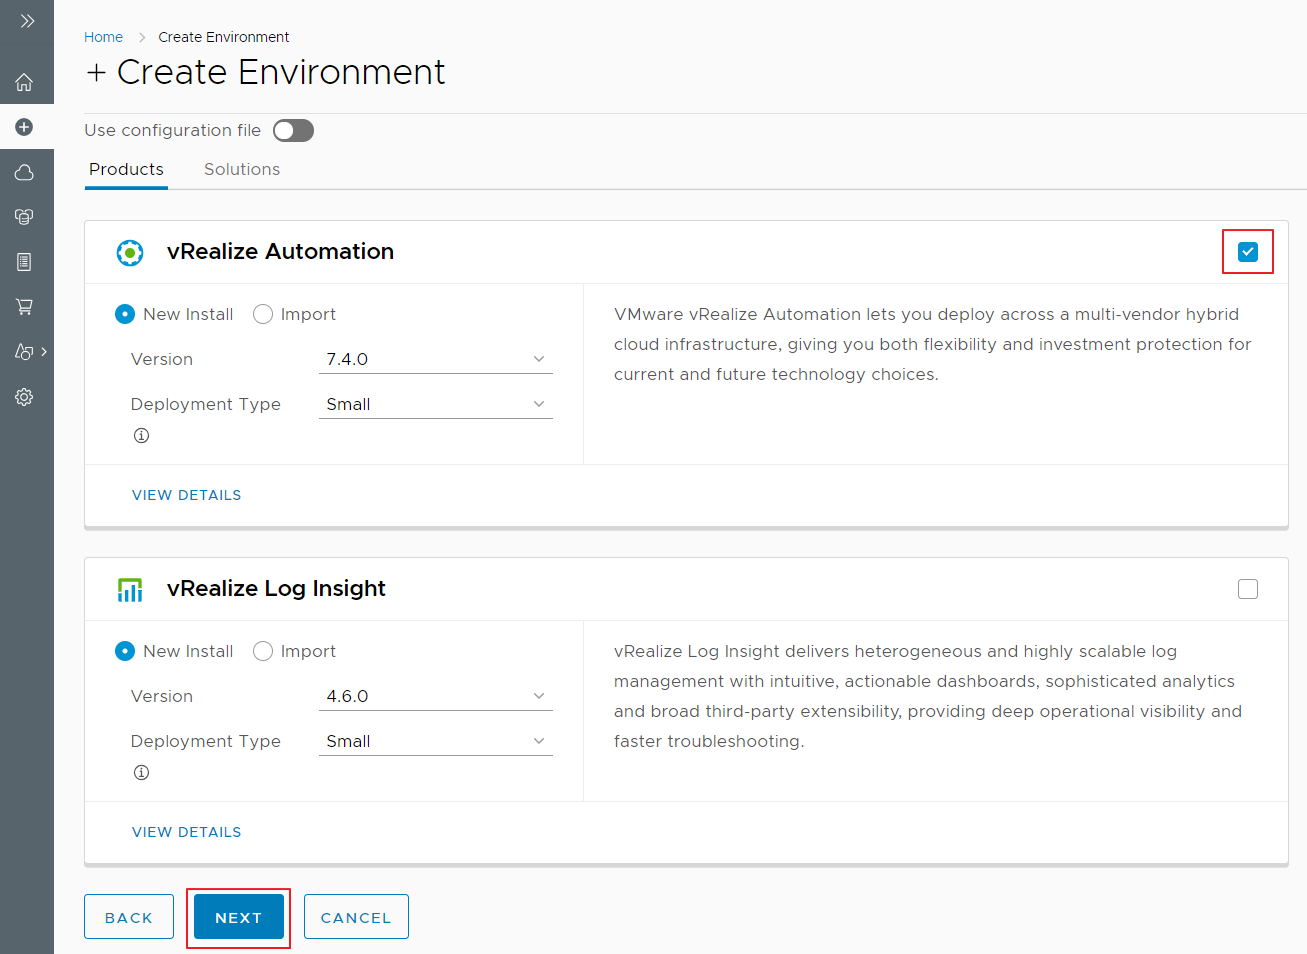
Now, Let us go ahead and create an Environment
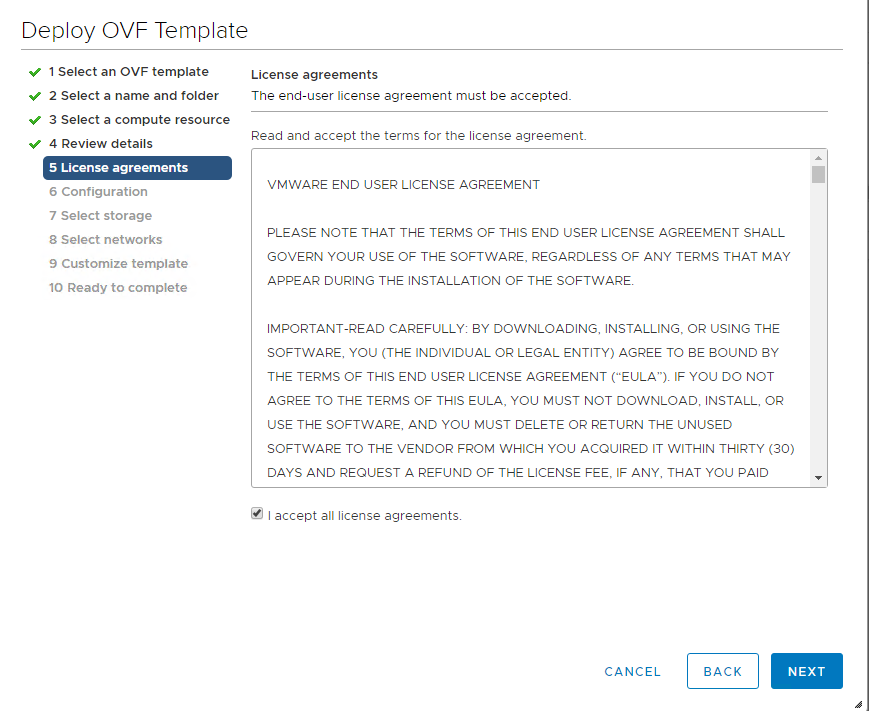
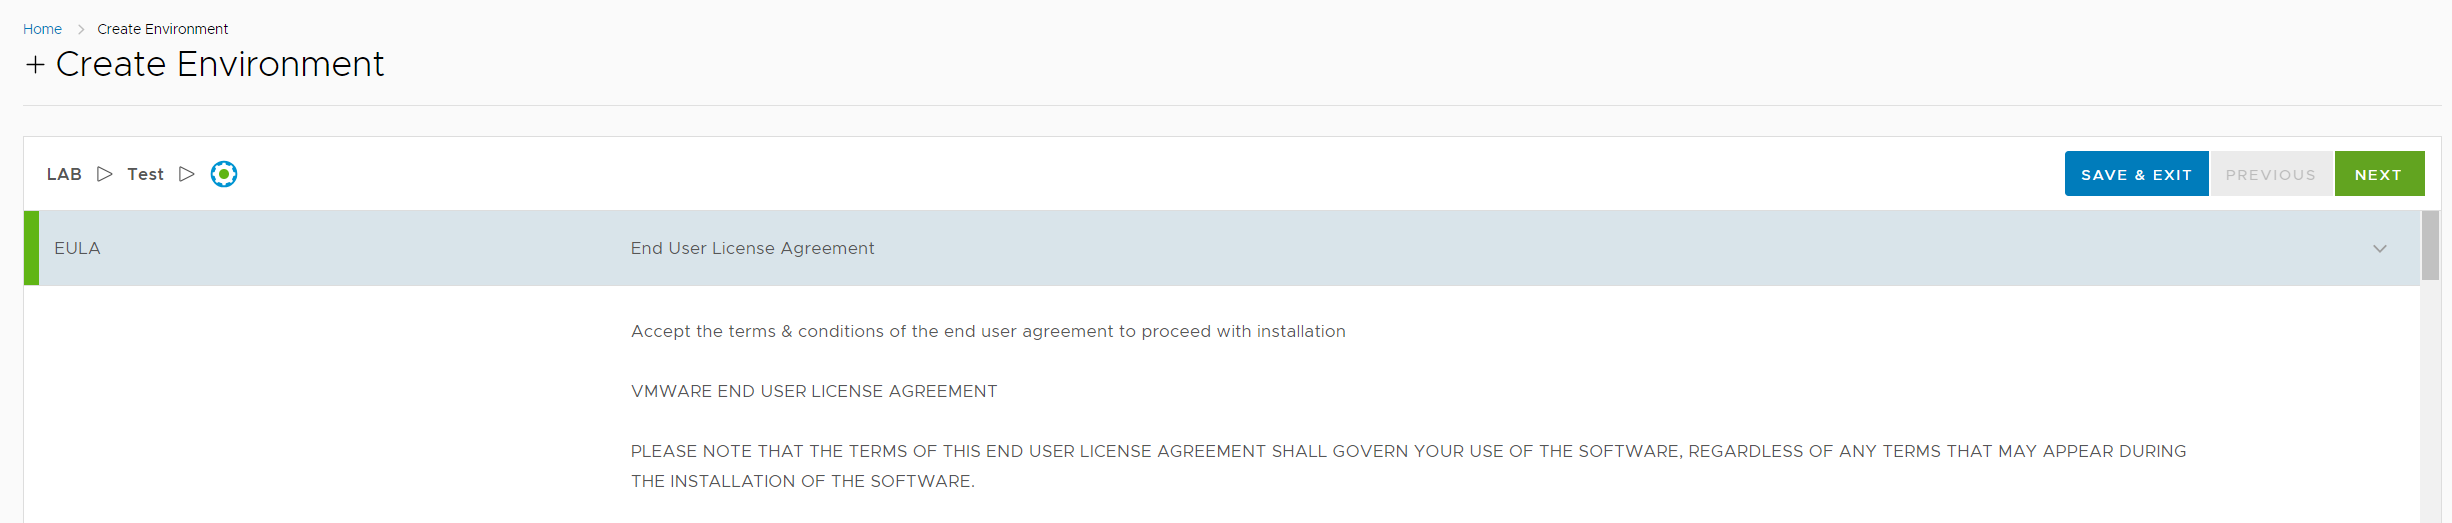
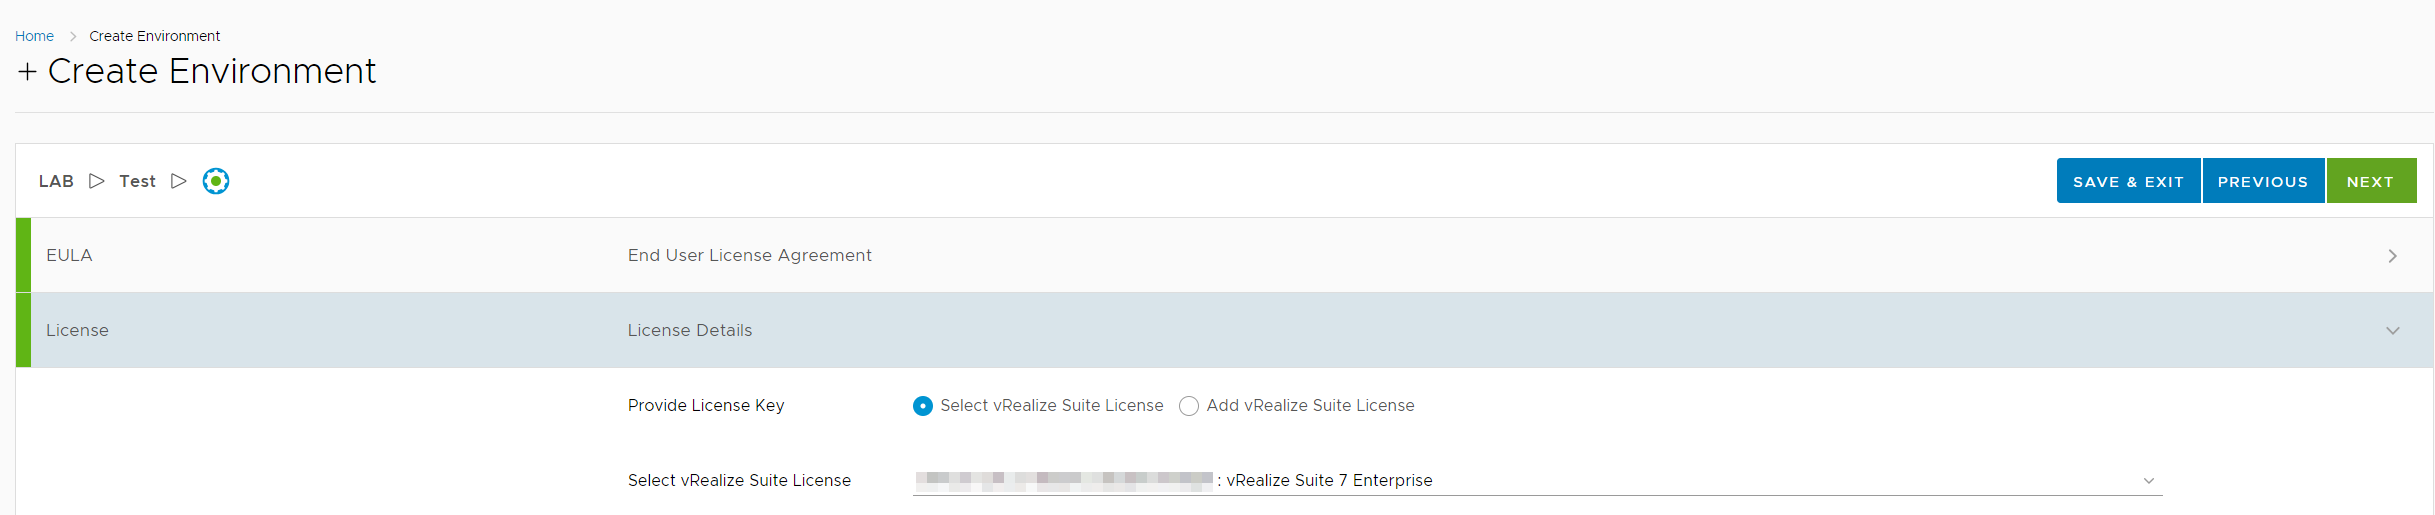
Accept the EULA Agreement by scrolling down, once you accept it, the NEXT button will appear
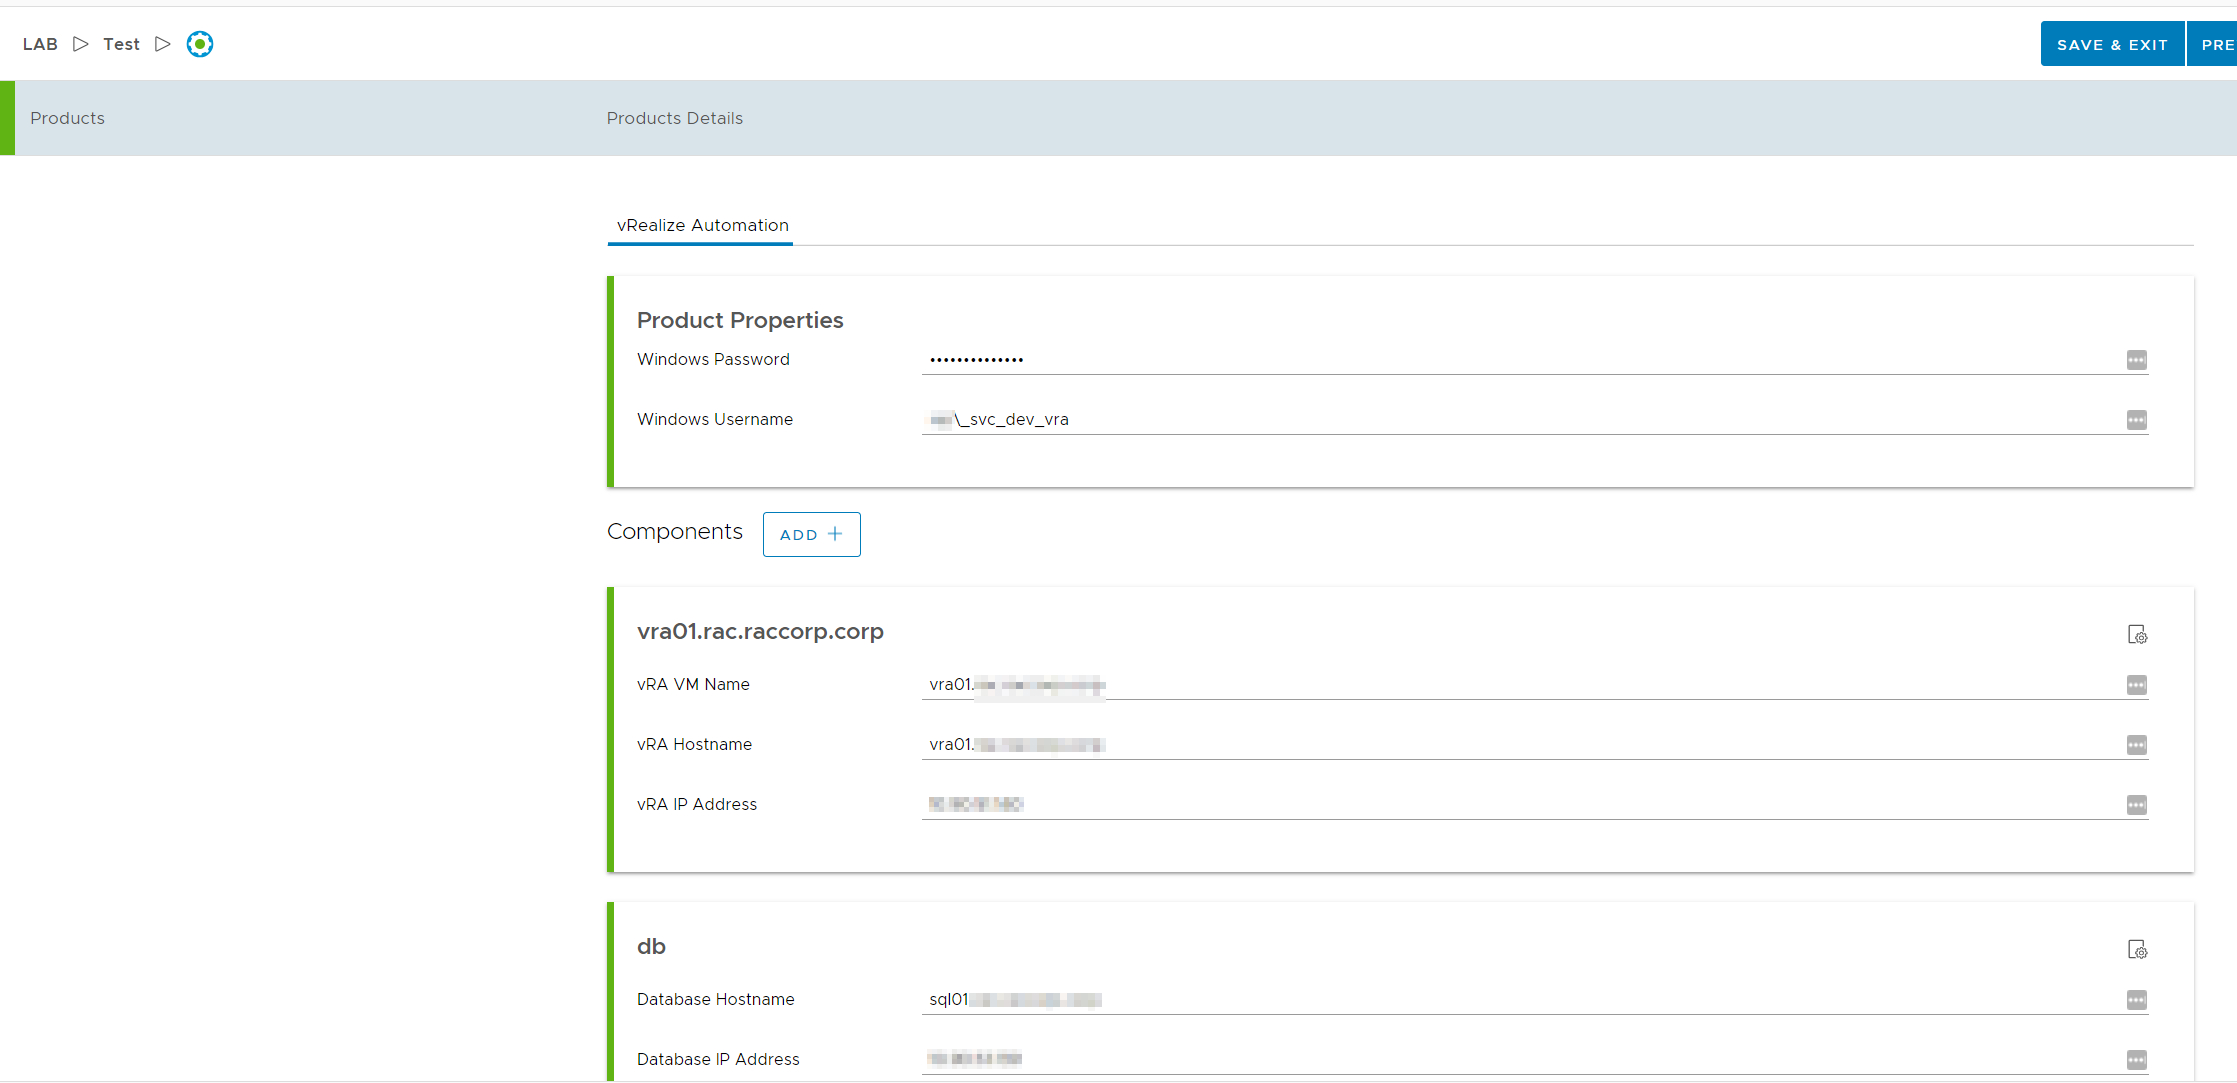
Provide all the required information. I have provided an existing SQL server and IAAS server, I have used 1 IAAS server for DEM Worker, Orchestrator, Proxy service
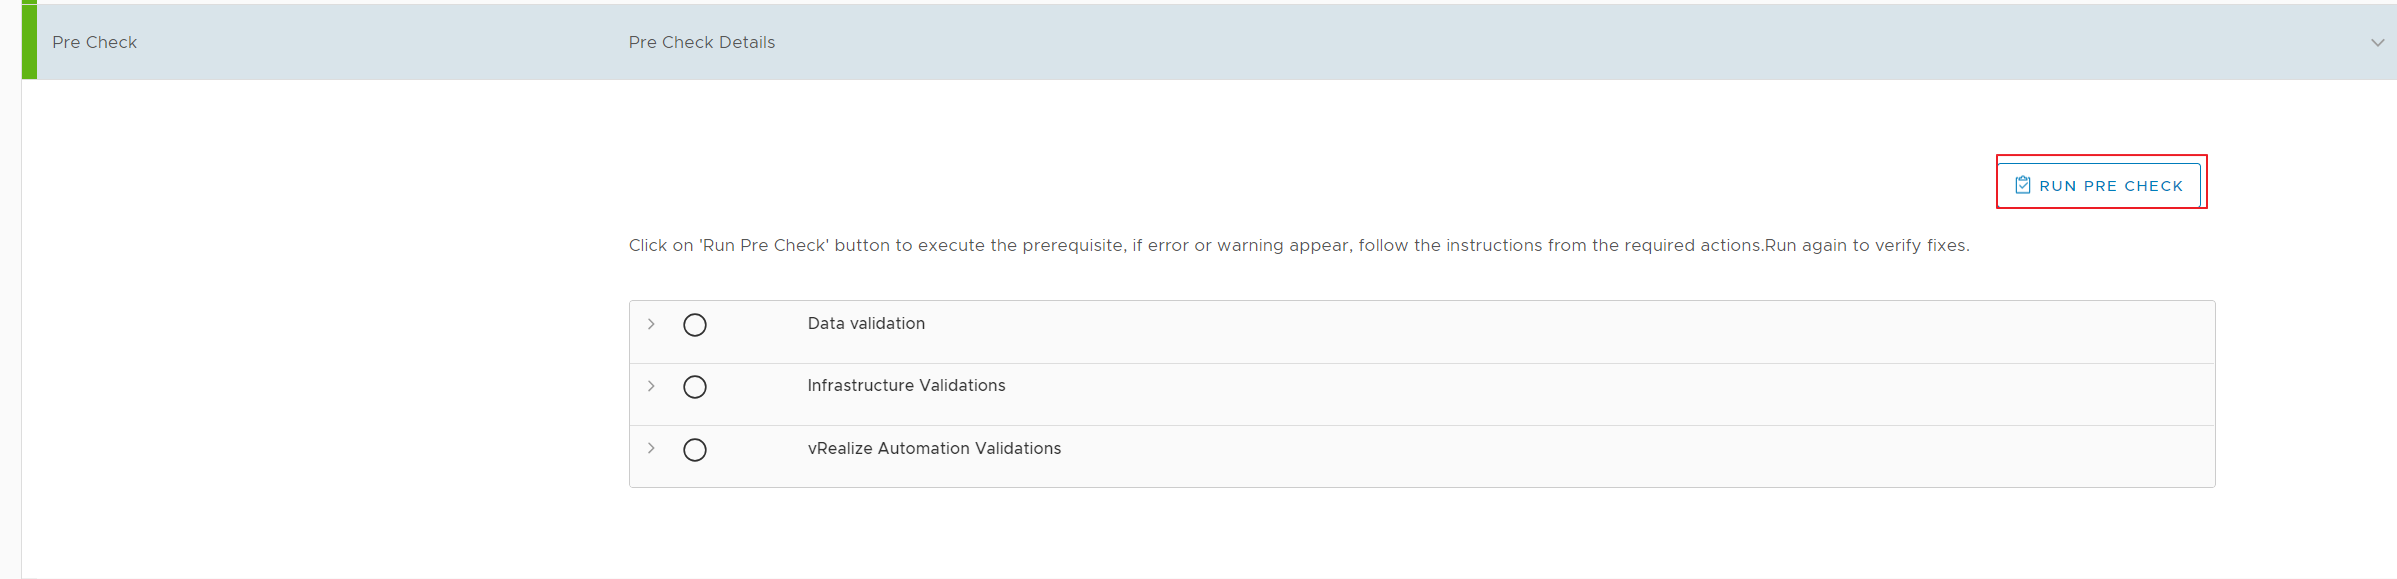
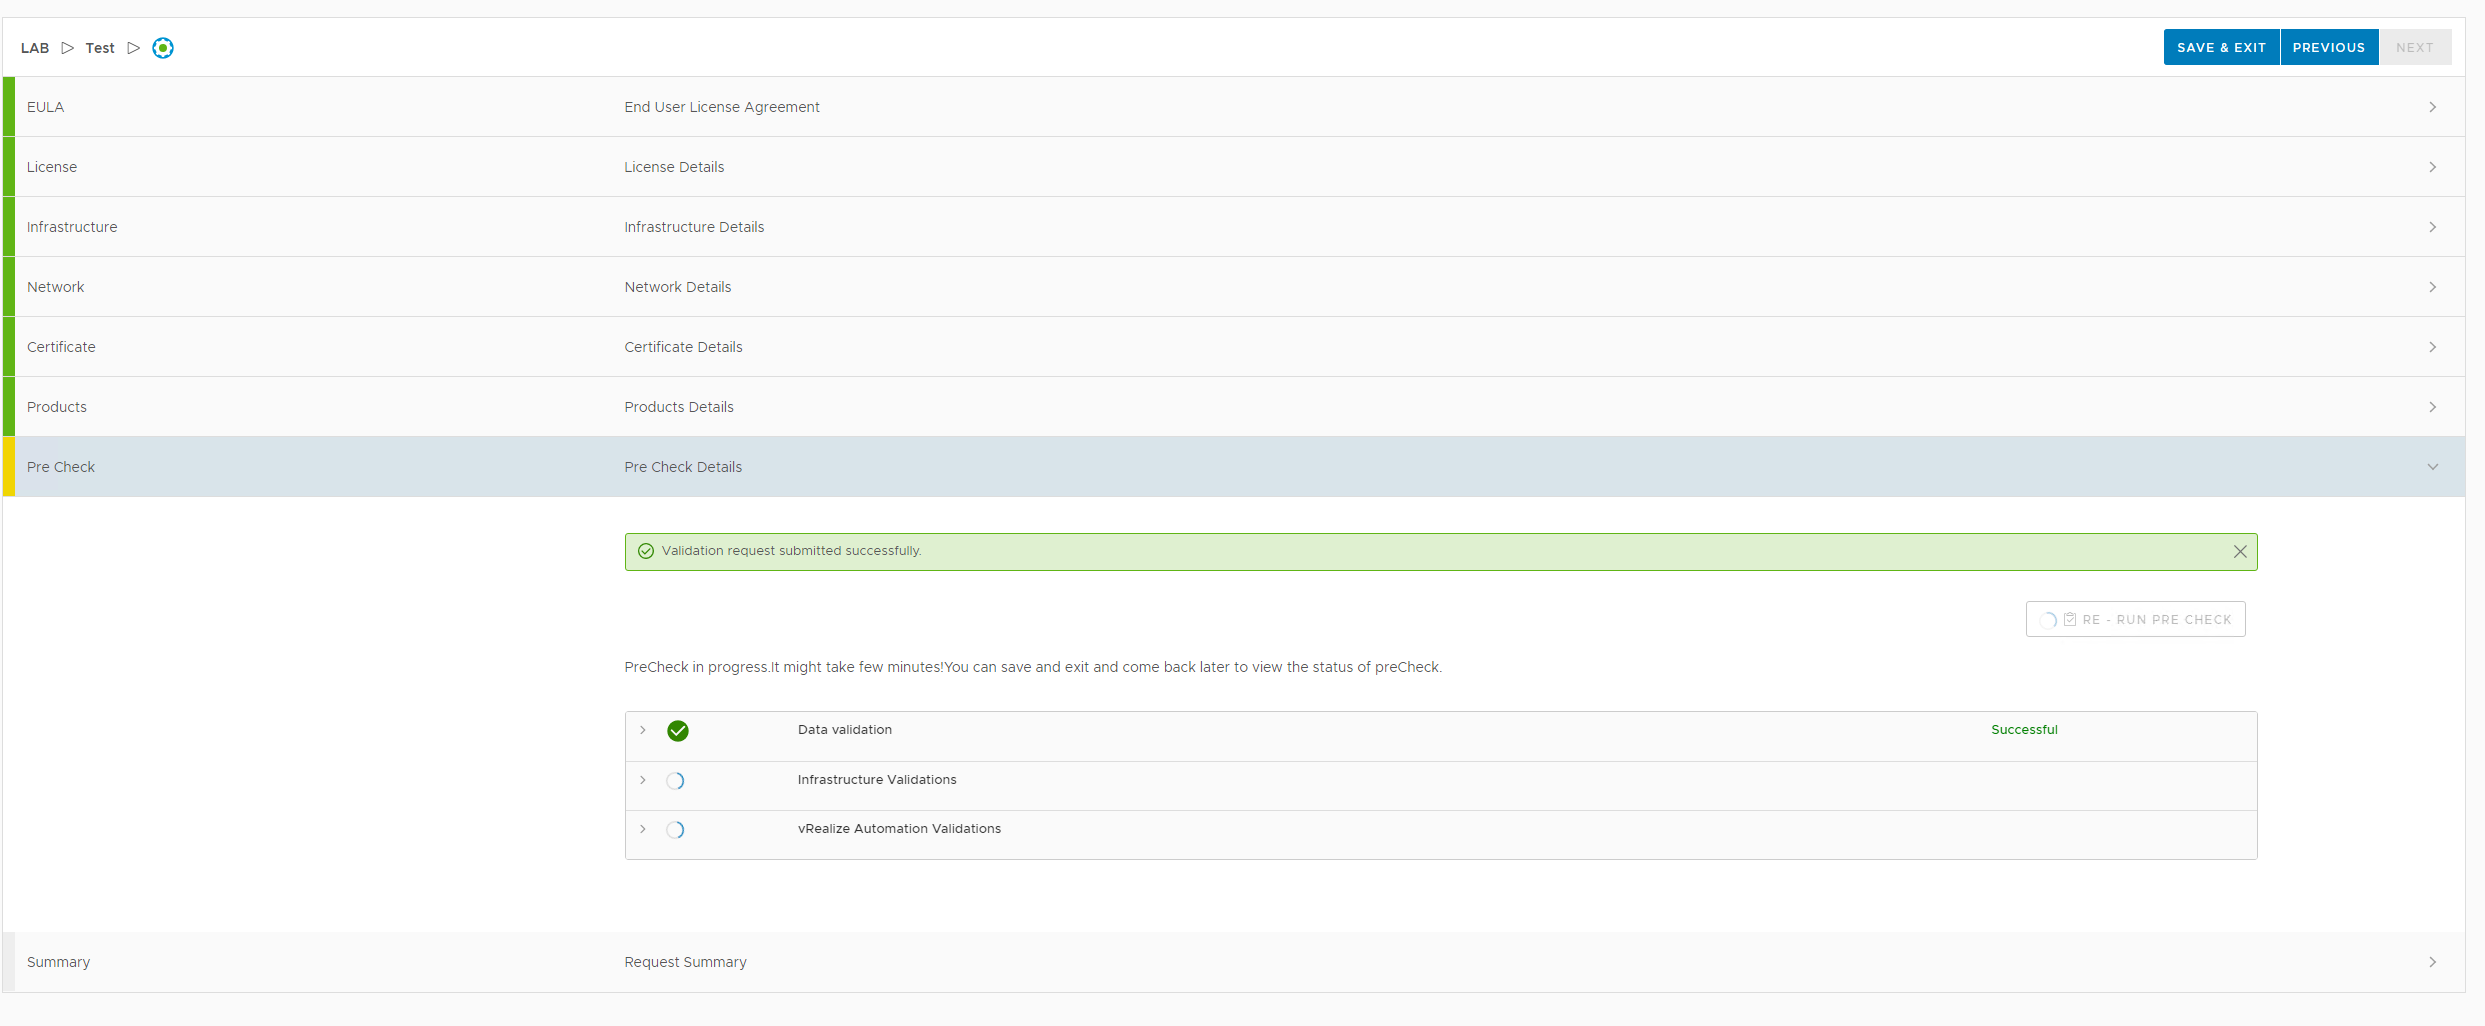
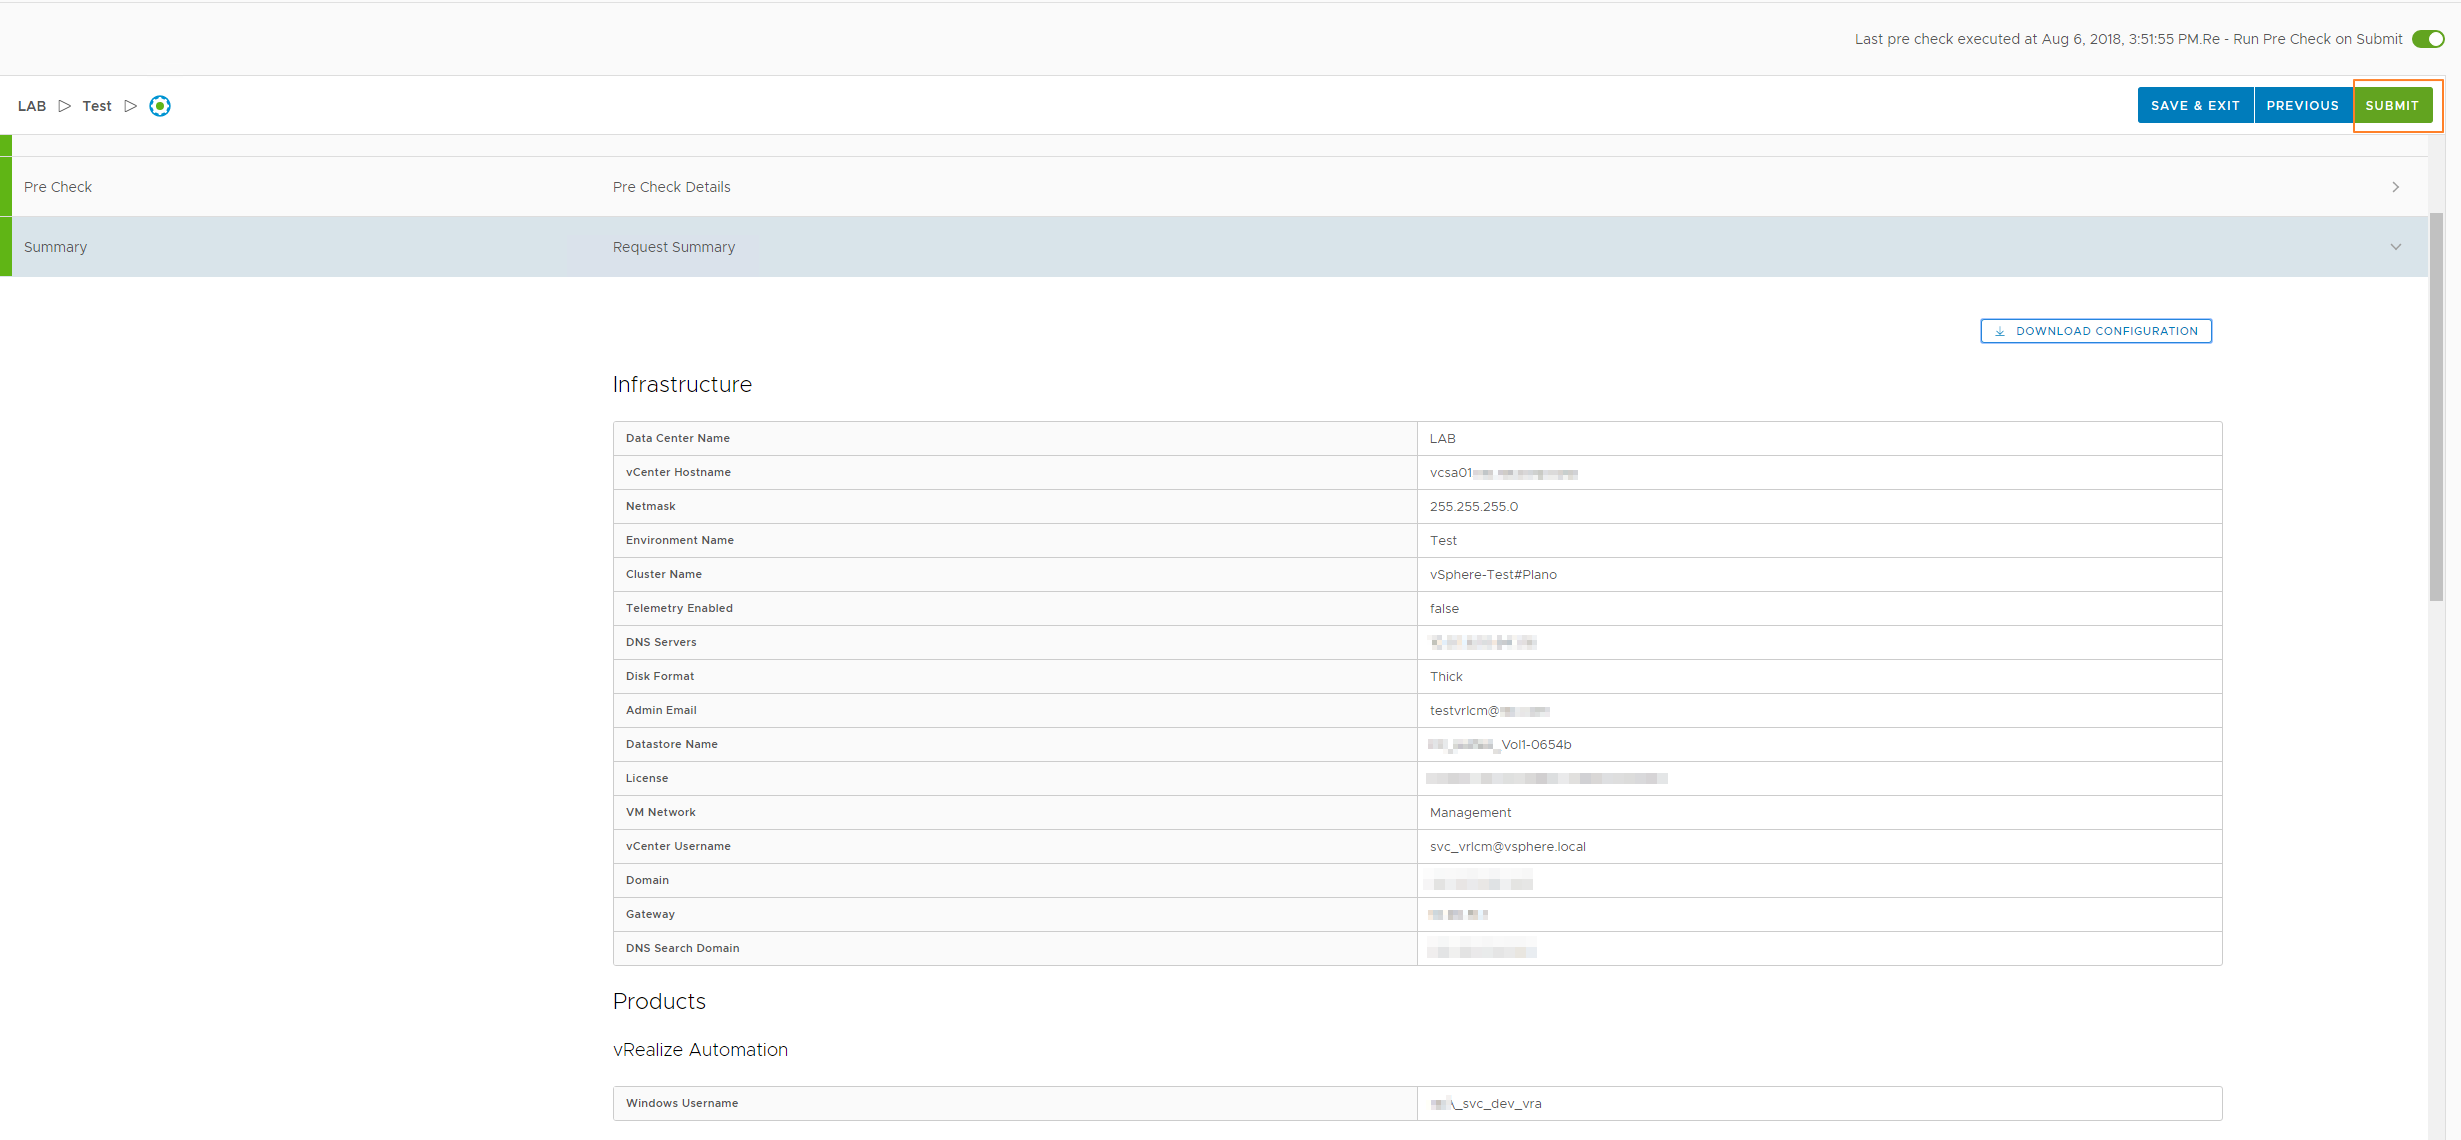
Click on RUN PRE CHECK option to perform the pre-checks before it deploys the environment
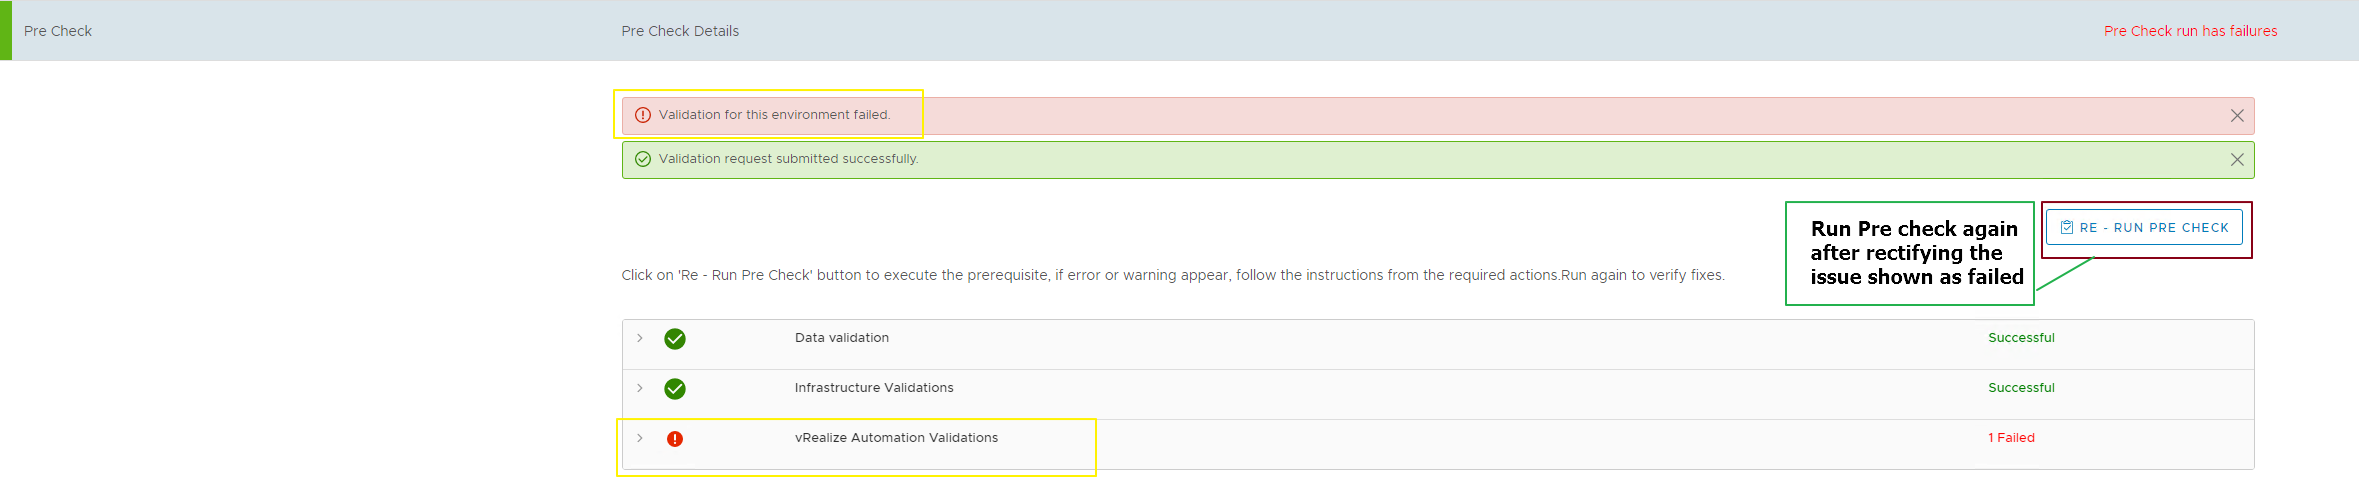
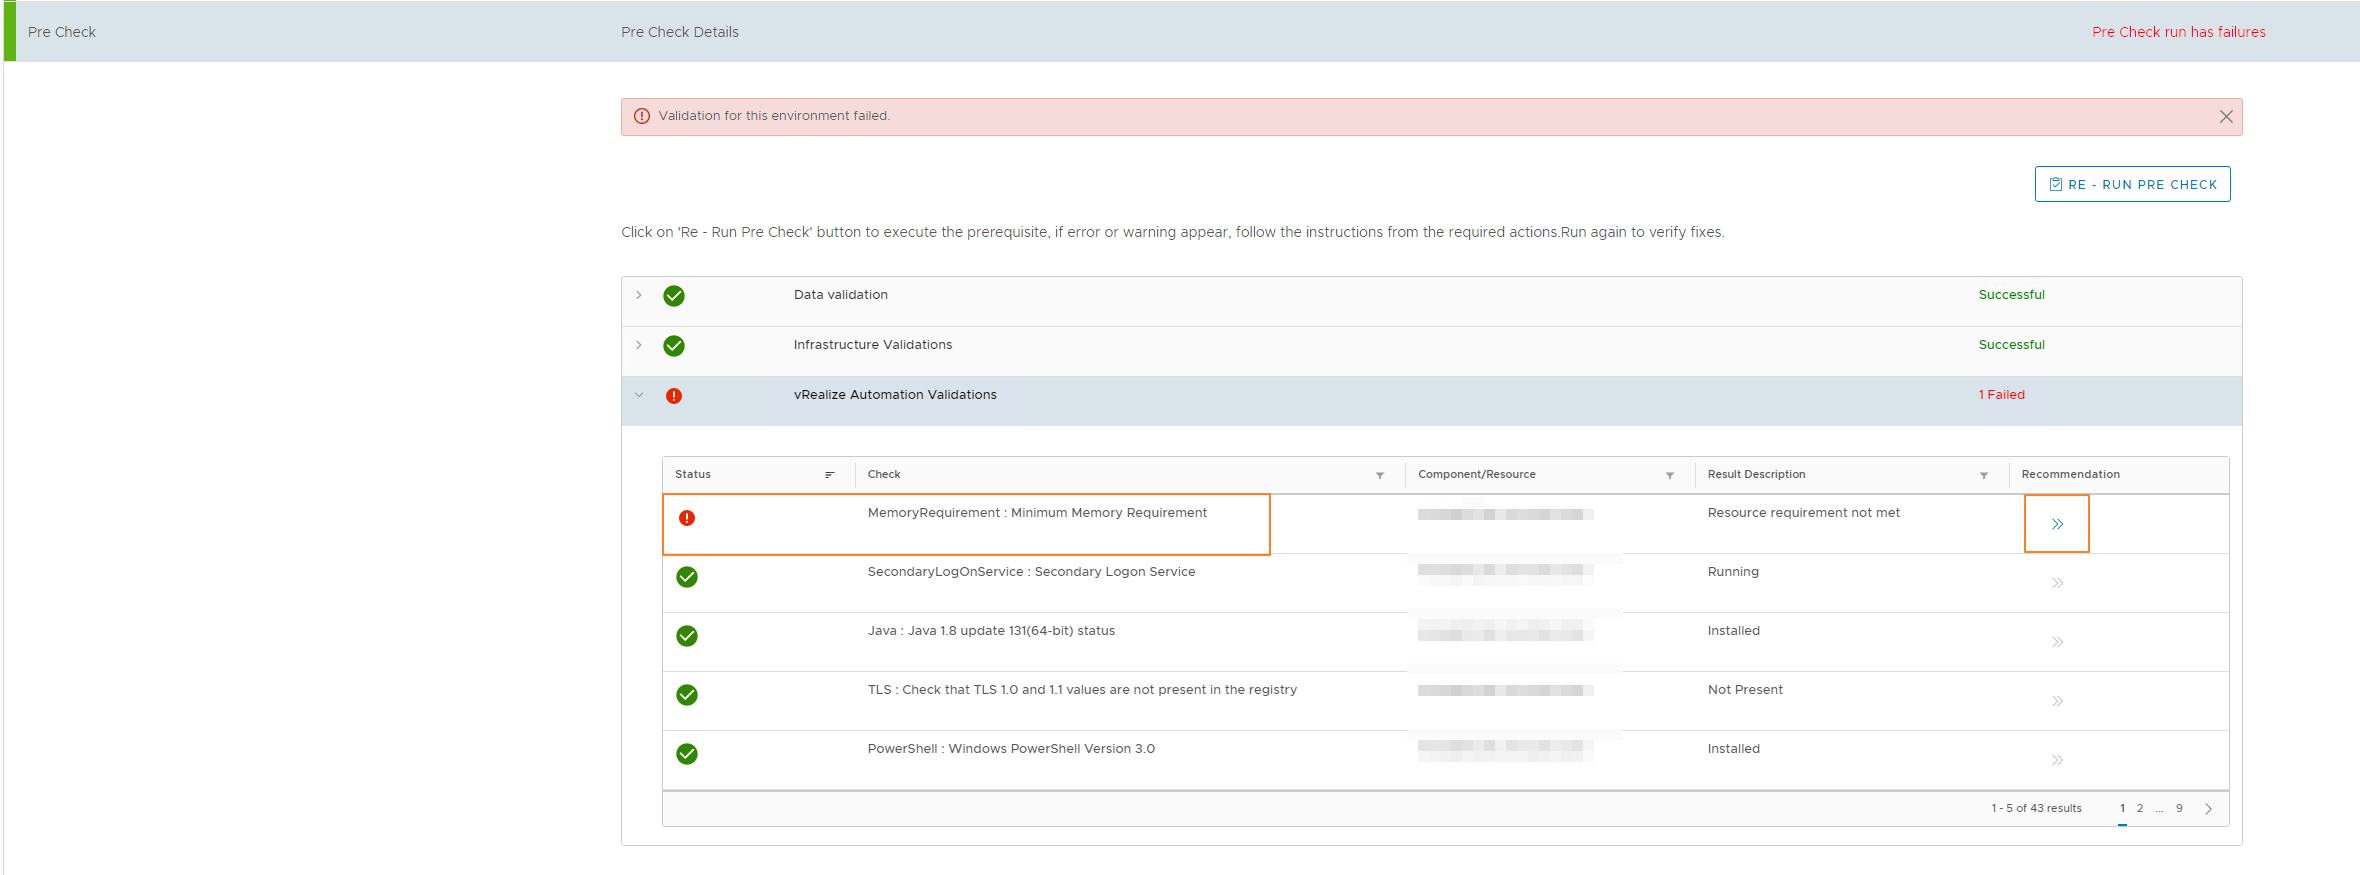
In this pre-check, you could get a validation failure which will need to be rectified before you run the pre-check again. its like shown in the picture below
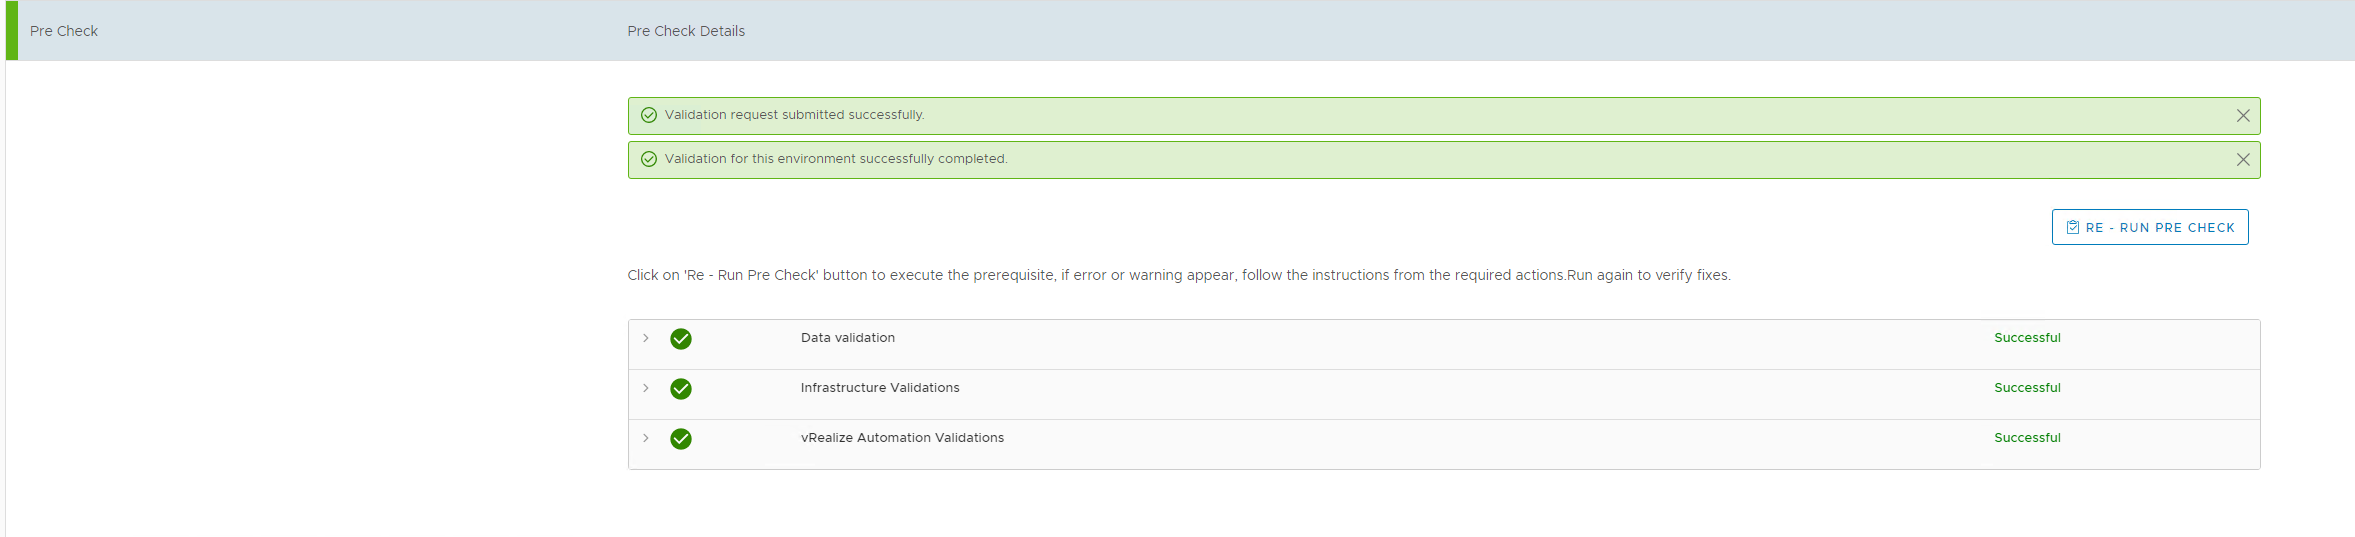
Once you rectify the issue, run the pre-check again
Once the pre-check comes back clean, click on Next to move ahead
Click Submit and the life cycle manager will do the rest.
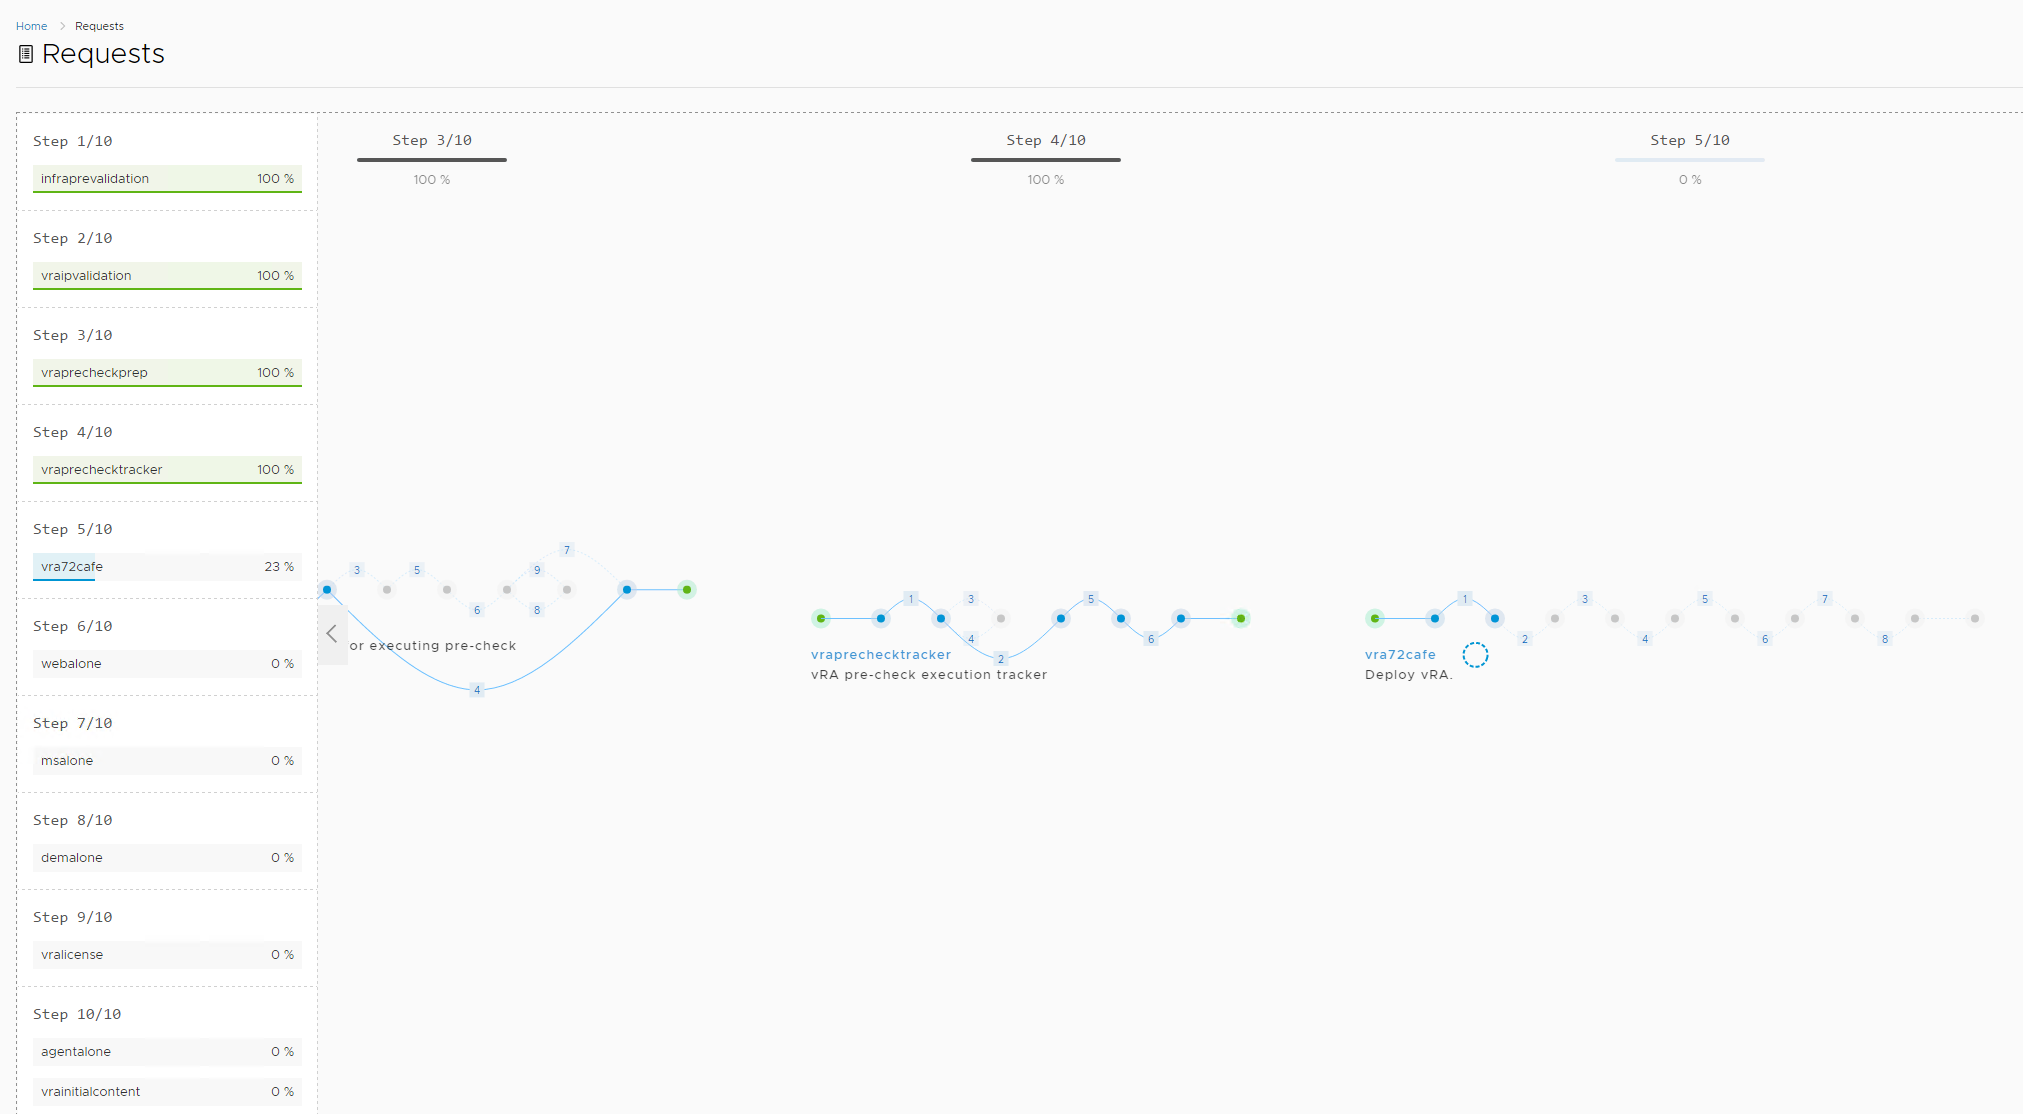
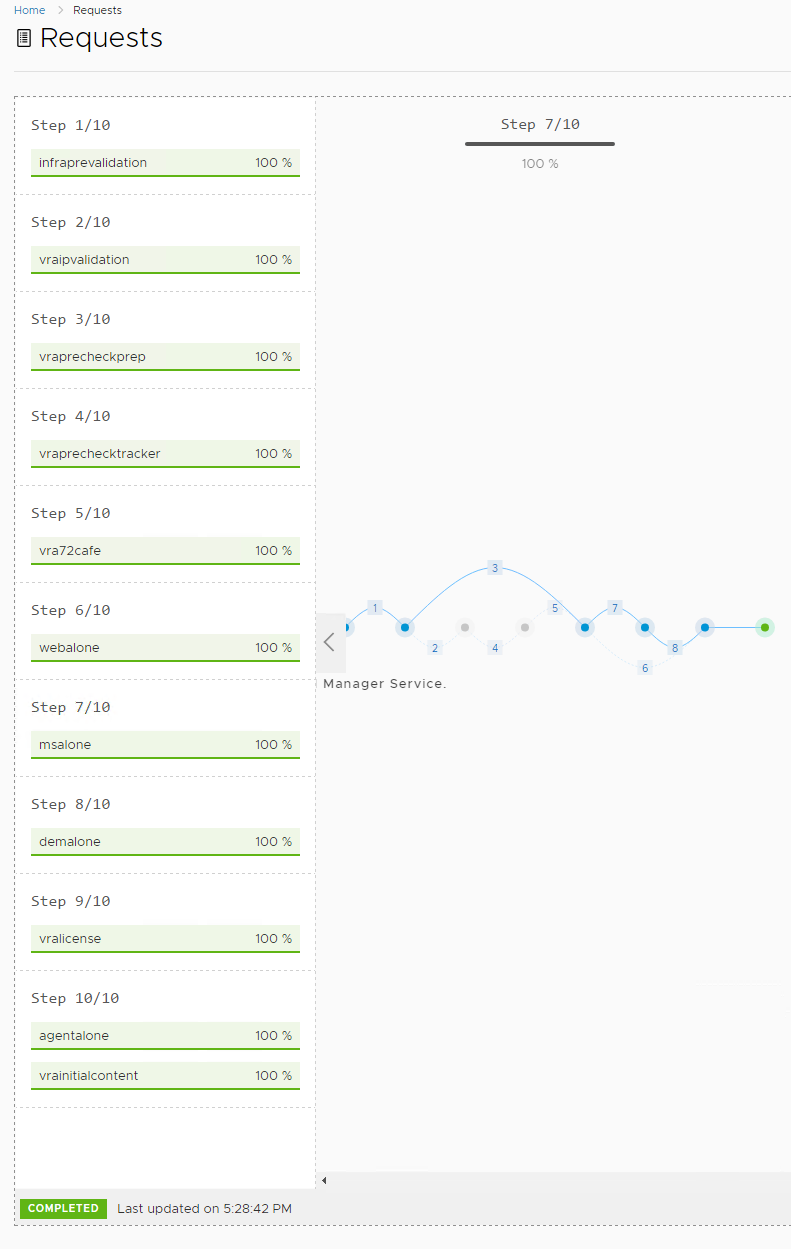
to check the progress, you can click on Requests icon on the left side of the page and clicking on in progress as the pic below
This process will take a long time … go, get some tea/coffee and it will still be deploying the environment …
This shows how to Install and configure vRealize Life Cycle Management and to create a vRA 7.4 environment.