Password Operation Failed to Change the SSO password on an external PSC in VCF 3.11

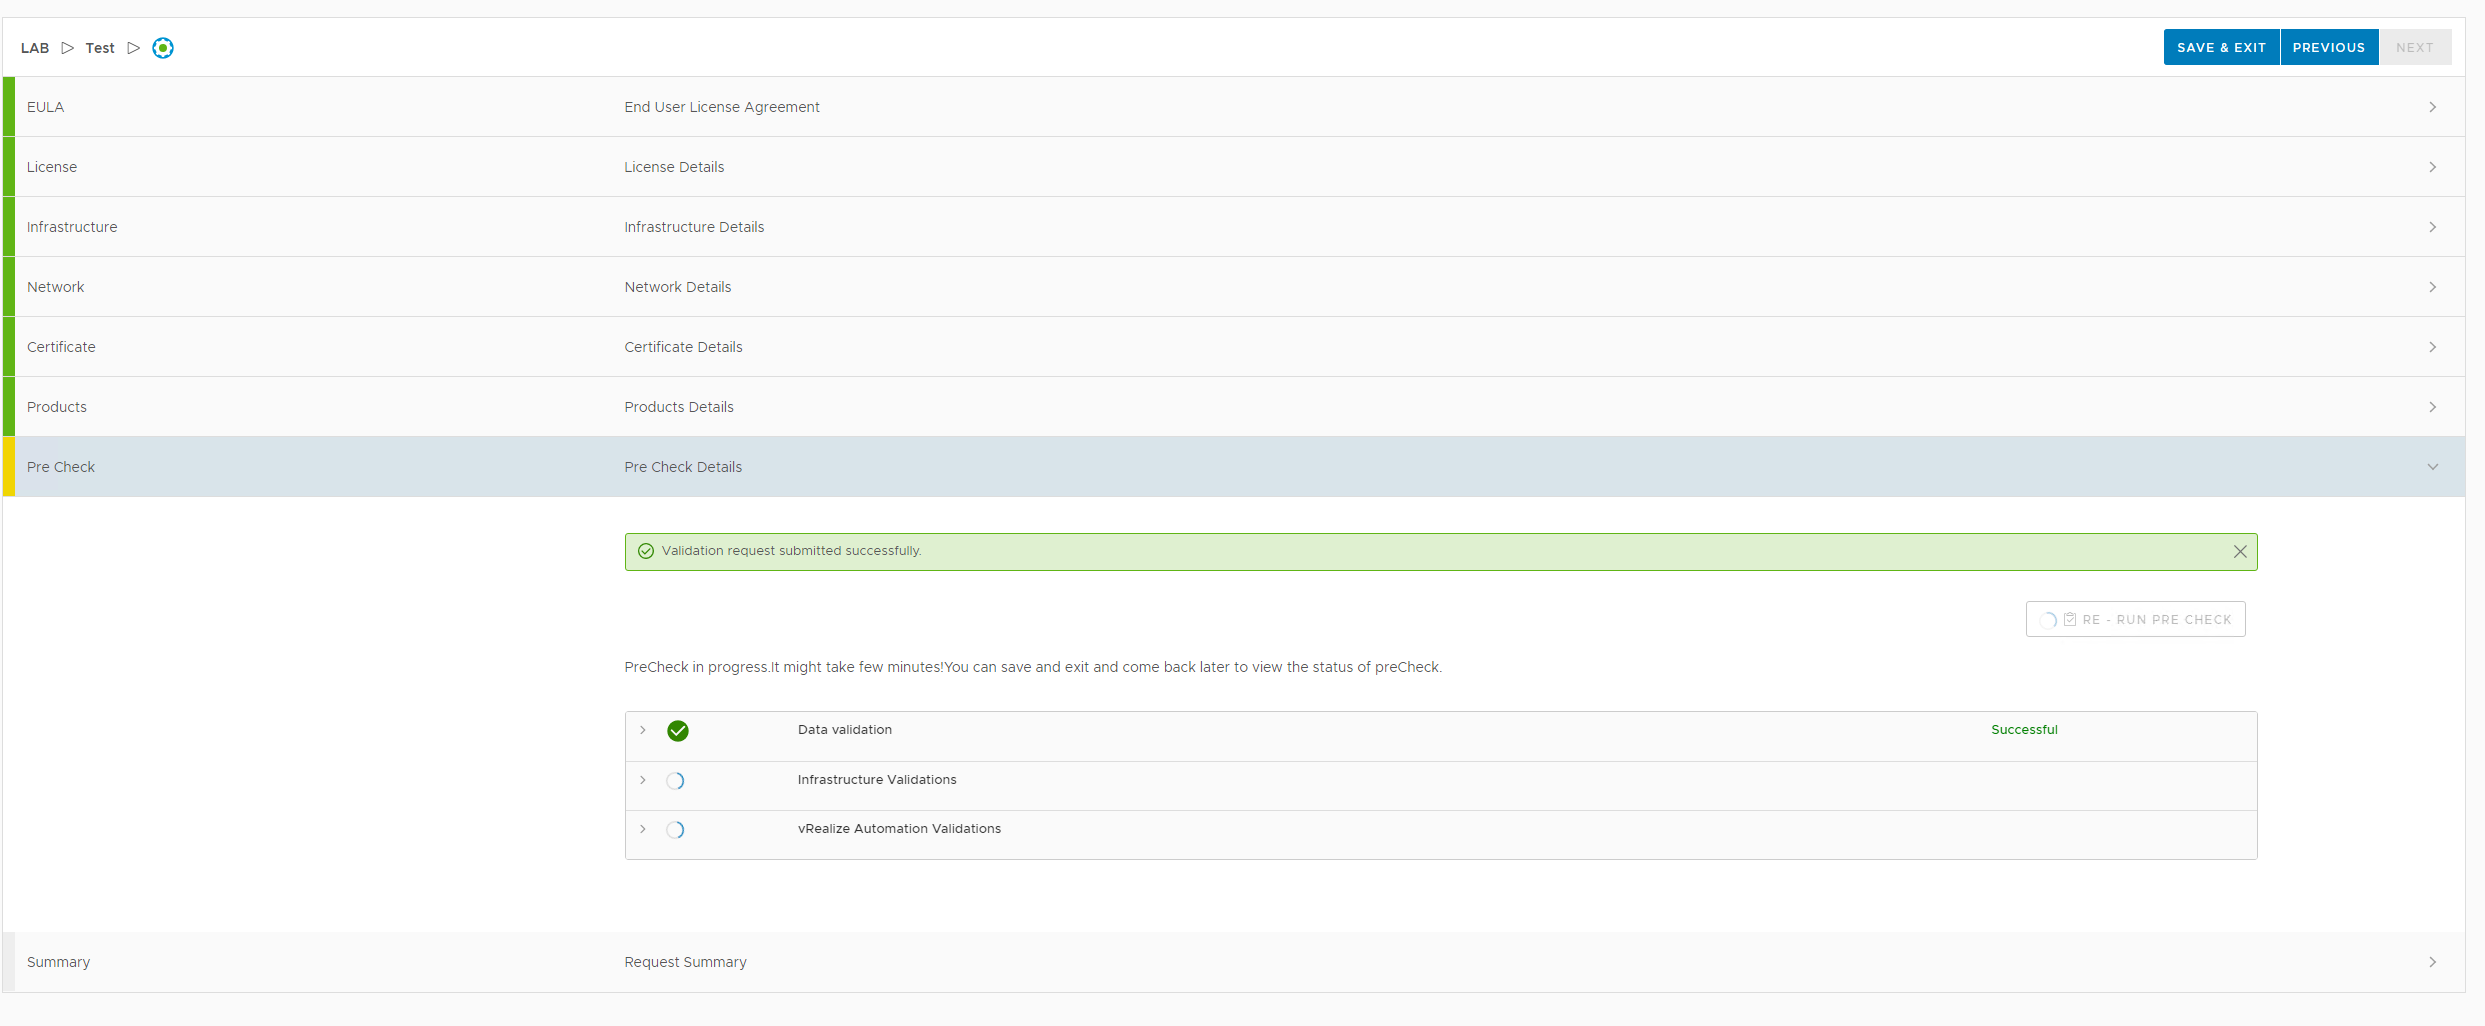
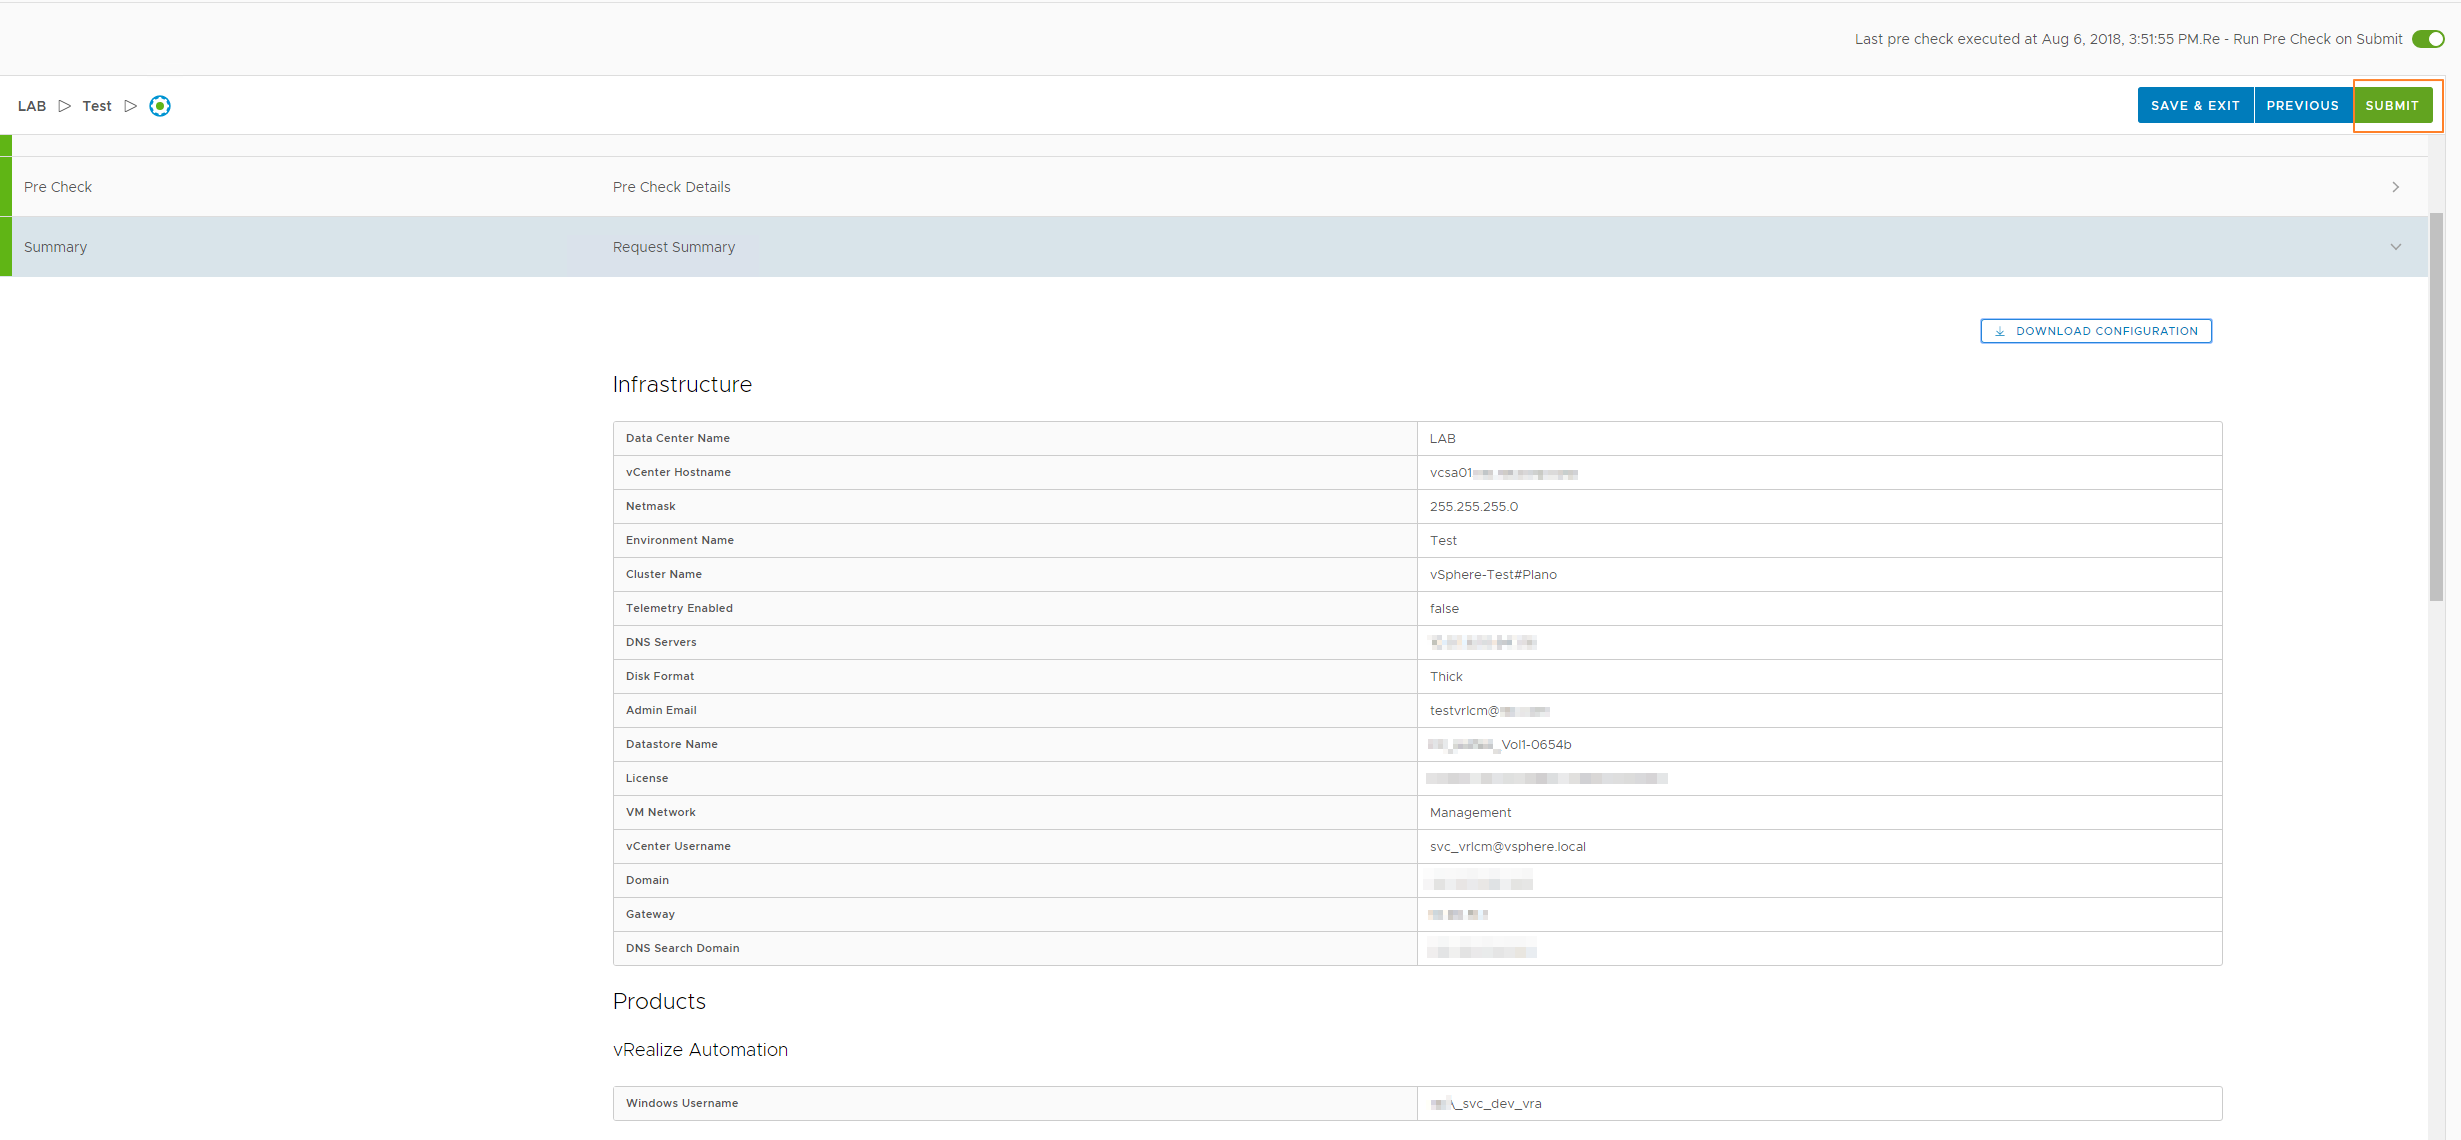
Recently I came across an issue trying to change the SSO account (administrator@vsphere.local) password from the SDDC Manager using the Rotate password option under Security in VCF 3.11

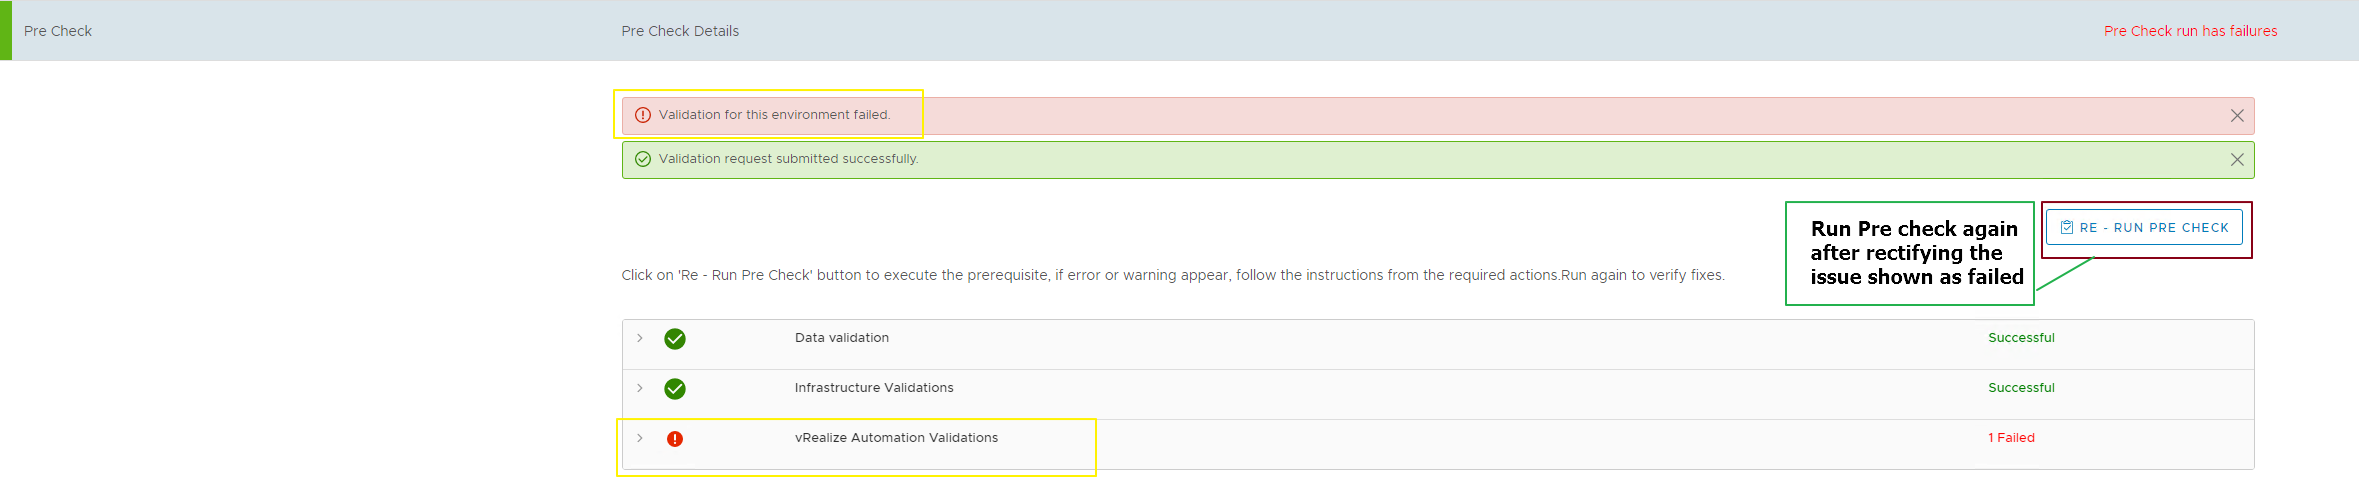
I tried to Rotate the SSO password using the SDDC Manager, and got the following error:

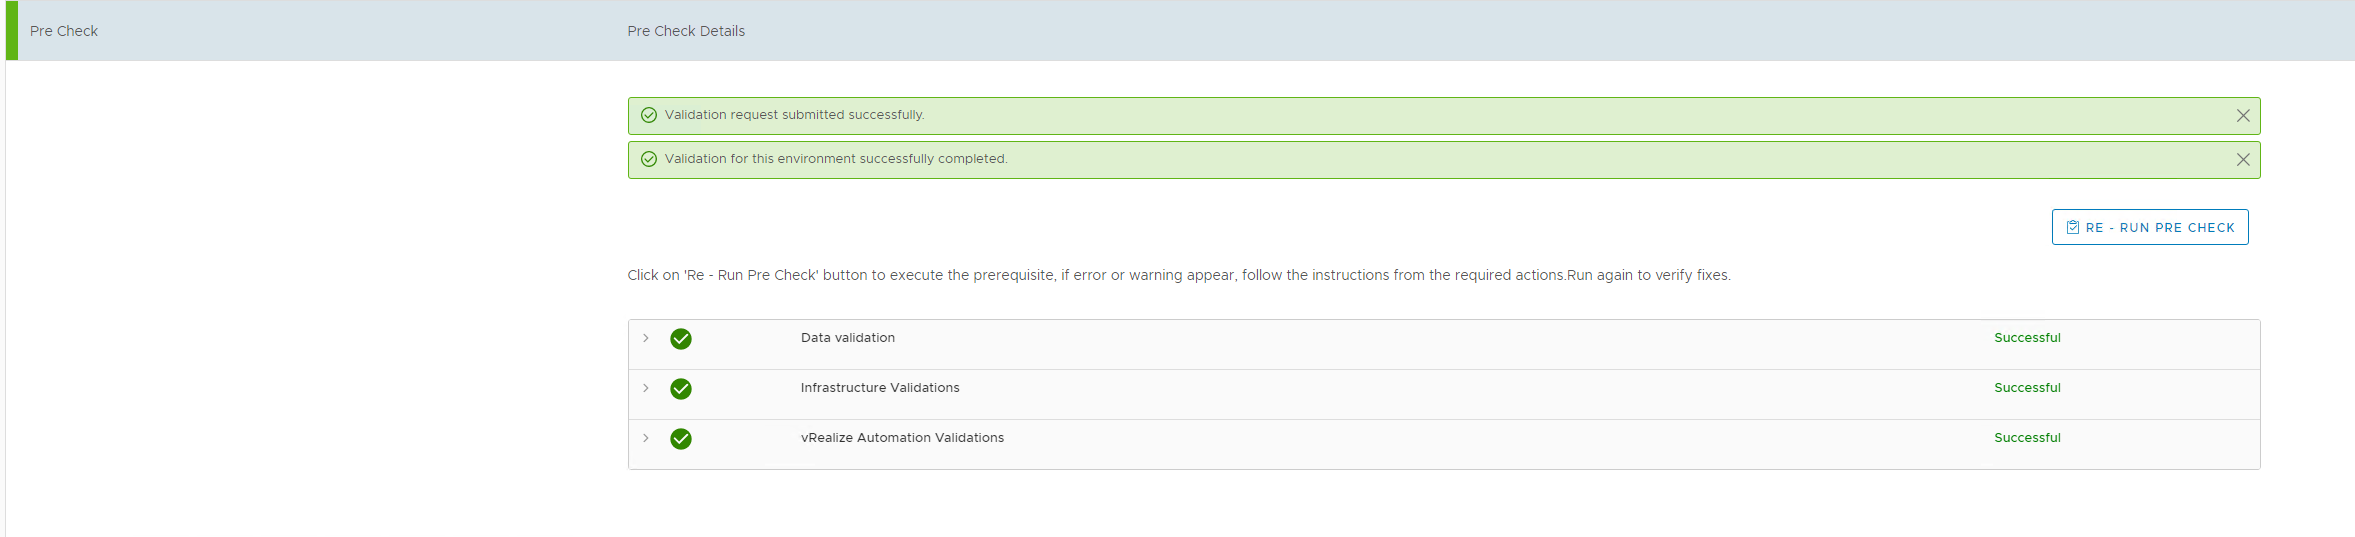
However, Interesting thing is the sddc manager did change the SSO password in the backend

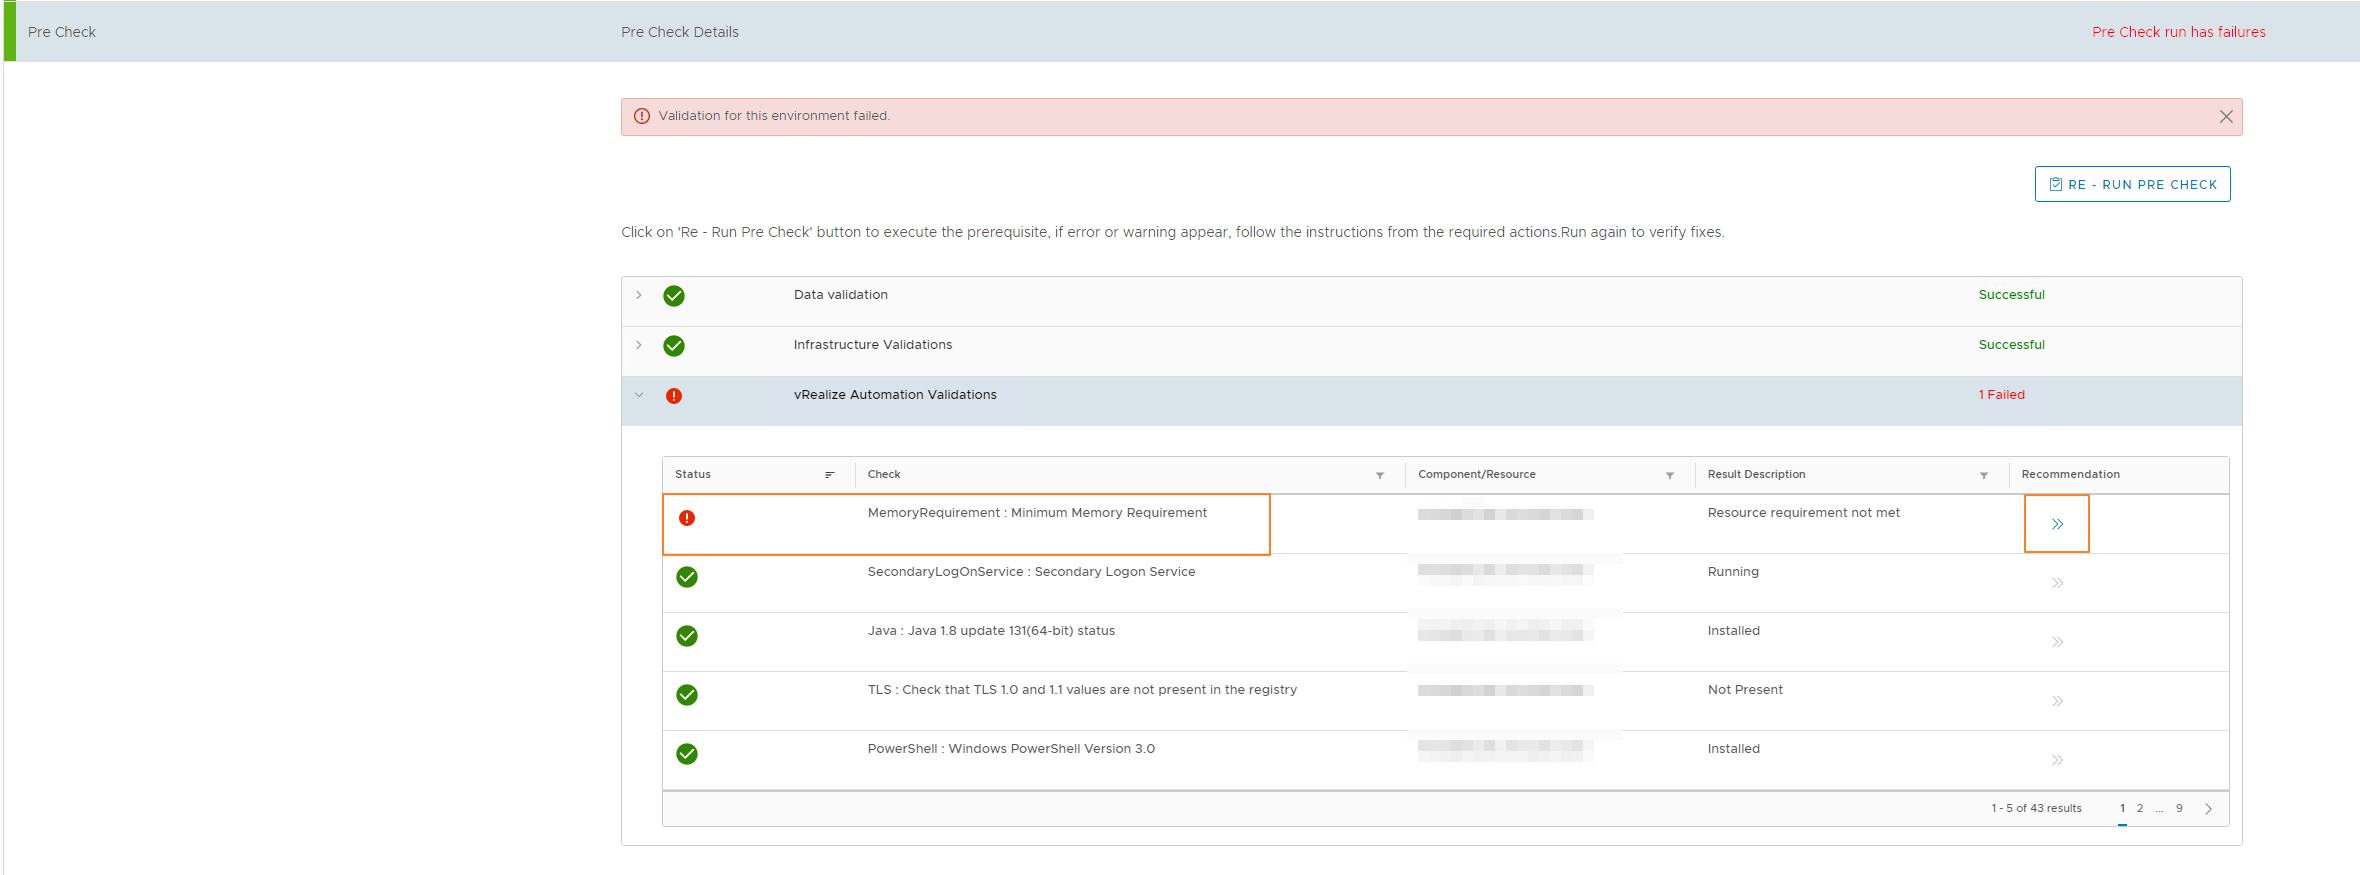
However, to check on this error, I dug a little deeper and saw the following error in the password rotate task:

I used the following command to check the operationsmanager.log to check the log in SDDC Manager

less /var/log/vmware/vcf/operationsmanager/operationsmanager.log

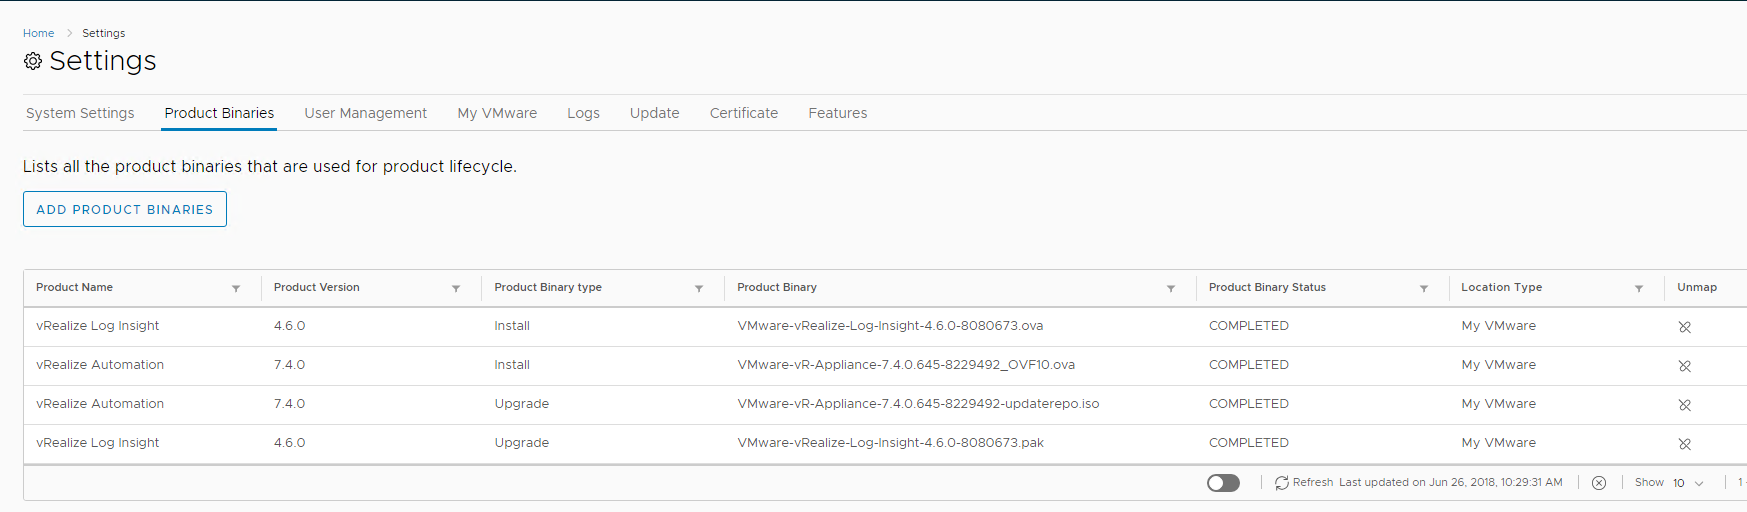
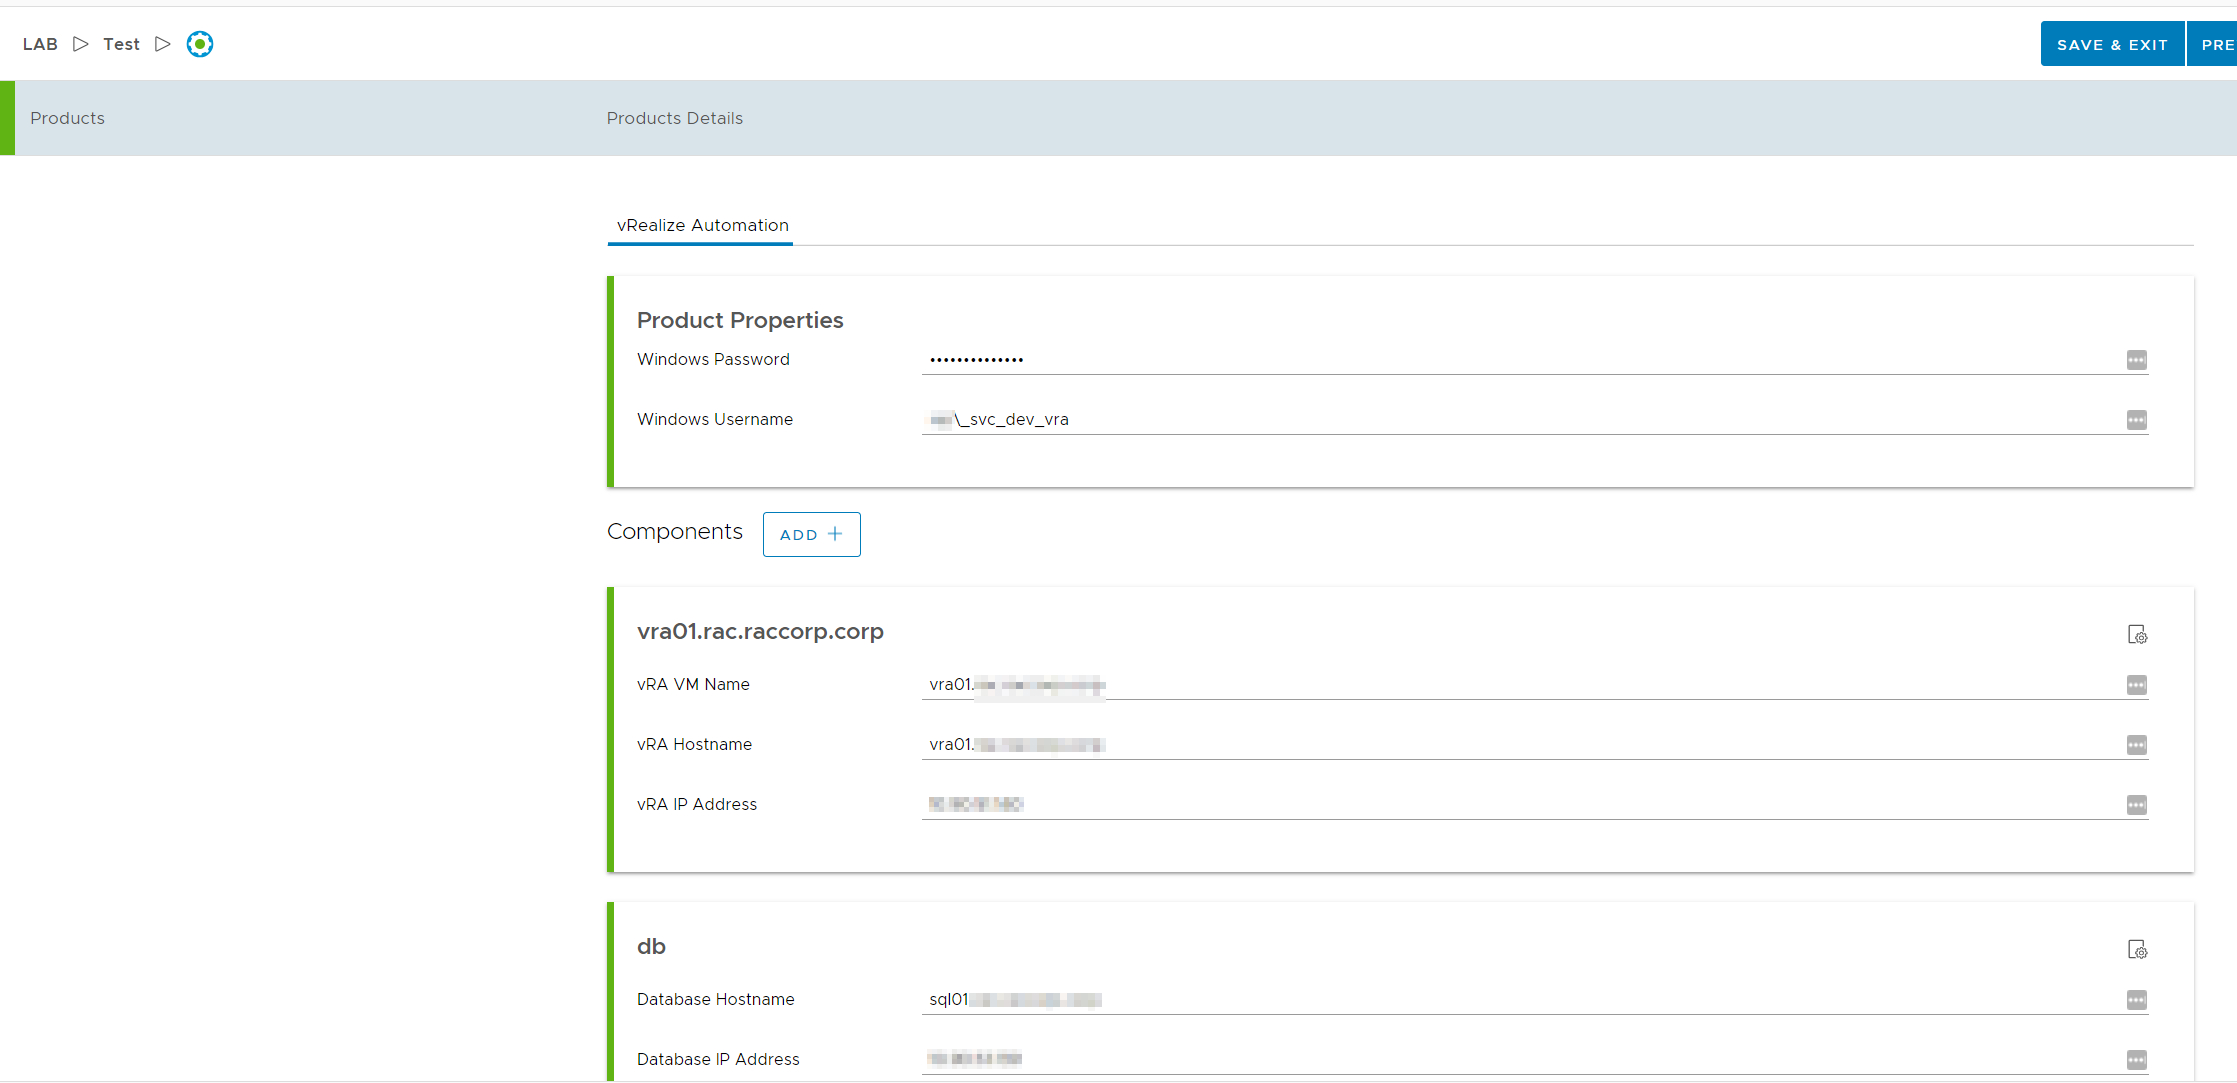
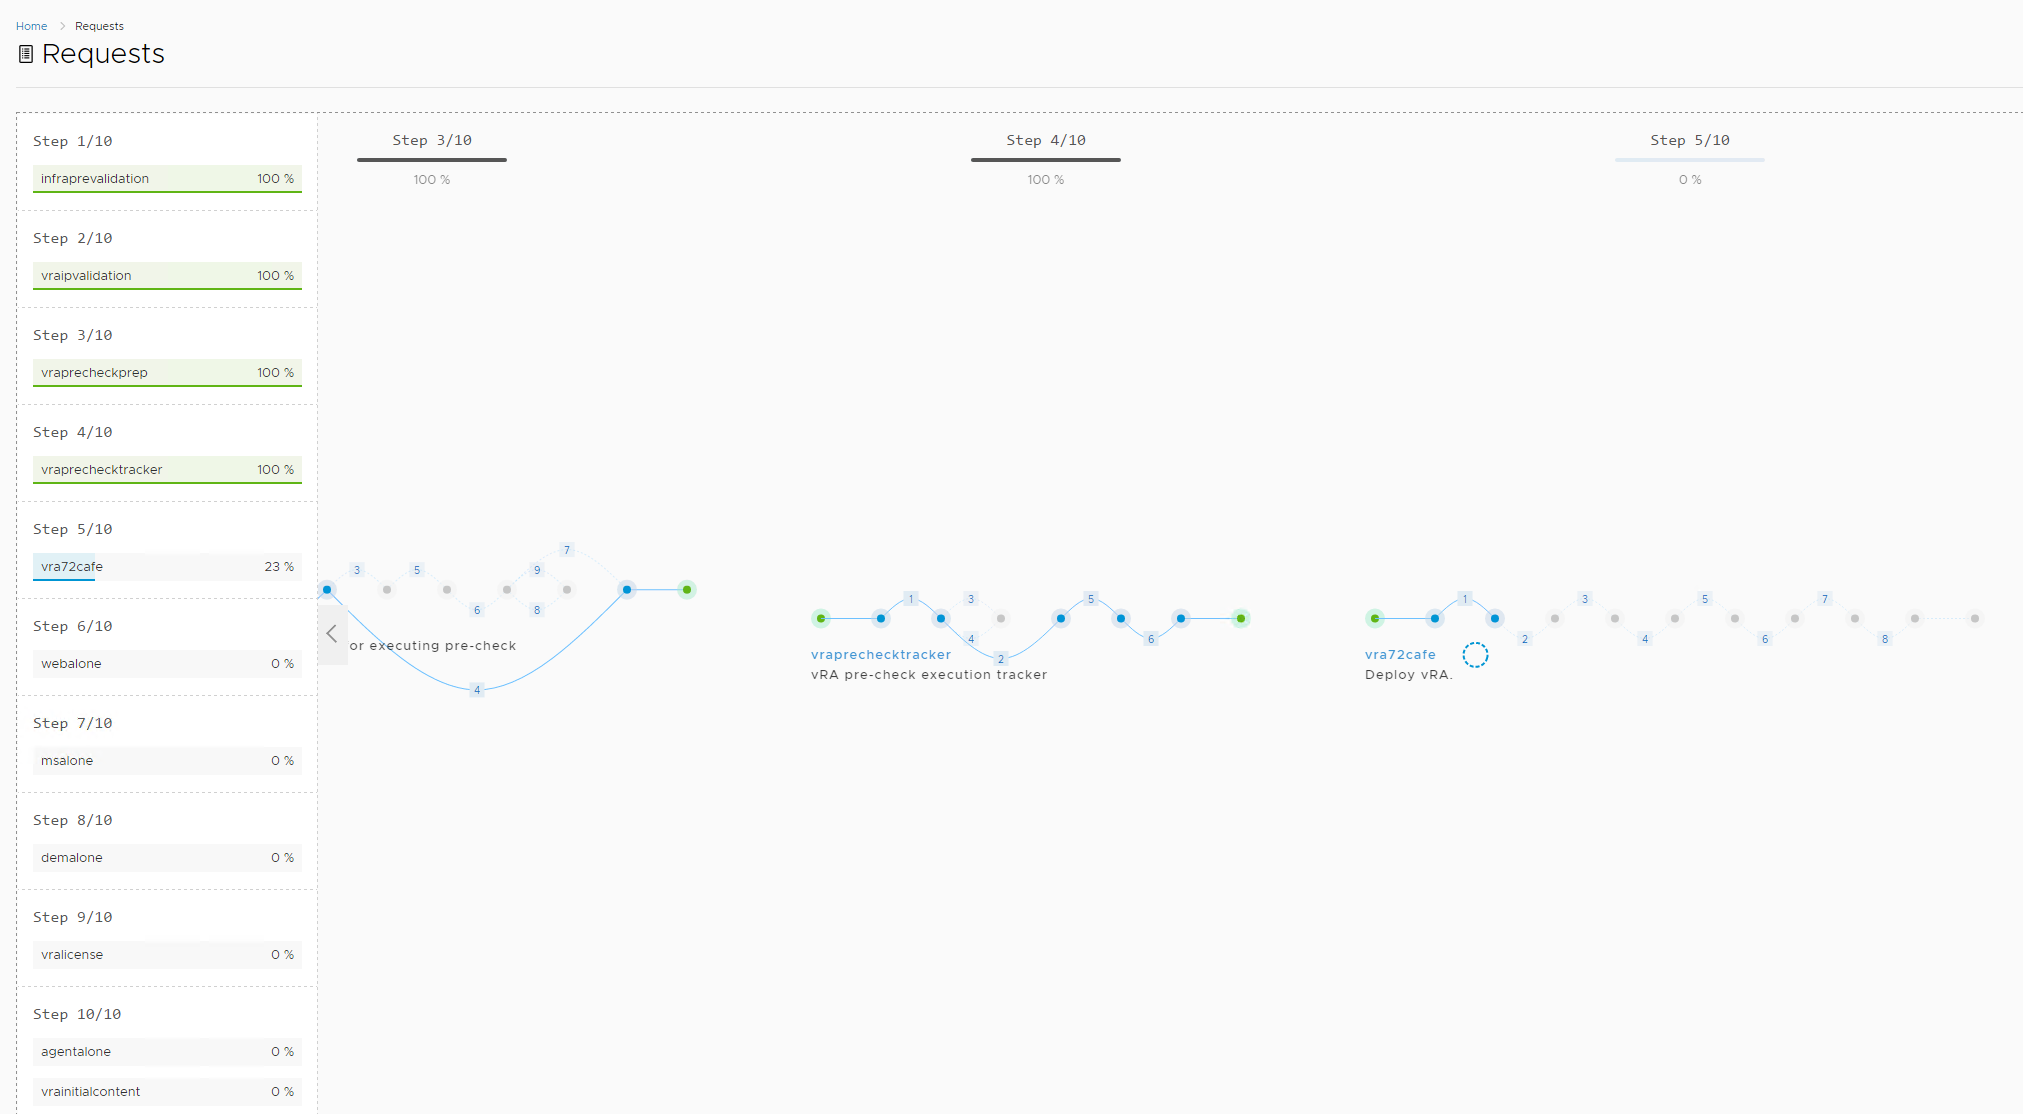
The log also shows that the sddc manager is trying to change the sso credential (administrator@vsphere.local) on VRA endpoints

I had to open a VMware Support ticket and here is the answer I received:

“As per the Engineering team this issue is due to a misconfiguration of vRA endpoints. SDDC Manager is trying to change the administrator@vsphere.local on the VRA endpoints but VRA endpoints are configured with a different user (vcf-secured-user@vsphere.local).  This issue is addressed in VCF 4.x”

What the VMware Engineering team is saying is that in VCF 3.10.x, 3.11 there is an issue with VRA as it is typically configured using a different tenant admin instead of using administrator@vsphere.local user to configure the endpoints in it. However, the SDDC manager is trying to change the administrator@vsphere.local credential on VRA endpoints. Hence this issue. Looks like this issue has been fixed in VCF 4.x

This resolves the issue at this time as we will be working to upgrade our VCF to 4.x soon.

VRA Agent Status Down in VRA 7.6, LDAPS Certificate Issue

Recently came across an issue in our Production environment that VRA Agent status was showing as Down in one of our Sites.

The screenshot is shown as below:

This screenshot has 2 clusters

On investigating, we checked the vSphereAgent.log file which is present on the server where this VRA agent was installed and configured. (In our case it was one one of the IWS (IAAS Web Server) Node)

The location of this log file is at C:\Program Files (x86)\VMware\vCAC\Agents\<VRA_Agent_Name>\logs\

In this log, you can find multiple lines with an error:

This exception was caught:
System.Web.Services.Protocols.SoapException: vCenter Error: Cannot complete login due to an incorrect user name or password.

if this is the case, check the LDAPS Certificate to your Domain Controllers of the domain you have added on the vCenter server Web UI.

Even though it doesn’t show you the certificate expiry in this UI, you can check the certificate status by logging into vcenter SSH and executing the following command:

openssl s_client -connect adds01.corp.test.local:636 -showcerts

Replace the Domain Controller hostname with your domain controller hostname after the -connect in the above command to get the valid cert from the domain controller.

In our case, we found that the cert on the domain controller has been recently renewed and we had to input the new cert to the Identity Source in the vcenter web UI.

Once the new cert is installed, you can login into your VRA Default Tenant (VRA 7.6), go to Infrastructure -> Endpoints -> Endpoints and go to your vcenter and click on edit and then re-validate the service account password (Test the connection) and once it is successful, the VRA Agent will come back UP.

Testing the connection to the vcenter using the service account which is already added and the test is successful.

Hope this article helps you if you see your VRA agents as down and can’t find anything else missing or even restarting the vra agent service doesn’t change the status.

VRA Proxy Agent Down and Inventory Data Collection stuck ‘in progress’ – VRA 7.6

Recently we had an issue where in one of our Sites (We have multiple sites in VCF), the VRA Proxy Agent was showing as Down and restarting the services (VRA Agent) on the ims (Infrastructure Manager Service) did not bring the agent up.

Here is the process to check if the ims load balancer address is entered in the VRMAgent.exe.config file on the ims server.

Issue: In our case, the VRM Agent was installed on the active Infrastructure Manager Service server (ims01a), However, the vrm agent config only had this entry instead of the load balancer entry (imslb) in its configuration. So, when the ims01a became passive and node ims01b became active node, this broke the VRM agent and the agent status became down.

Solution: Edit the vrmagent.config file and update the lines 83 and 104 pointing this file to the ims load balancer hostname so that when the ims servers change active-passive state, the VRM agent will not go down.

Before we continue, stop the service “VMware vCloud Automation Center Agent – agent_name” (Here in my example the agent name is dc2)

Pictures of the issue are below:

VRM Agent status showing as Down
Data Collection status showing as in progress but not changing state to successful

Solution Screenshots are as below:

Location of the VRMAgent.exe.config file on the iws (Infrastructure Web Server) node
Line 83 where you will need to change the hostname to the ims loadbalancer. (In this screenshot, the load balancer hostname is https://dc1vraimslb.domain.local)
line 104 where you need to edit the endpoint address to be the load balancer hostname

Once these modifications are done in this config file, you save it and then start the service “VMware vCloud Automation Center Agent – dc2 (where dc2 is the agent name configured when the agent was installed on this server)

Disclaimer: As this Environment is Property of my Company, The Original names have either been modified or pixelated for Privacy.

Once the agent service is started, you can go back to VRA and check the Agent Status and it will be up and the in progress data collection will actually complete in few minutes (For my environment it took atleast 15-20 minutes for the inventory to complete).

Hope this article helps if you face the same issue in VRA 7.6!

NSX Plugin 1.2 in VRA 7.6 Not Generating NSX Security Groups in a Page (NOT SOLVED YET)

Recently, we have an ongoing issue where the NSX Plugin in VRO is not populating one page out of 4 pages and this is messing up our VRO Code to create and put Security Tags (NSX-V) on our VMs.

Below is a screenshot of the issue

This shows that the other pages have security groups in them but page-1 under one of the NSX Manager (NSX-V version 6.4.x) are not populated.

I have already deleted and re-installed the NSX-V Plugin using the VRO Control Center to no resolution.

The issue is not resolved yet and I will update this post with the resolution soon.

How to Unregister a VM which is missing in VRA 7.6

Recently I had to get rid of multiple vms through VRA, However, I found that some of the vms status was showing as missing. This happens if the VM has already been deleted through the vCenter and VRA can’t find that VM in the vCenter.

The way you can see the missing status is you go to the deployments tab, check the Status if its ON, OFF or Missing (?) as the screenshot shows below:

The missing status is displayed next to the VM Name

Some of the info in the screenshot has been removed to protect my Organization Data and the VM Names have also been changed for the same purpose.

In VRA 7.6, you can unregister it easily using the GUI, You click on the Deployment Name

Then click on the VM Name itself (in this case its DC1Test001), then click on the small gear icon and then click on the option “Unregister” in the drop down menu as in the screenshot below:
The unregister option will remove this VM from the VRA internal DB so that it doesn’t show up in VRA.

Hope this post helps, as I was not able to see any blog posts regarding this simple unregister procedure in VRA 7.6

VRA 7.6 with VCF 3.10.x SDDC Manager AD Error

I have recently come across an issue in our new VCF 3.10.x build that when we try to deploy the VRA using SDDC Manager, we get an error that the AD Account we have provided can’t validate with the Domain.

The warning is as shown in the picture below:

Note That I had to change a few details and also blur some details from my environment due to privacy reasons.

The Error basically states that VRA is not able to communicate to my domain lab.com with the service account lab\svc_vra_adm because it is trying to contact test.lab.com instead of lab.com Domain

test.lab.com is a DNS Zone in our actual root Domain lab.com and all our VRA Appliances have the host records added to test.lab.com instead of the root domain.

After multiple tries and VMware support, we got to know that VRA (7.x and 8.x) doesn’t support explicit identification of the Active Directory domain name. The kb article which mentions this issue is

https://kb.vmware.com/s/article/59128

The Solution is to make sure that the host records of your VRA is the same as your ‘ActualDomain, in this case lab.com and then retry the validation using the SDDC Manager with the same service account lab\svc_vra_adm

This time, the validation should pass.

Install & Configure VRLCM 2.1 Part-2

Next, We Create a New Environment and then create an New VRA environment using vRLCM

Go to Home and Click on Create Environment to get started

Click on Create Environment
The Default password is used for all the products being deployed using this instance
In this case, we selected the vRA deployment with deployment type as Small for the lab

Agree to the EULA, click Next

Enter the License

Select the NTP Servers and then click Next
Input all the Network Details and click Next

Select the Certificate which we have generated before and click Next

This is where things have gotten tricky in this version as we have multiple options to define the VRA environment including the windows template to create new vms themseleves.

let us go step by step process

Under Product Properties, provide the windows server username and password which you want to access after the box has been provisioned using the windows template.

Scroll down for further options

In the above configuration, We have only 3 VMs being deployed in VRA Simple Configuration.

  • VRA Primary Appliance
  • VRA DB server (Database server)
  • VRA IAAS web server (this contains iaas-web server, iaas manager, iaas DEM Worker and proxy-agent-vsphere )

Once all the Product details of VRA are put in, we will proceed to the precheck phase.

Click on RUN PRECHECK option to continue

Next, we click on Validate & Deploy option to deploy the vms

Make sure you disable UAC in the windows template and then click on Validate & Deploy option to continue.

The Validation process will start
Looks like my test failed with 2 Items, which I will be rectifying before trying to Validate again before Deployment

NOTE: The re-validation took more than 30 mins in my lab to complete. Not sure why it took a lot of time, but I suggest you all to be patient during this process as there is no way to speed it up.

The validation is successful and now we can go ahead and run the PRECHECK to continue

NOTE that at this point, I haven’t installed SQL Software on the SQL Server, but VRSLM has created an windows server for both the db and iaas install. I will have to install SQL Server on the db windows VM and see how it goes.

This Post is pending and I will be updating it soon once I have some clarification on if I need to install and configure the SQL software in the vRA SQL server windows machine or will the scripts do it if I provide the SQL ISO file. Stay Tuned …….

Issue with AD Sync in vRA 7.3.1 and 7.4

I have recently come across an issue in our vRA 7.3.1 environment where the AD sync started failing all of a sudden.

The error message looks as in the screenshot below:

AD Sync Error

This error basically means that vRA is not able to communicate with the Active Directory (Lets say my Domain is dallas.com and my vRA appliance hostname is dc1-vcf-vra-01.dallas.com) to update the AD groups and Users for authentication.

The error also means that the vRA is complaining that the connector hostname (in this case it is dc1-vcf-vra-01) doesn’t match the Common Name (CN) in the certificate which is the FQDN (dc1-vcf-vra-01.dallas.com).

Opened a ticket with VMware support and here are the troubleshooting steps recommended so far by them:

1.	     /usr/java/jre-vmware/bin/keytool -v -list -keystore /opt/vmware/horizon/workspace/conf/tcserver.keystore 
                 Check the The Common Name  in the self signed cert. It will be set to node hostname.
2.	     mkdir /root/tmp-bkp
3.	     mv /usr/local/horizon/conf/flags/fips* /root/tmp-bkp		( No file named fips or starting with fips in the flags directory as FIPS is not enabled in our environment)
4.	     /usr/local/horizon/scripts/secure/wizardssl.hzn
                 Install Self Signed Cert and update the keystore
5.	     mv /root/tmp-bkp/fips* /usr/local/horizon/conf/flags		(had to skip it as I was not able to execute the above fips* command)
6.	     service horizon-workspace restart

Will update this post with more steps once VMware support comes back to resolve this issue.

UPDATE

VMware support confirmed that the Common Name (CN) in the self signed Certificate has the FQDN and to follow the steps in the KB article https://kb.vmware.com/s/article/2145268 to check the postgres database for the connector and there we found the issue and rectified it.

From the KB 2145268, I followed the below steps:

Log in to each appliance and type hostname.
If the hostname is shortname and not FQDN, update it from VAMI.

Ensure that the following tables display all the appliances with the FQDN.
Connect to the database by running this command:

su - postgres /opt/vmware/vpostgres/current/bin/psql vcac

Set schema as SaaS by running this command:

set schema 'saas';

Verify the appliances hostnames in the ServiceInstance table by running this command:

select * from "ServiceInstance";

If the hostnames in the table are short, update the hostnames to FQDN by running this command:

update "ServiceInstance" set "hostName"='<new_hostname>' where "id"='<row_id>';

Verify the appliances hostnames in the Connector table by running this command:

select * from "Connector";

If the hostnames in the table are short, update the hostnames to FQDN by running this command:

update "Connector" set "host"='<new_hostname>' where "id"='<row_id>';

I had to substitute new_hostname as the FQDN of my vRA appliance (my case dc1-vcf-vra-01.dallas.com) and the row_id is the ID of the row in which the host name is displayed.

Once I made the modifications in the ‘ServiceInstance’ and ‘Connector’ and restarted the vRA appliance, my AD Sync started to Sync.

Install and Configure vRealize Suite Life Cycle Manager 1.2

This post details the installation and configuration of the vRealize Suite Life Cycle Manager 1.2 which was recently released by VMware to automatically provision vRA components as part of their Cloud initiative.

First, Download the Life Cycle Manager ova from the vRealize Suite 2017 components and deploy it using the vCenter web client

vRLCM_Installation01

vRLCM_Installation02

vRLCM_Installation03

vRLCM_Installation04

vRLCM_Installation05

vRLCM_Installation06
Select Enable Content Management option to enable content management.

vRLCM_Installation07

vRLCM_Installation08

vRLCM_Installation09
Provide the Hostname, default gateway, network IP address, subnet mask, DNS servers and the domain names in this window and click Next to finalize the deployment of the appliance.

vRLCM_Installation10
Click Finish to finalize the settings and to deploy the Life Cycle Manager Appliance

Once the vm has been deployed and powered ON, you will have to go to a web browser to configure the appliance.

https://IP_Address_of_the_Appliance/vrlcm

vRLCM_Configuration01

use the following credentials to login into the life cycle manager web UI

username: admin@localhost

password: vmware

vRLCM_Configuration02


vRLCM_Configuration03
The first thing you get after logging into the web UI is to update the root password

vRLCM_Configuration04

Click start to get started with the Life Cycle Manager

vRLCM_Configuration05

vRLCM_Configuration06

vRLCM_Configuration07

vRLCM_Configuration08

vRLCM_Configuration09
Once you click Next, it will say Done!

Now, we will create a New Environment in the lab

Click on Create Environment option to get started

Once you click on Create Environment option, you will be taken to a tab where it mentions that you will need to take care of a few things before you create the environment.

vRLCM_Configuration10.png

Let us take care of the Product Binaries first.

Click on Product Binaries option on the tab

vRLCM_Configuration11

vRLCM_Configuration14
I have used my VMware portal credentials to get the product binaries as I couldn’t get the local and NFS to work to get the product OVA’s.

Once you add the product binaries, let’s go and create a Certificate

vRLCM_Configuration12

vRLCM_Configuration13

Once these two pre-requisites are done, Let us move ahead …

On the main page, click on the Datacenters option on the left-hand side to create a Datacenter before we create the environment

vRLCM_Configuration15

vRLCM_Configuration16
Click on Add Data Center to provide a name for the Datacenter

vRLCM_Configuration17

Next, we add the vCenter server

vRLCM_Configuration18

vRLCM_Configuration19

vRLCM_Configuration20

Now, Let us go ahead and create an Environment

vRLCM_Configuration21

vRLCM_Configuration22

vRLCM_Configuration23
Accept the EULA Agreement by scrolling down, once you accept it, the NEXT button will appear

vRLCM_Configuration24

vRLCM_Configuration25

vRLCM_Configuration26

vRLCM_Configuration27

vRLCM_Configuration28
Provide all the required information. I have provided an existing SQL server and IAAS server, I have used 1 IAAS server for DEM Worker, Orchestrator, Proxy service

vRLCM_Configuration29
Click on RUN PRE CHECK option to perform the pre-checks before it deploys the environment

vRLCM_Configuration30

In this pre-check, you could get a validation failure which will need to be rectified before you run the pre-check again. its like shown in the picture below

vRLCM_Configuration31

vRLCM_Configuration32

Once you rectify the issue, run the pre-check again

vRLCM_Configuration33

Once the pre-check comes back clean, click on Next to move ahead

vRLCM_Configuration34


Click Submit and the life cycle manager will do the rest.

to check the progress, you can click on Requests icon on the left side of the page and clicking on in progress as the pic below

vRLCM_Configuration35

vRLCM_Configuration36

This process will take a long time … go, get some tea/coffee and it will still be deploying the environment …

vRLCM_Configuration37

vRLCM_Configuration38

This shows how to Install and configure vRealize Life Cycle Management and to create a vRA 7.4 environment.


SQL Connectivity Issue with vRA 7.4

Hello Peeps, Recently I was configuring vRA 7.4 at a customer’s place and came across an issue where the vRA appliance tries to talk to the external SQL server and fails with an error.

Here is the error:

SQL_Config_Issue01

After digging into the logs on both vRA and on the SQL server, here is what was determined as the issue

The SQL server has TLS 1.0 disabled and the vRA appliance was trying to communicate to the SQL server using TLS 1.0 instead of TLS 1.2 as the client has disabled TLS 1.0 on all its windows servers.

SQL_Config_Issue02

Troubleshooting steps tried:

Tried enabling TLS 1.0 and its Ciphers on the SQL server with no success

Checked with the Firewall team and they said that there is no firewall between the vRA appliance and the SQL server

Tried this in a different environment and it worked fine, just doesn’t work in this particular environment.

Conclusion:


Looks like the issue was with the SQL server and its Service Pack. SQL Server 2012 needs SP3 or higher to accept TLS 1.2 protocol. As soon as I upgraded my SQL server to SQL 2012 SP4, the communication worked fine and the vRA appliance was able to talk to the SQL server!!

Hope this helps in case you come across this issue.