VMware has finally realeased an patch version for VCF 3.x and the version is 3.11. You can only download this as a patch form from the SDDC Manager. You can Upgrade to version 3.11 from 30.10.2.2 or VCF 3.5 or later.
Security fixes for Apache Log4j Remote Code Execution Vulnerability: This release fixes CVE-2021-44228 and CVE-2021-45046. See VMSA-2021-0028.
Security fixes for Apache HTTP Server: This release fixes CVE-2021-40438. See CVE-2021-40438.
Improvements to upgrade prechecks: Upgrade prechecks have been expanded to verify filesystem capacity, file permissions, and passwords. These improved prechecks help identify issues that you need to resolve to ensure a smooth upgrade.
This also resolves the following Security Advisory VMSA-2022-0004 which deals with several vulnerabilities in esxi 6.7 hosts
This also resolves the vulnerability in VCF SDDC Manager 3.x according to the security advisory VMSA-2022-0003
This version also addresses the heap-overflow vulnerability in esxi hosts according to the security advisory VMSA-2022-0001.2
The Updated product versions according to the BOM for VCF 3.11 are
Hope this post helps for the teams who have VCF 3.10.x and waiting for the long awaited log4j patch instead of an workaround.
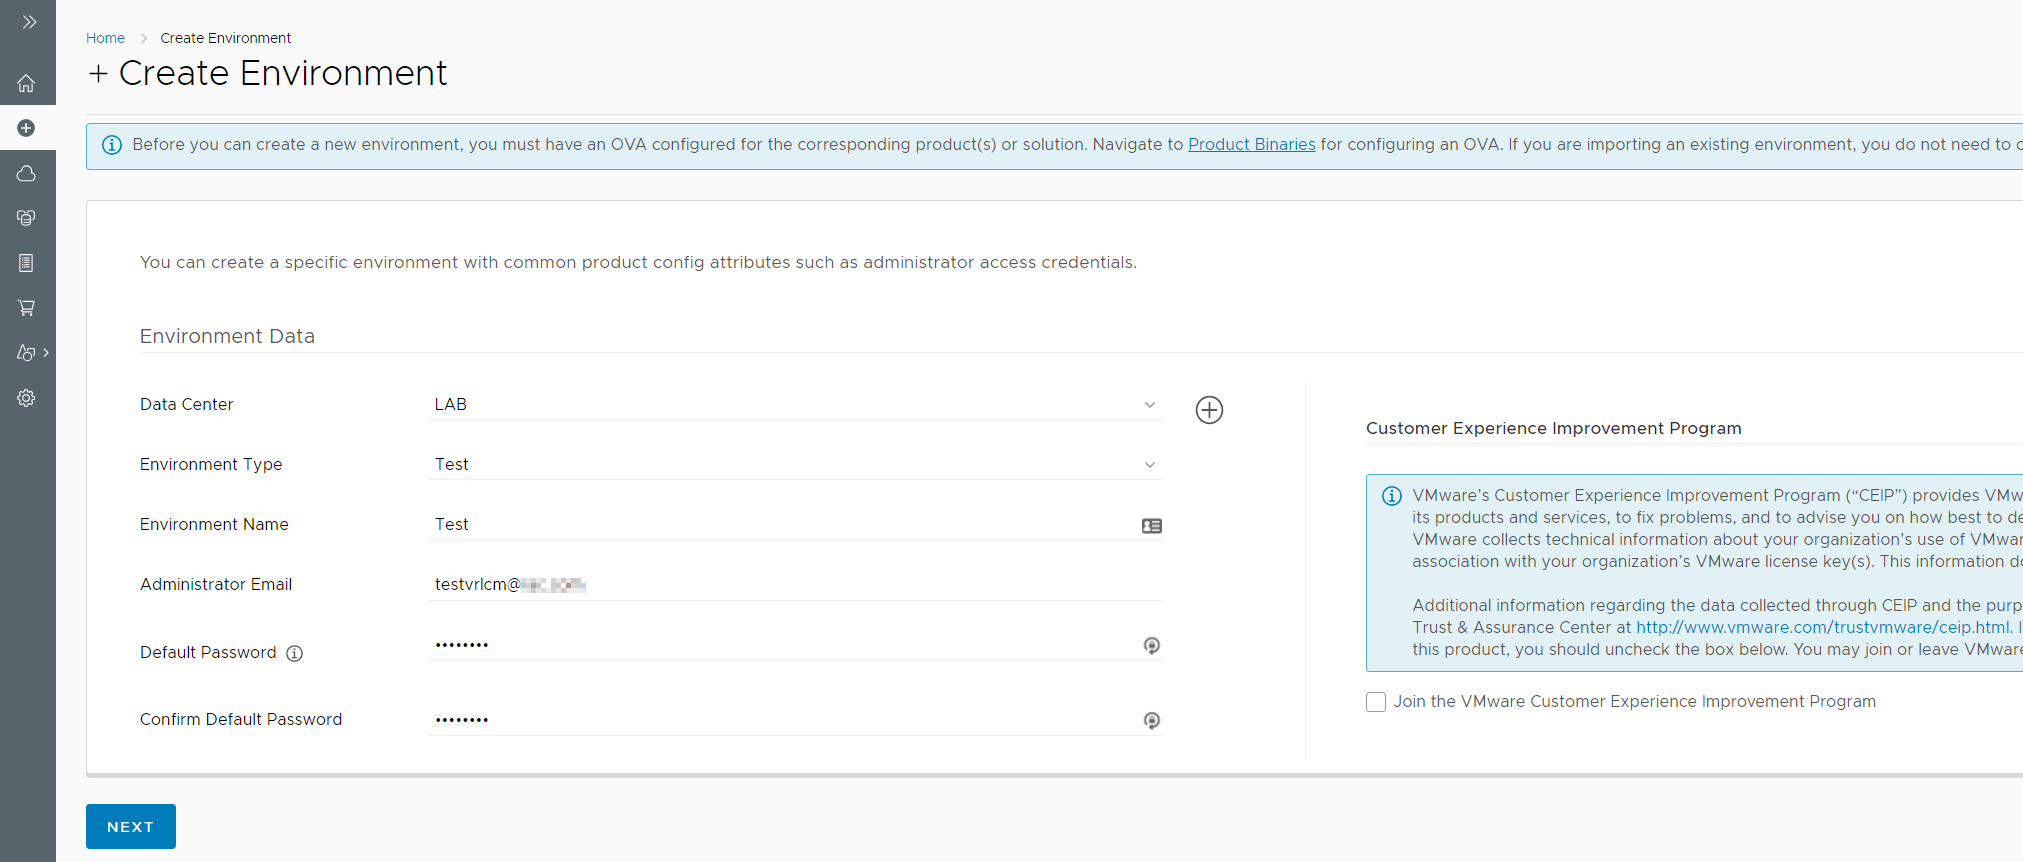
Next, We Create a New Environment and then create an New VRA environment using vRLCM
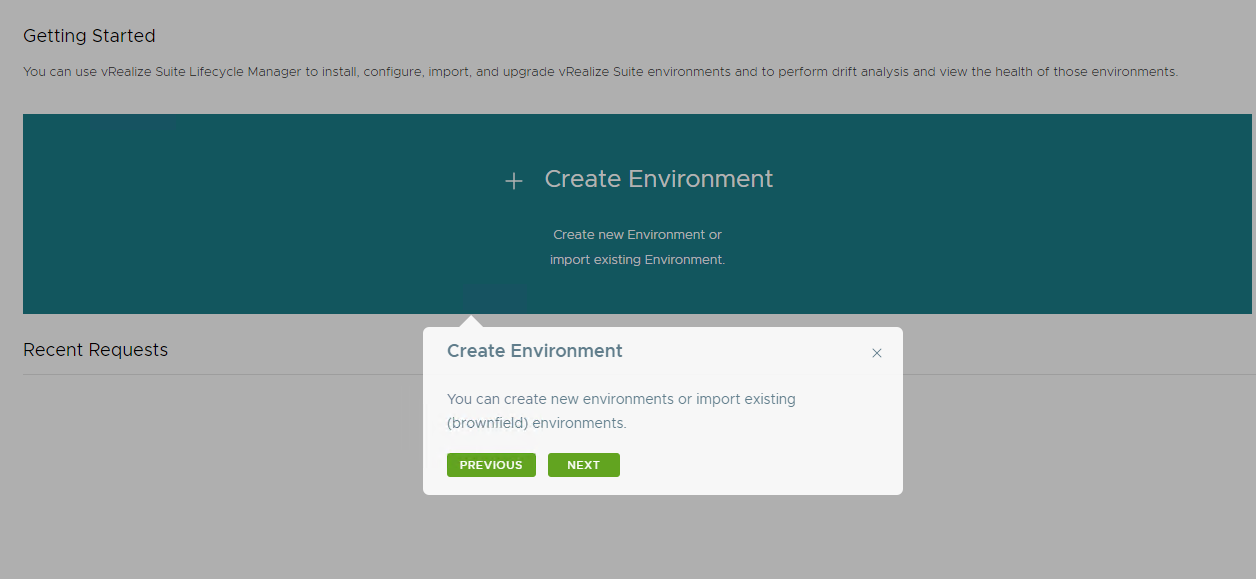
Go to Home and Click on Create Environment to get started
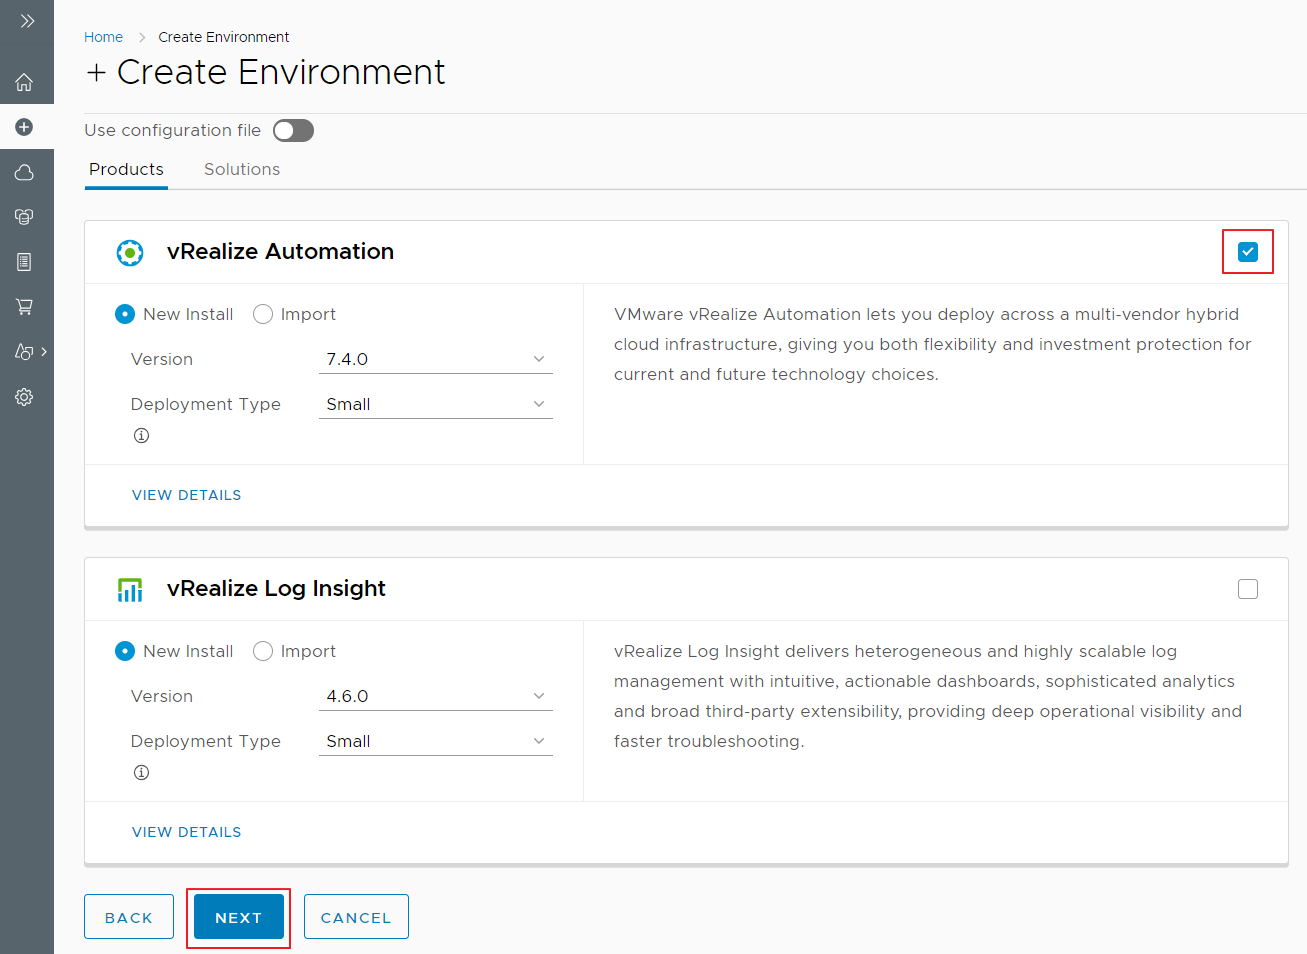
Click on Create EnvironmentThe Default password is used for all the products being deployed using this instanceIn this case, we selected the vRA deployment with deployment type as Small for the lab
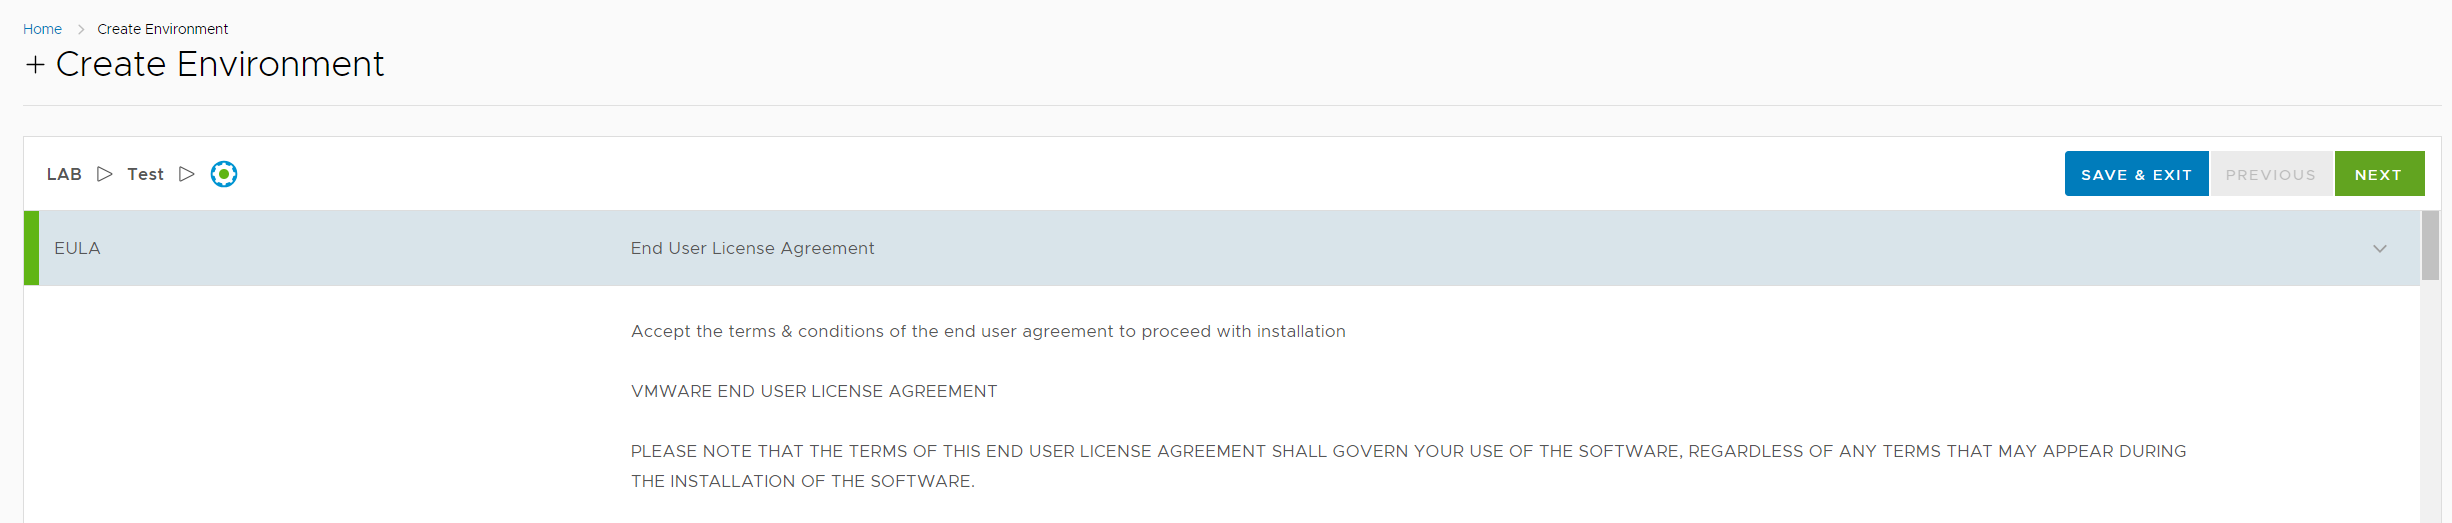
Agree to the EULA, click Next
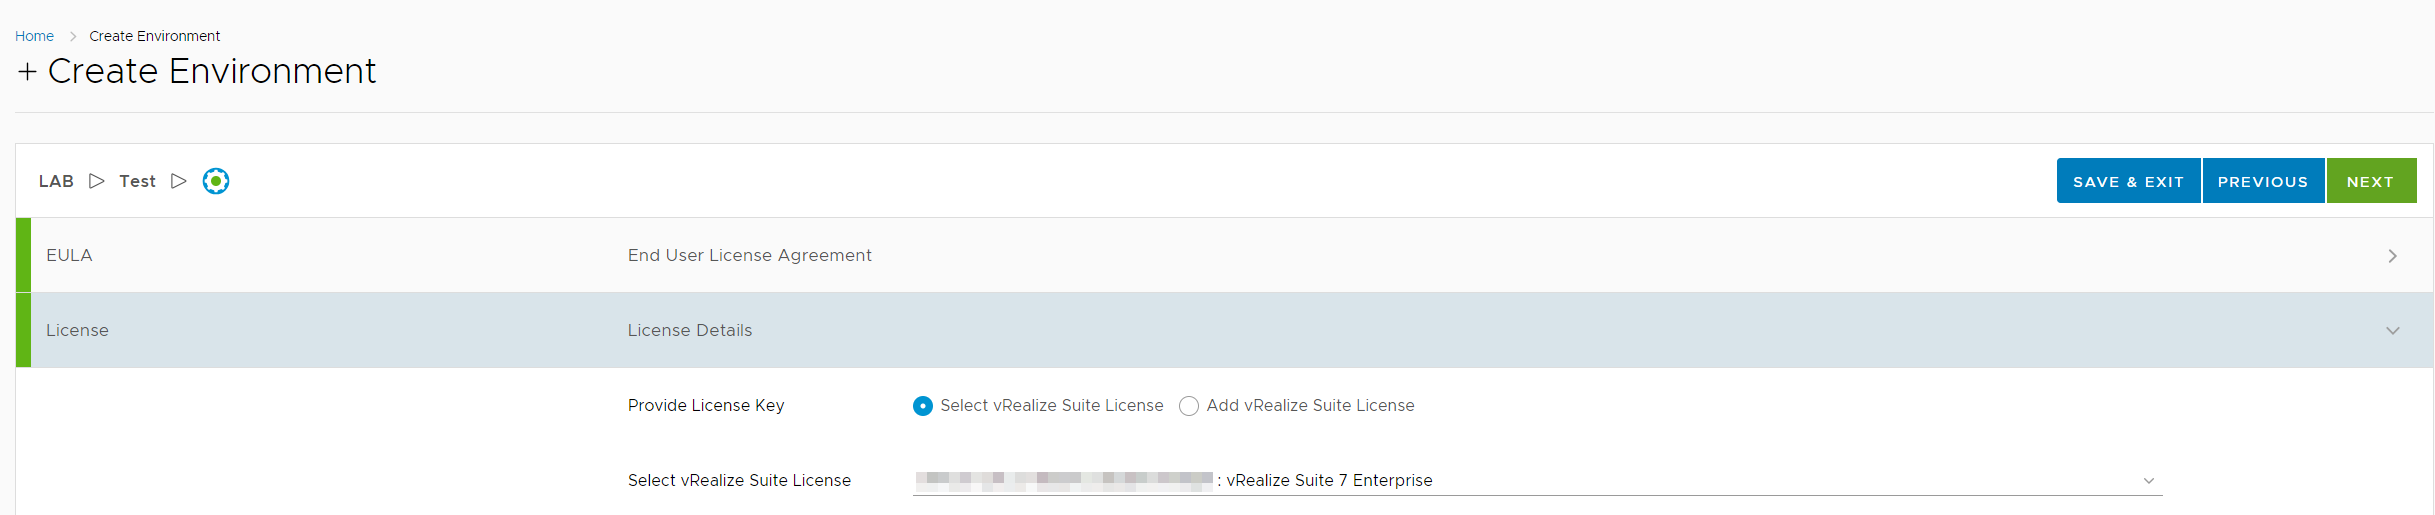
Enter the License
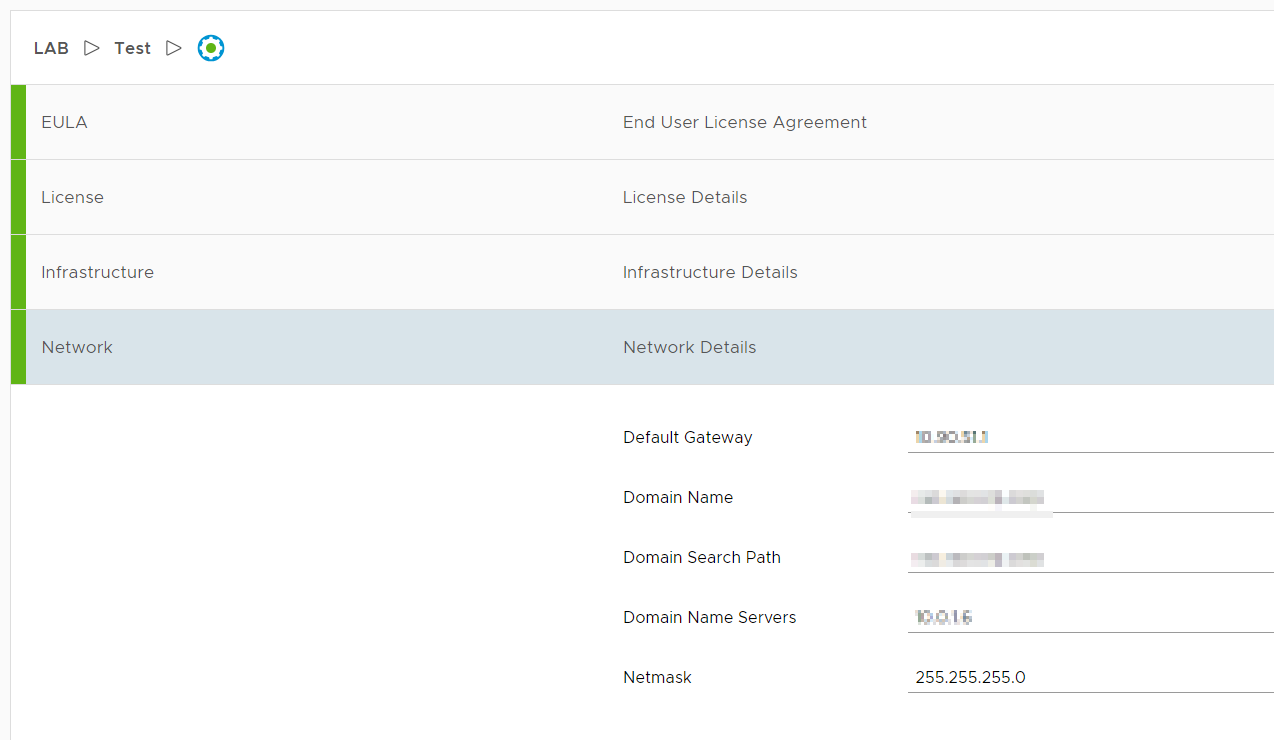
Select the NTP Servers and then click NextInput all the Network Details and click Next
Select the Certificate which we have generated before and click Next
This is where things have gotten tricky in this version as we have multiple options to define the VRA environment including the windows template to create new vms themseleves.
let us go step by step process
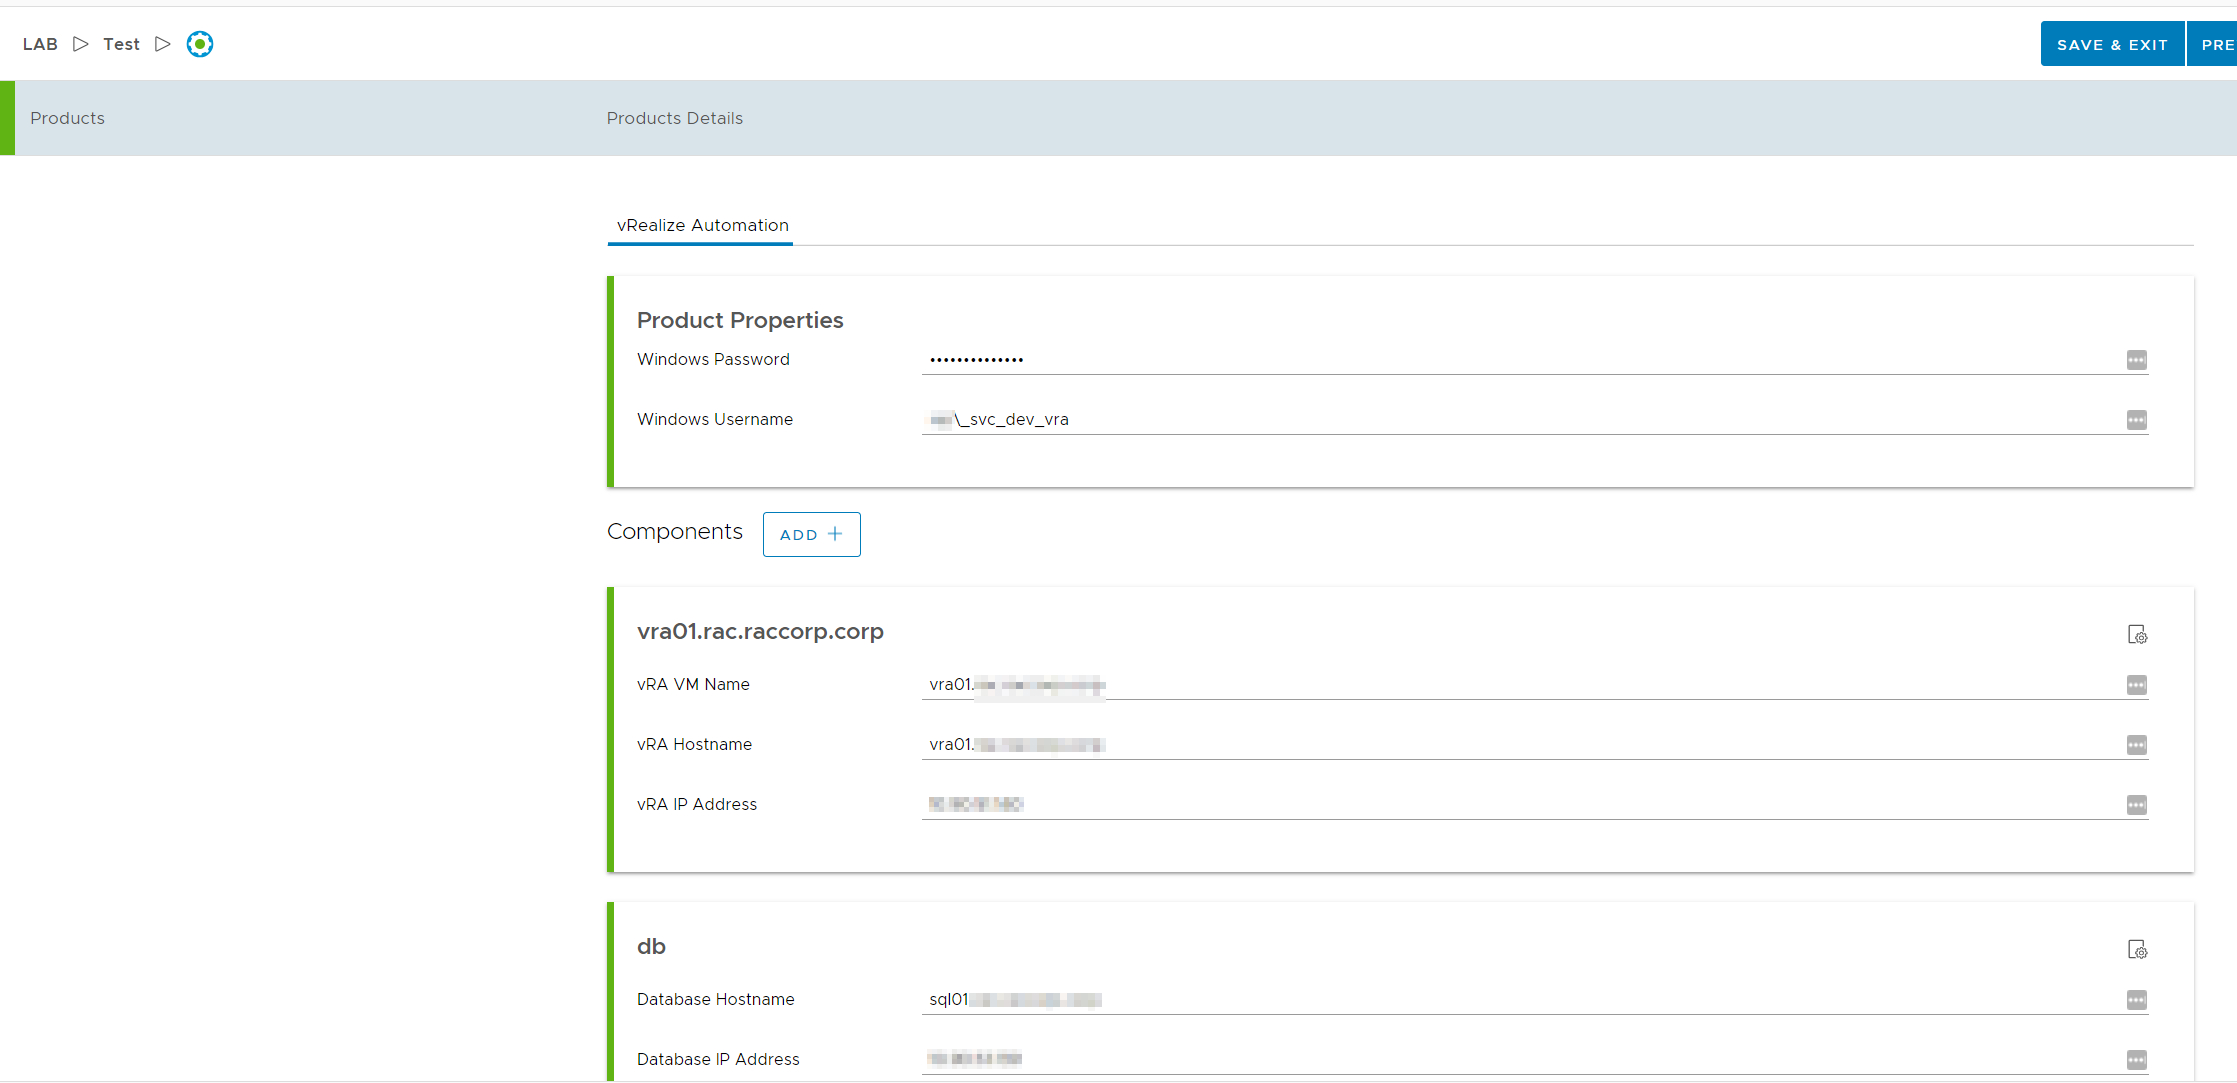
Under Product Properties, provide the windows server username and password which you want to access after the box has been provisioned using the windows template.
Scroll down for further options
In the above configuration, We have only 3 VMs being deployed in VRA Simple Configuration.
VRA Primary Appliance
VRA DB server (Database server)
VRA IAAS web server (this contains iaas-web server, iaas manager, iaas DEM Worker and proxy-agent-vsphere )
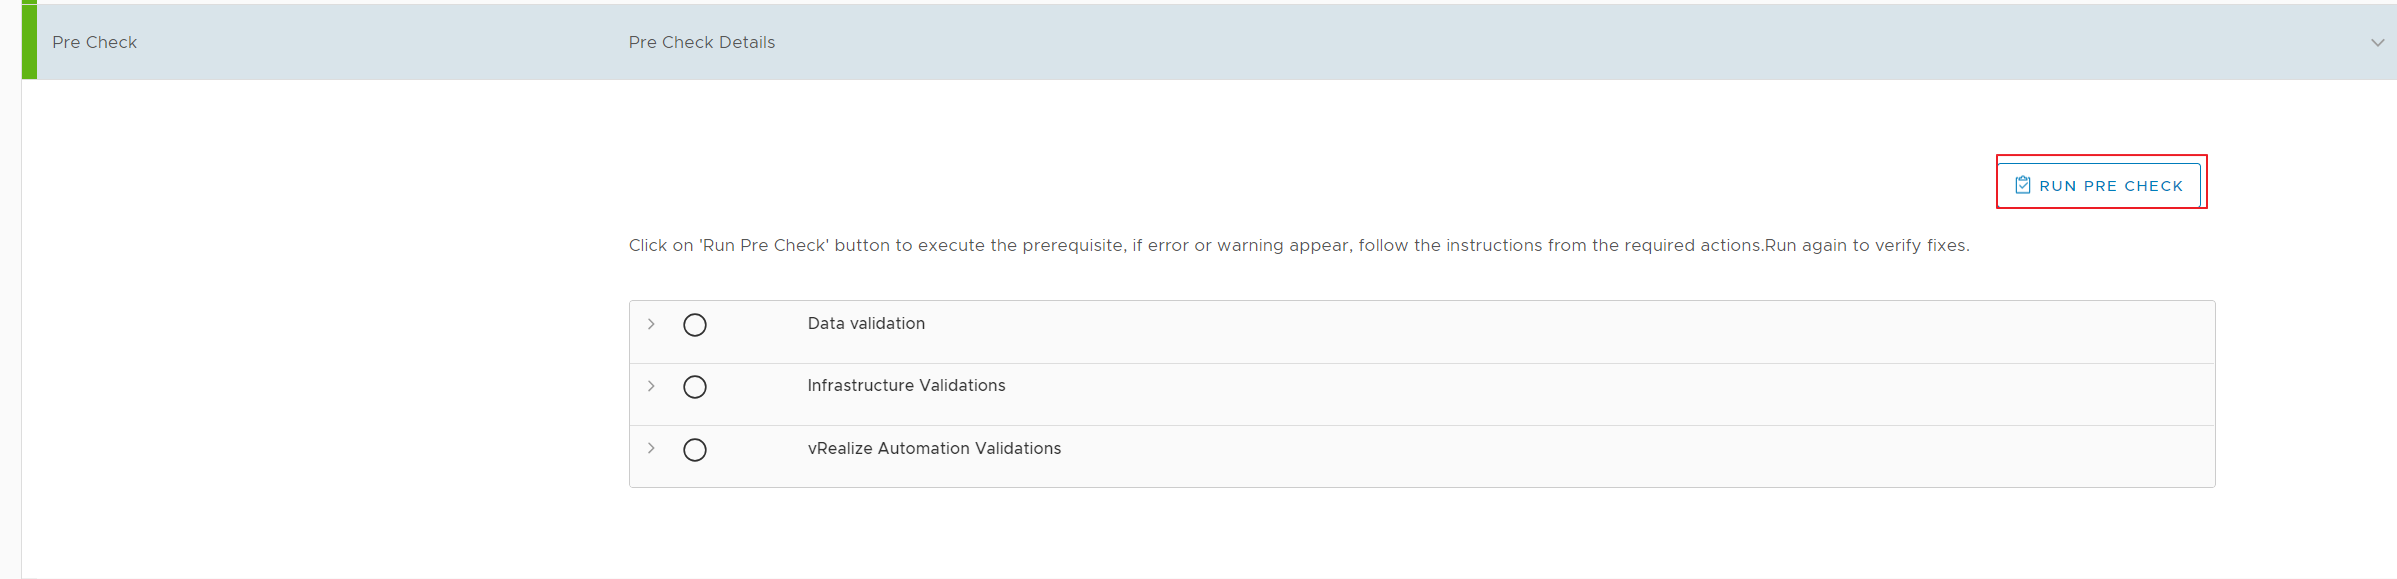
Once all the Product details of VRA are put in, we will proceed to the precheck phase.
Click on RUN PRECHECK option to continue
Next, we click on Validate & Deploy option to deploy the vms
Make sure you disable UAC in the windows template and then click on Validate & Deploy option to continue.
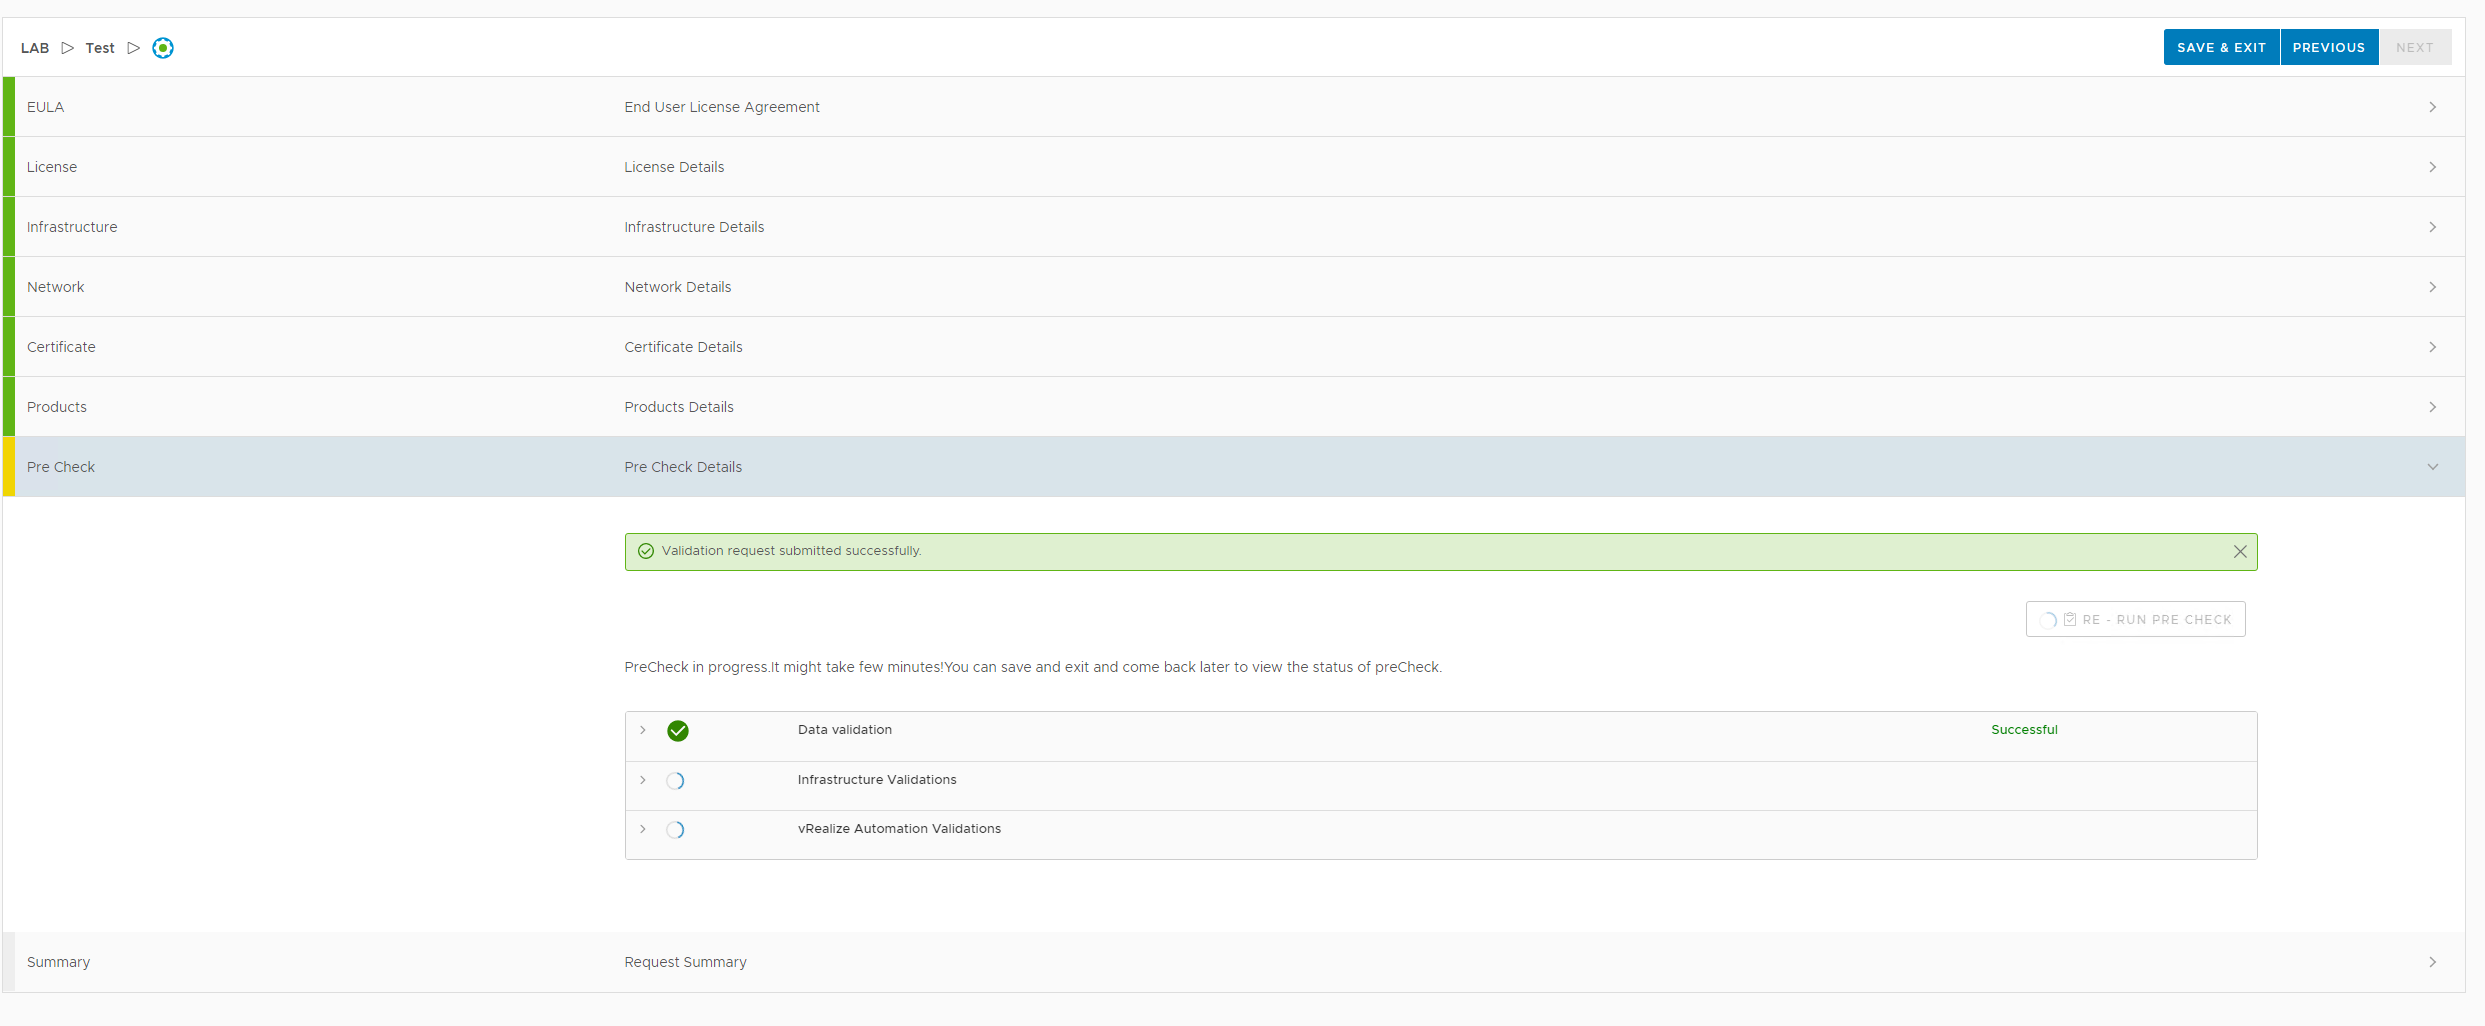
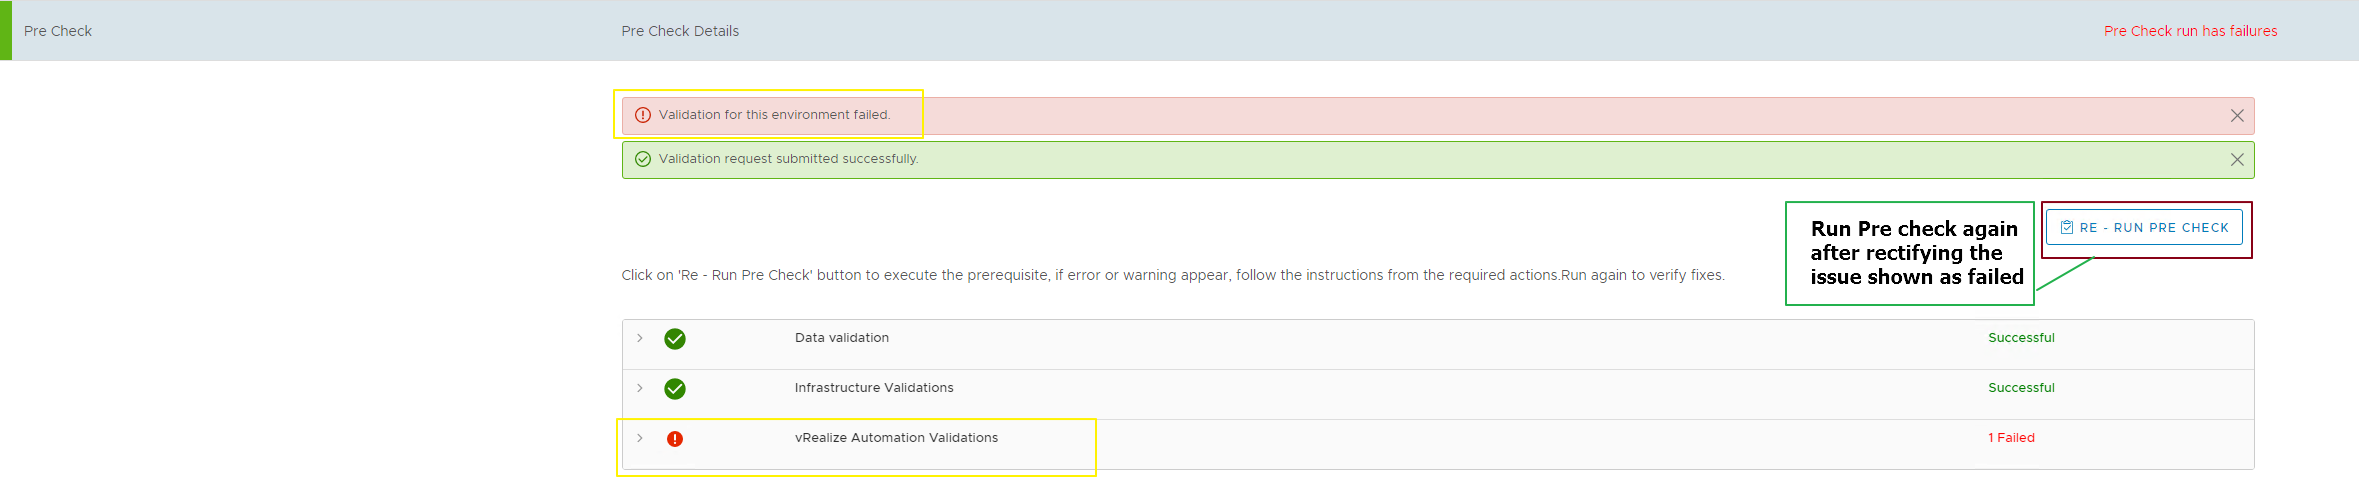
The Validation process will startLooks like my test failed with 2 Items, which I will be rectifying before trying to Validate again before Deployment
NOTE: The re-validation took more than 30 mins in my lab to complete. Not sure why it took a lot of time, but I suggest you all to be patient during this process as there is no way to speed it up.
The validation is successful and now we can go ahead and run the PRECHECK to continue
NOTE that at this point, I haven’t installed SQL Software on the SQL Server, but VRSLM has created an windows server for both the db and iaas install. I will have to install SQL Server on the db windows VM and see how it goes.
This Post is pending and I will be updating it soon once I have some clarification on if I need to install and configure the SQL software in the vRA SQL server windows machine or will the scripts do it if I provide the SQL ISO file. Stay Tuned …….
This Blog Post is to Install & Configure vRealize Life Cycle Manager 2.1 in my lab environment.
The reason why I had to install vRLCM 2.1 is to install and configure vRA 7.4/7.5 in my environment.
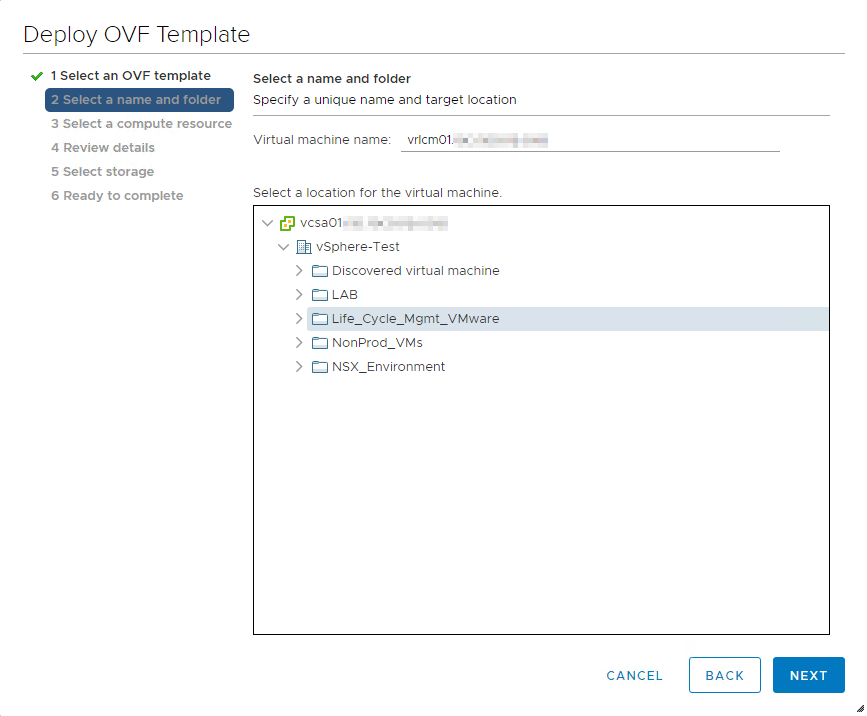
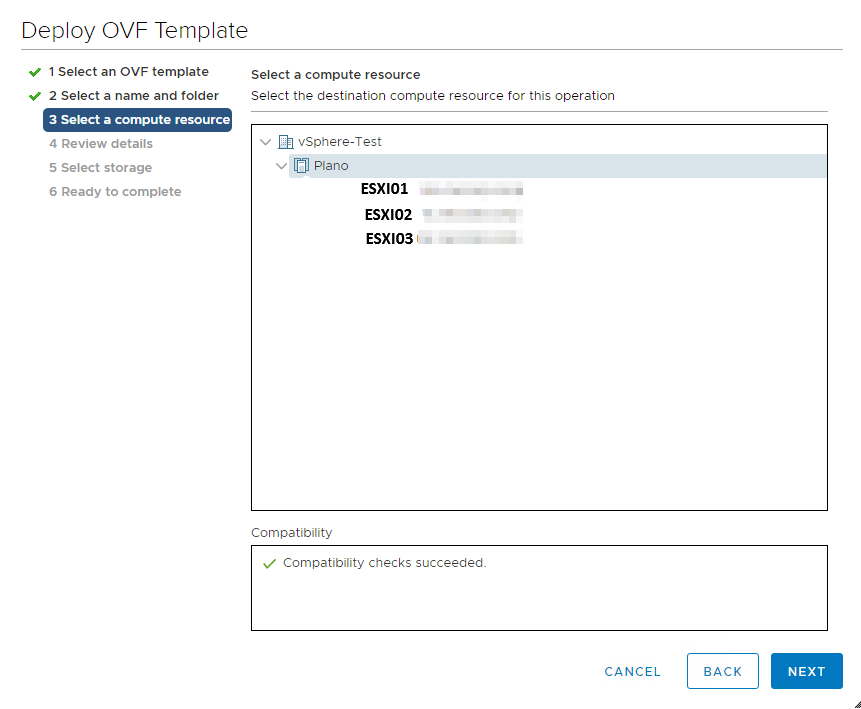
Deploy the vRLCM OVF file in the lab and the below screenshots will show the configuration after deploying the appliance.
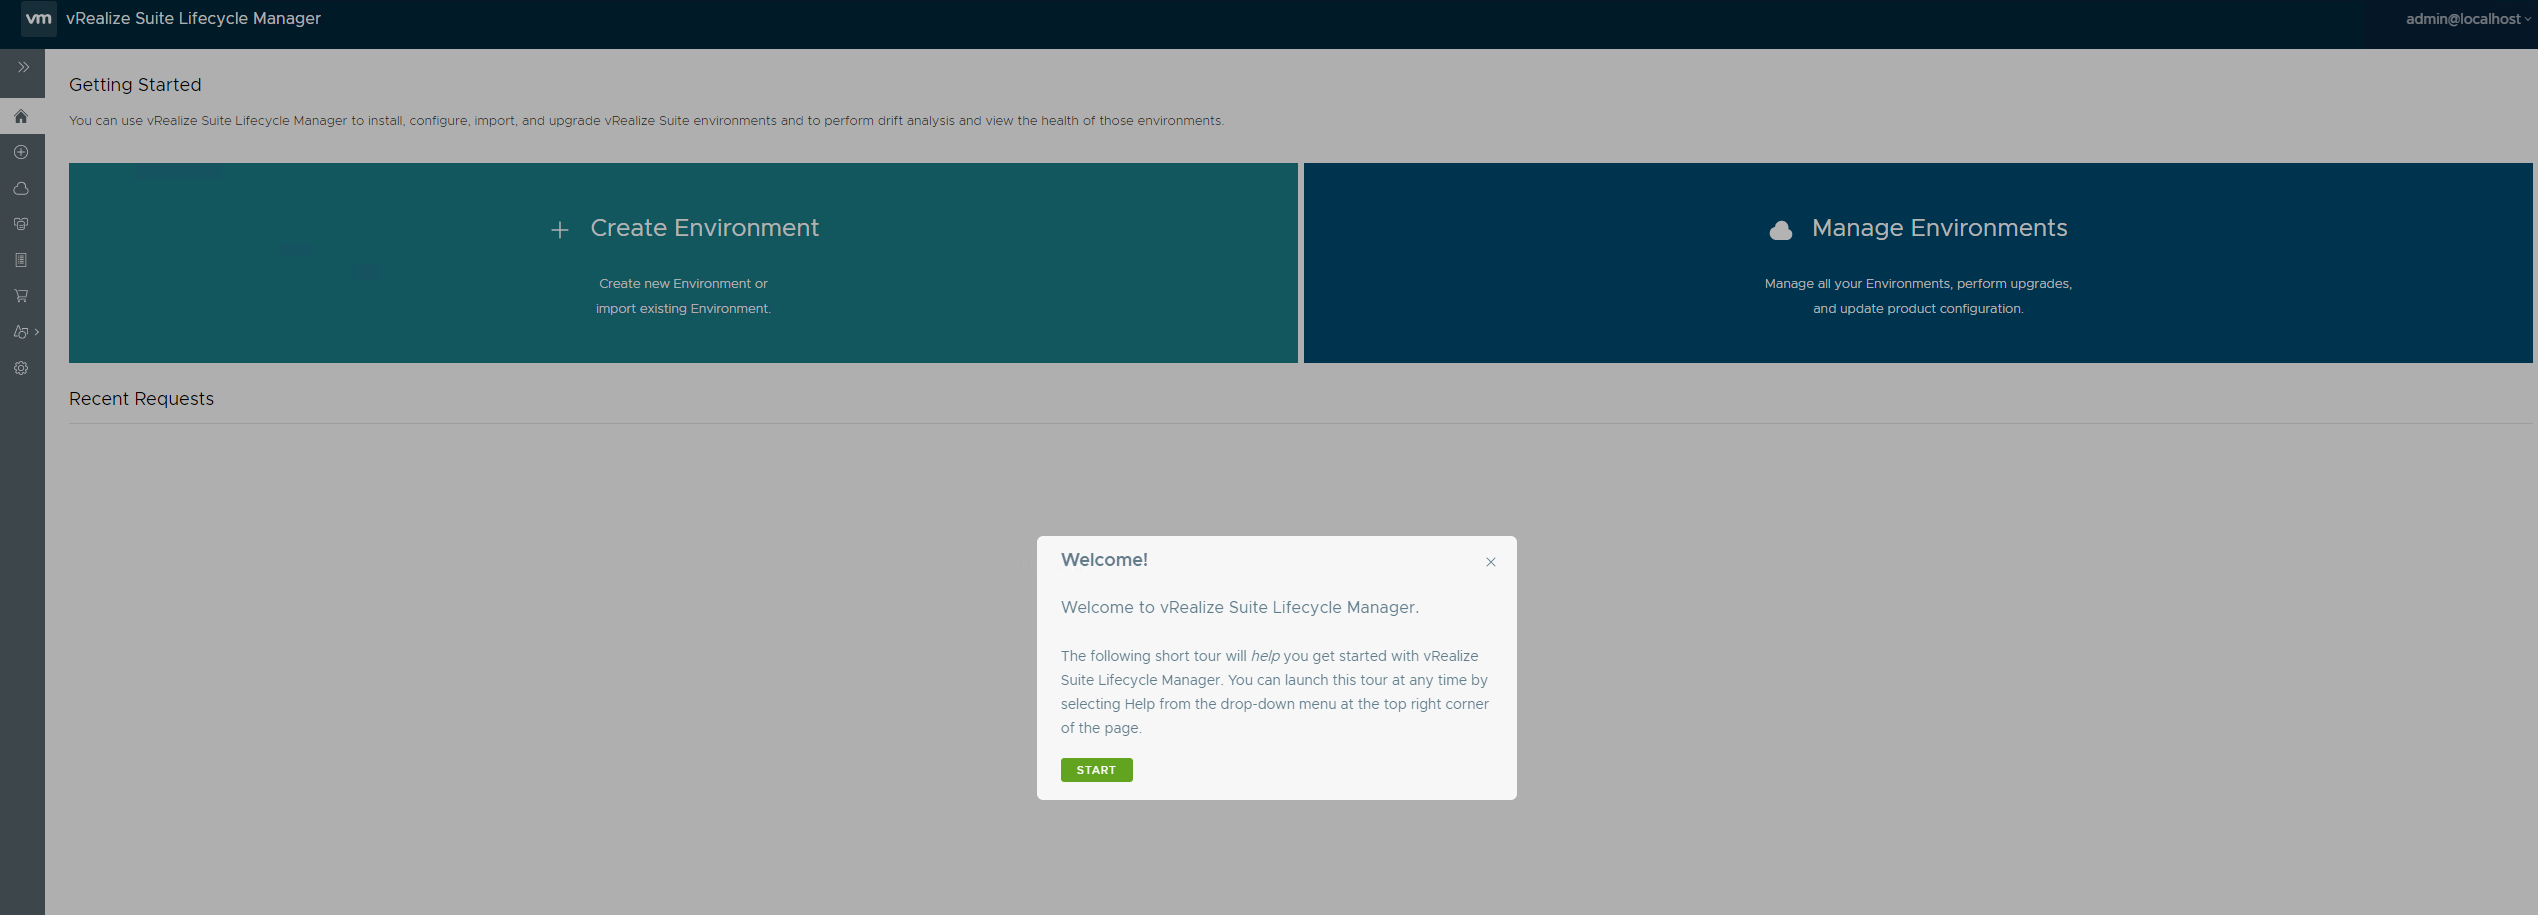
After you login into the vRLCM appliance, the self help starts and below are the screenshots.
Main Page after login using the local user. Click on Start to get started.Click on Next to configure product binariesClick Next to continueClick Next to continueClick Next to ContinueClick Next to ContinueClick on Got it to complete the Self Help.
Now, Let us change the root password of the appliance from the settings option -> System Administration and click on SAVE to move ahead with the configuration.
Change the root account password and click save to save the appliance credential
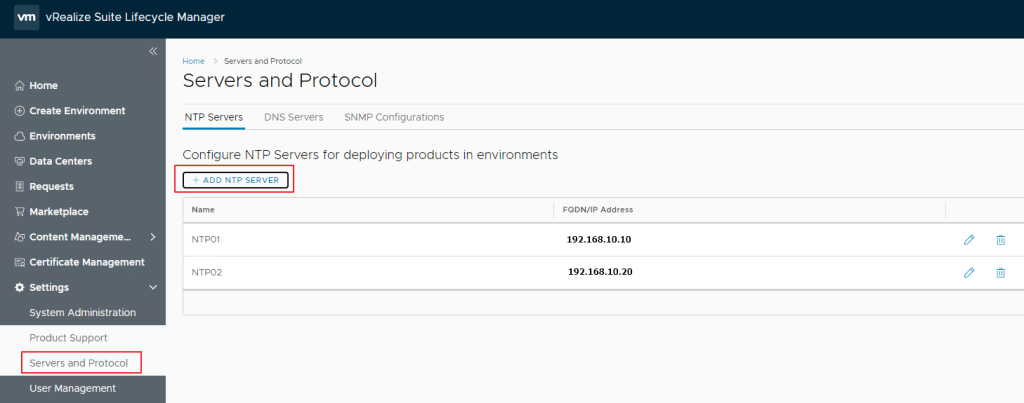
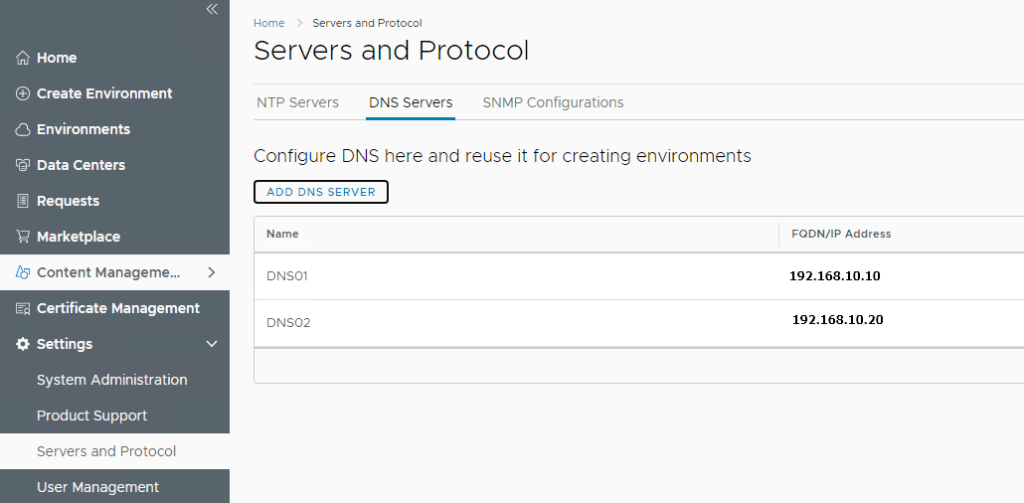
Next, we configure NTP Servers and DNS Servers from Servers and Protocol option
Configure the NTP ServersConfigure DNS Servers
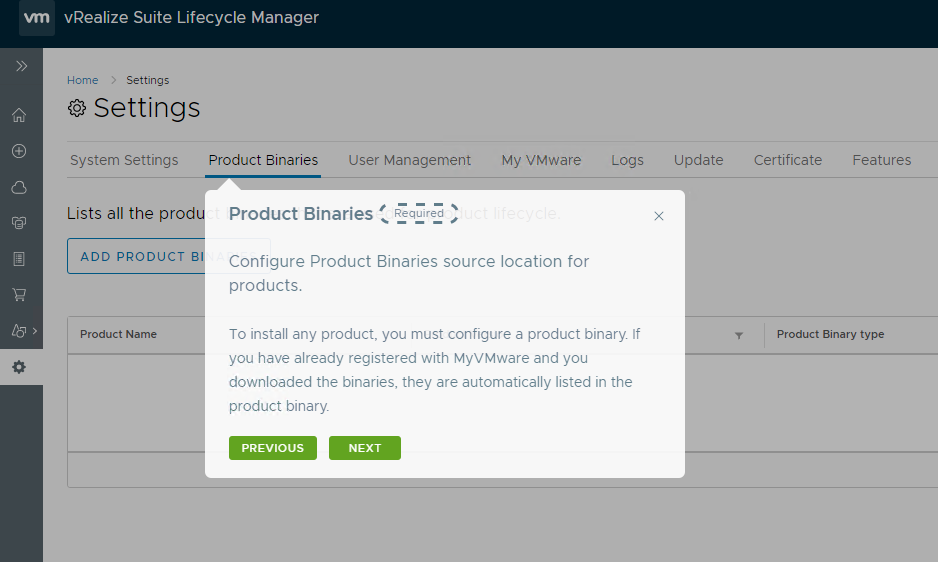
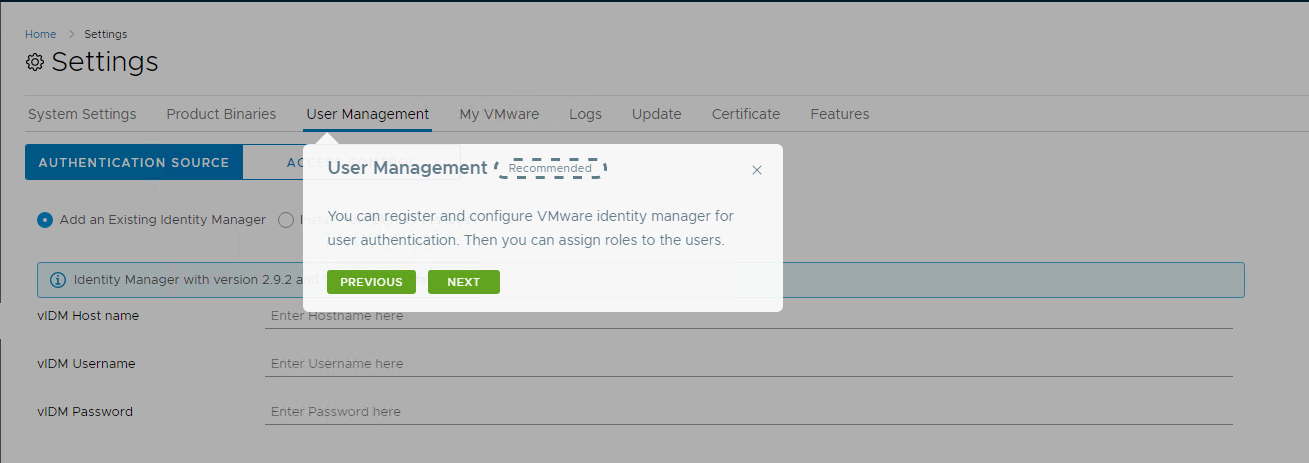
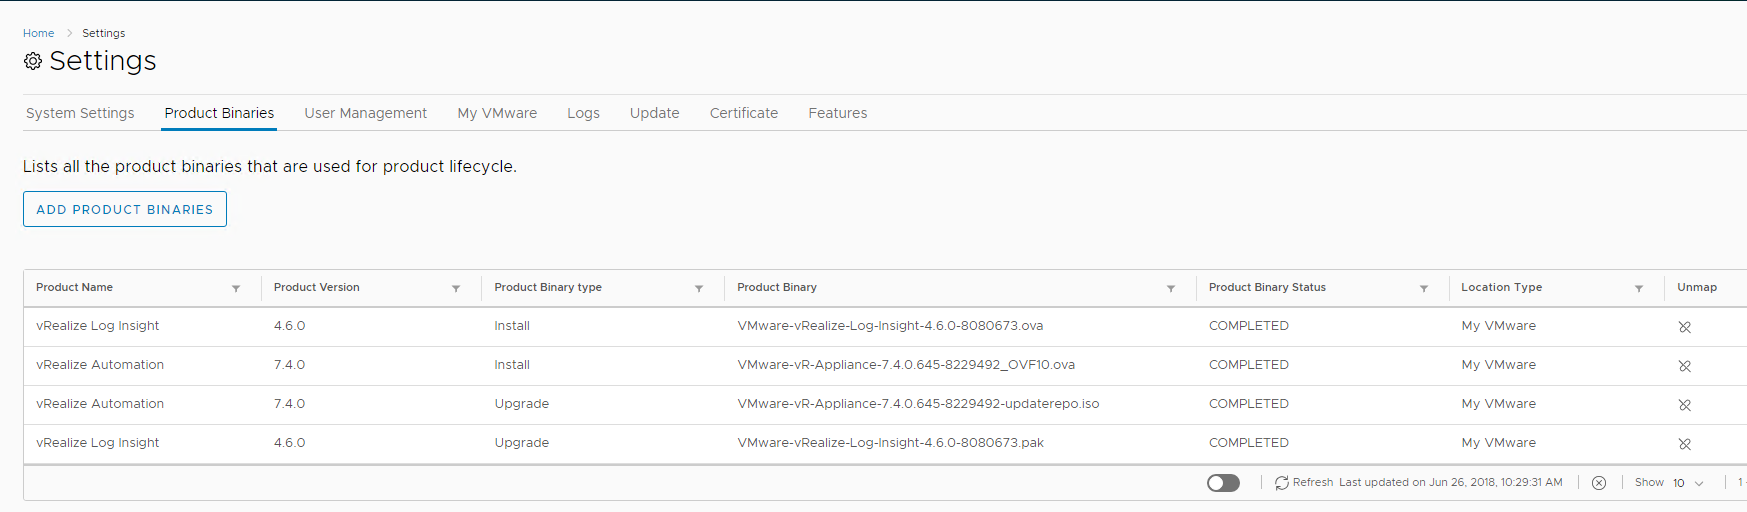
Next, we configure the Product Binaries (Where we download the vRA 7.x version using the my vmware account or using the Product Binaries option)
Provide my vmware credentials and then select the product to download
In my case, I have downloaded vRealize Automation 7.6 version to install and configure in my lab.
We will continue with the vRA 7.6 configuration below.
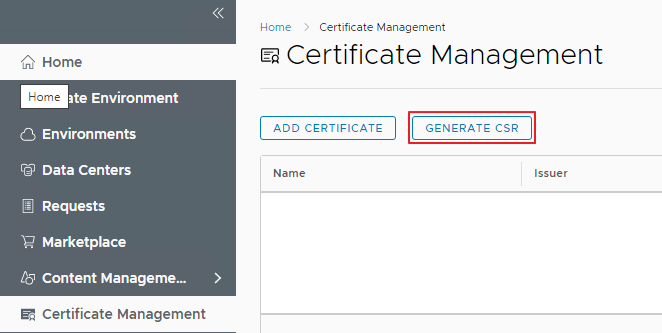
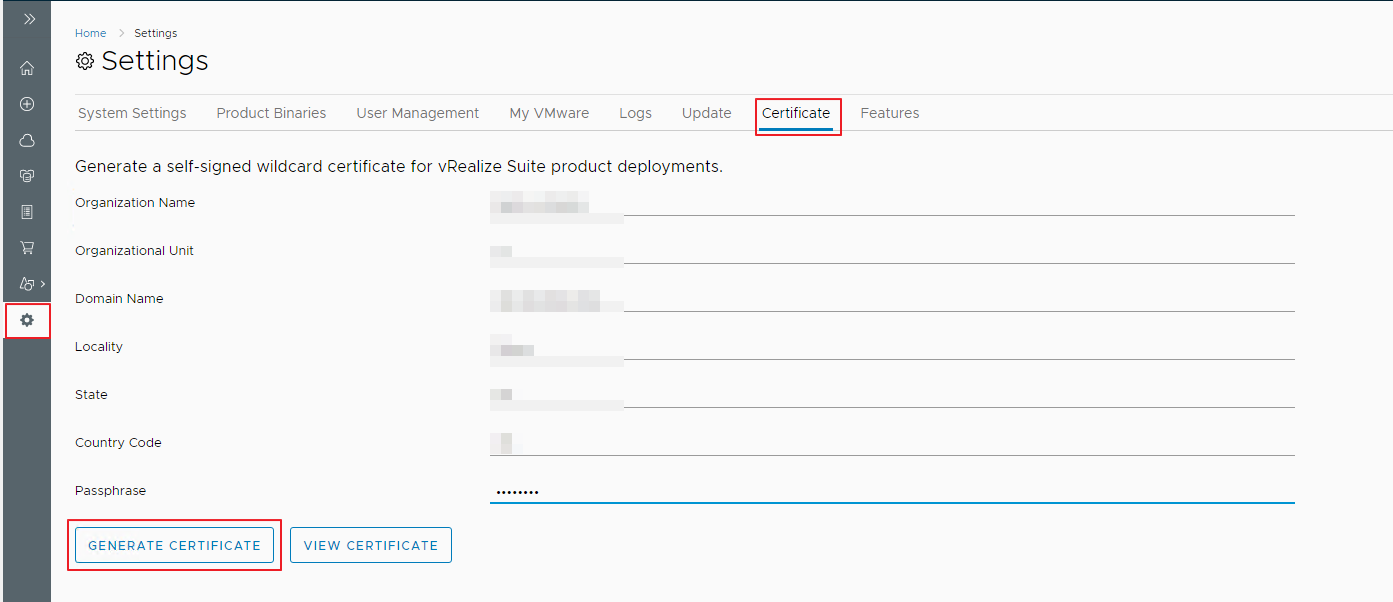
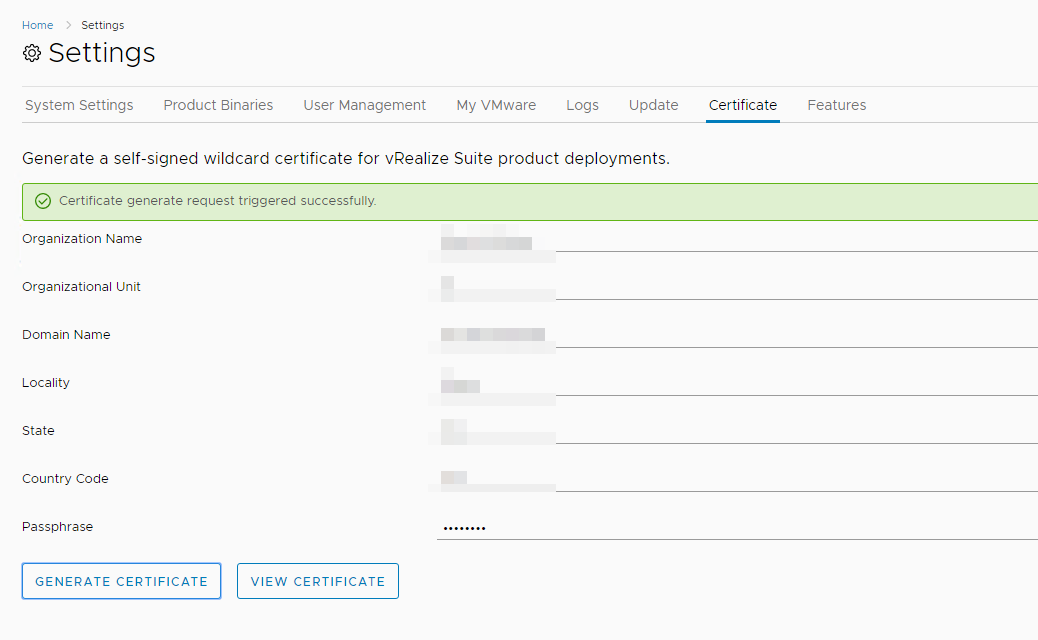
First, Let us configure the Certificates in vRLCM so that the certificate can be used to Deploy the components through vRLCM.
Click on Certificate Management on the left hand side, I will be Generating an CSR as I would like to use my AD CA Signing Authority to generate an Certificate for this instance.
Some of the fields have been blurred for privacy .. Click Generate
Once the CSR is generated, use it to create an Cert and then download the Cert chain which will be in the .p7b format. Use this cert chain to create an pem file.
In my case, I used Cygwin in windows to create an pem file, but with an .cer extension. I had to open the csr file generated which contained the key certificate and then open the generated .cer file by using Cygwin to input the Domain Certificate (in this case, its the vrlcm certificate from the CA, Intermediate CA and Root CA into the Import field and imported it.
NOTE: These are the links which helped me to use Cygwin on my Windows machine to generate the PEM file from existing cert.p7b file
Use the Command ” openssl pkcs7 -inform PEM -outform PEM -in certnew.p7b -print_certs > certificate.cer ” after copying the certnew.p7b file into the C:\cygwin64\home\username directory to generate a new .cer file
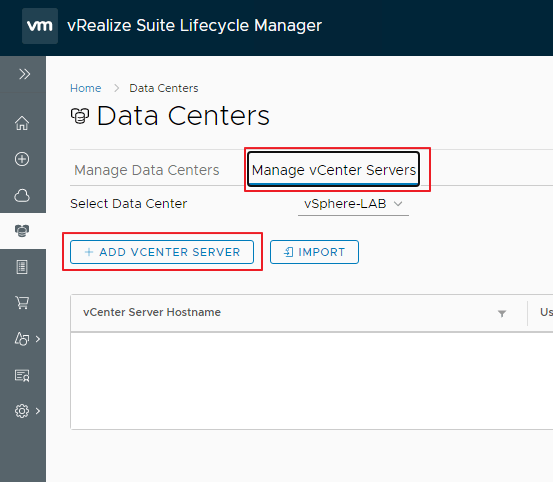
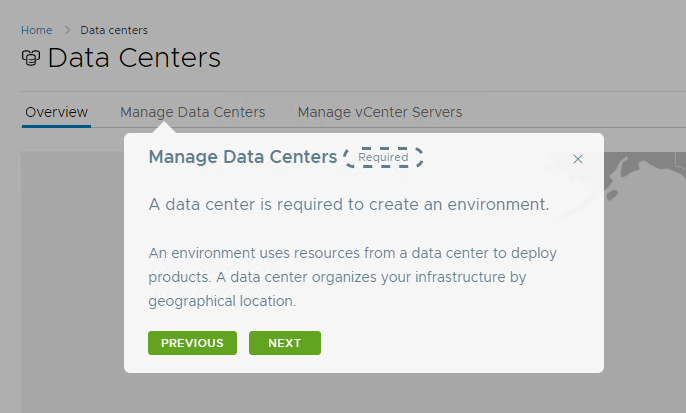
Next, We create a Data Center
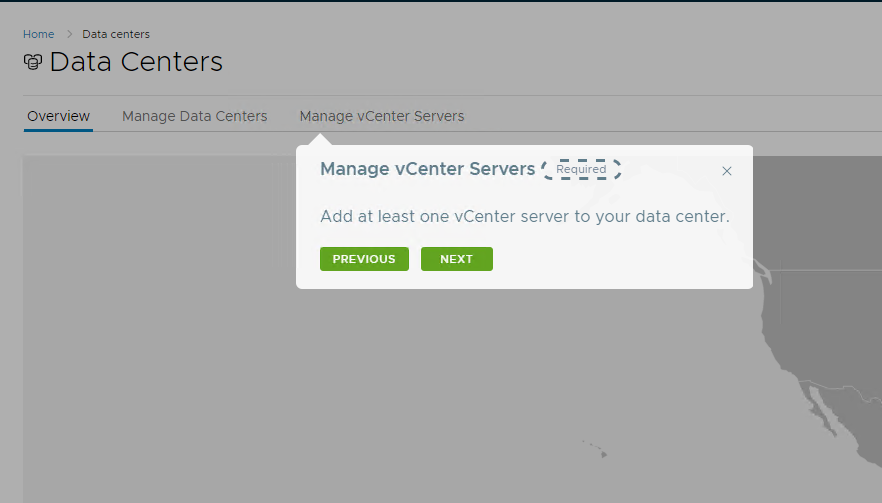
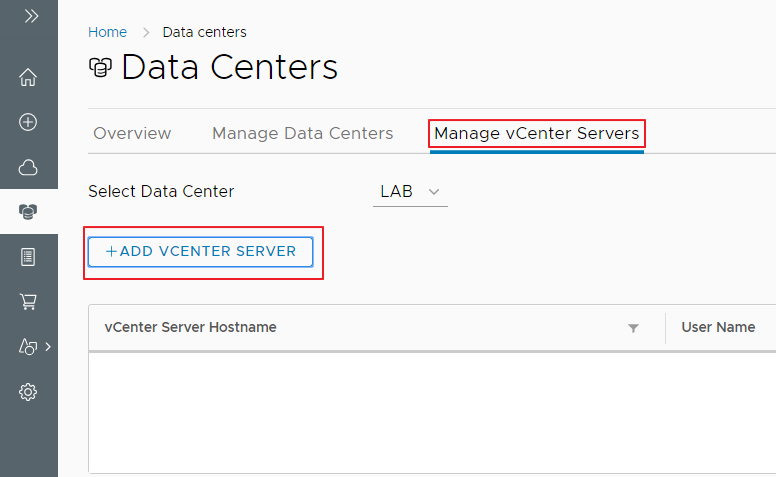
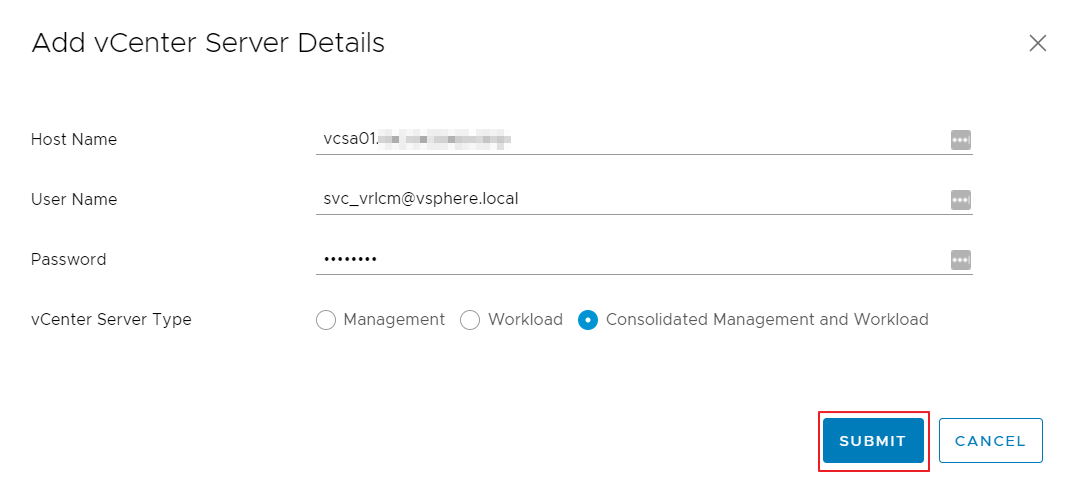
Next, We Add vCenter Server to this Data Center we created
In this case, I had to select the option ‘Consolidated Management and Workload’ as this is a lab environment. In a production environment, you would typically select either an Management or Workload Domain.
Since, This Post was getting too big, I have decided to split it into 2 parts. The Installation of vRA and its configuration is explained in the next part.
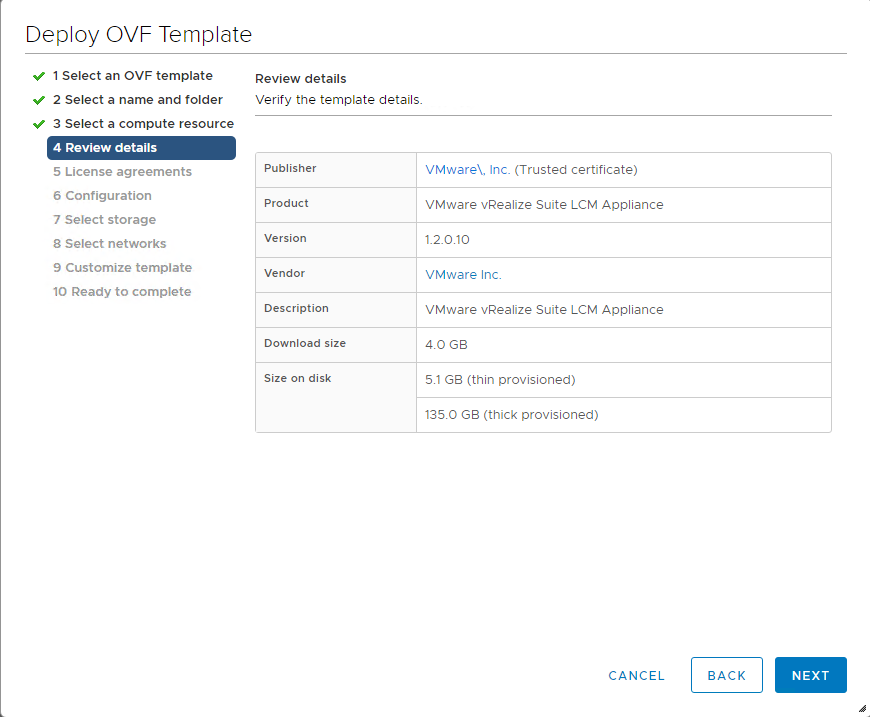
This post details the installation and configuration of the vRealize Suite Life Cycle Manager 1.2 which was recently released by VMware to automatically provision vRA components as part of their Cloud initiative.
First, Download the Life Cycle Manager ova from the vRealize Suite 2017 components and deploy it using the vCenter web client
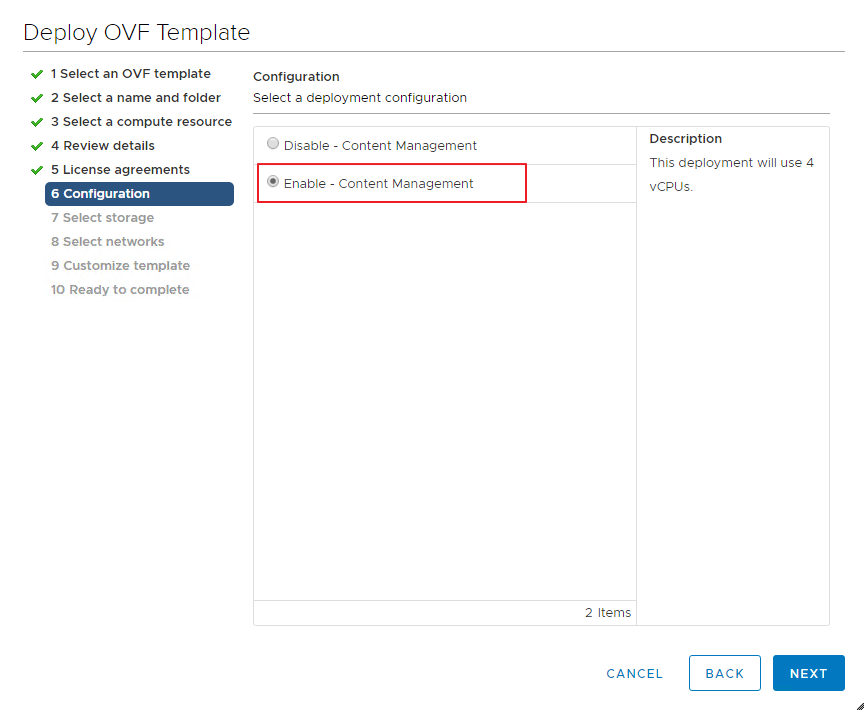
Select Enable Content Management option to enable content management.
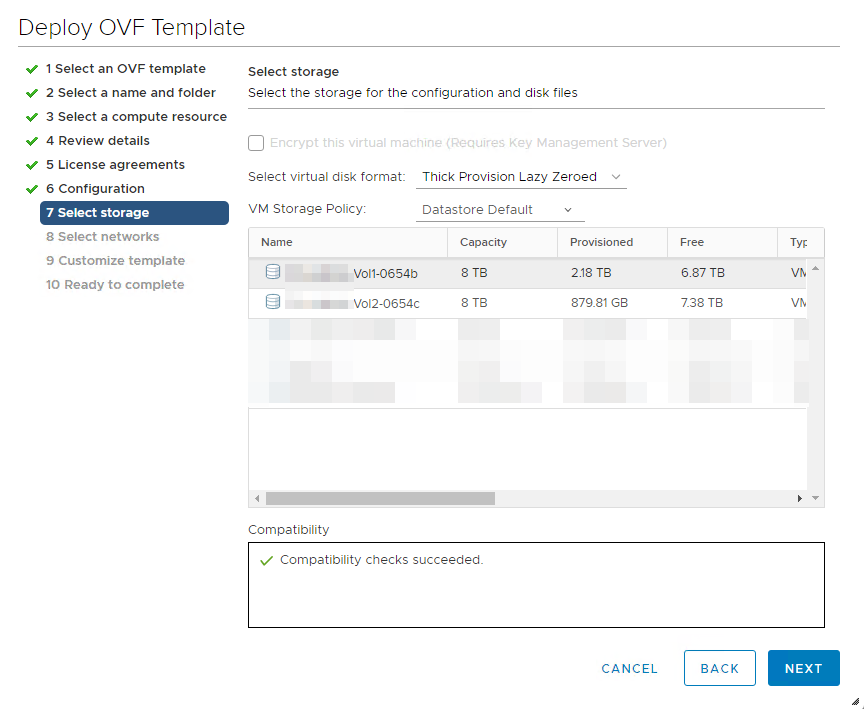
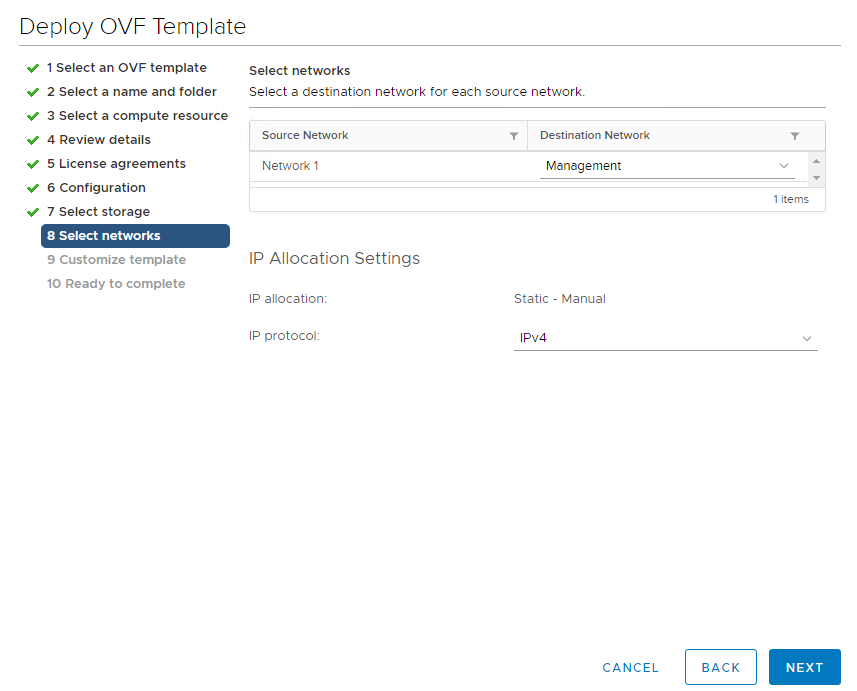
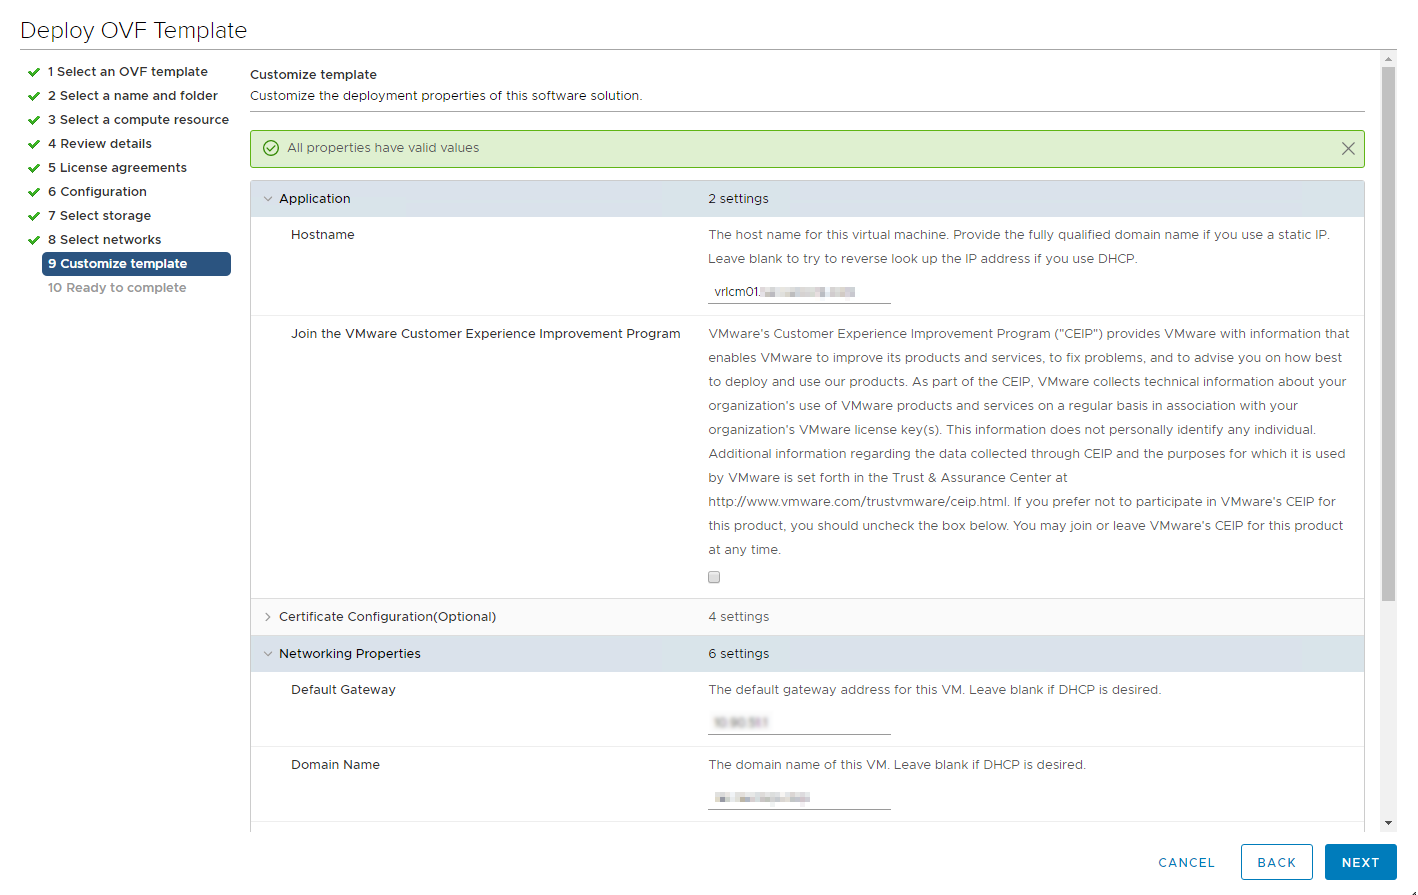
Provide the Hostname, default gateway, network IP address, subnet mask, DNS servers and the domain names in this window and click Next to finalize the deployment of the appliance.
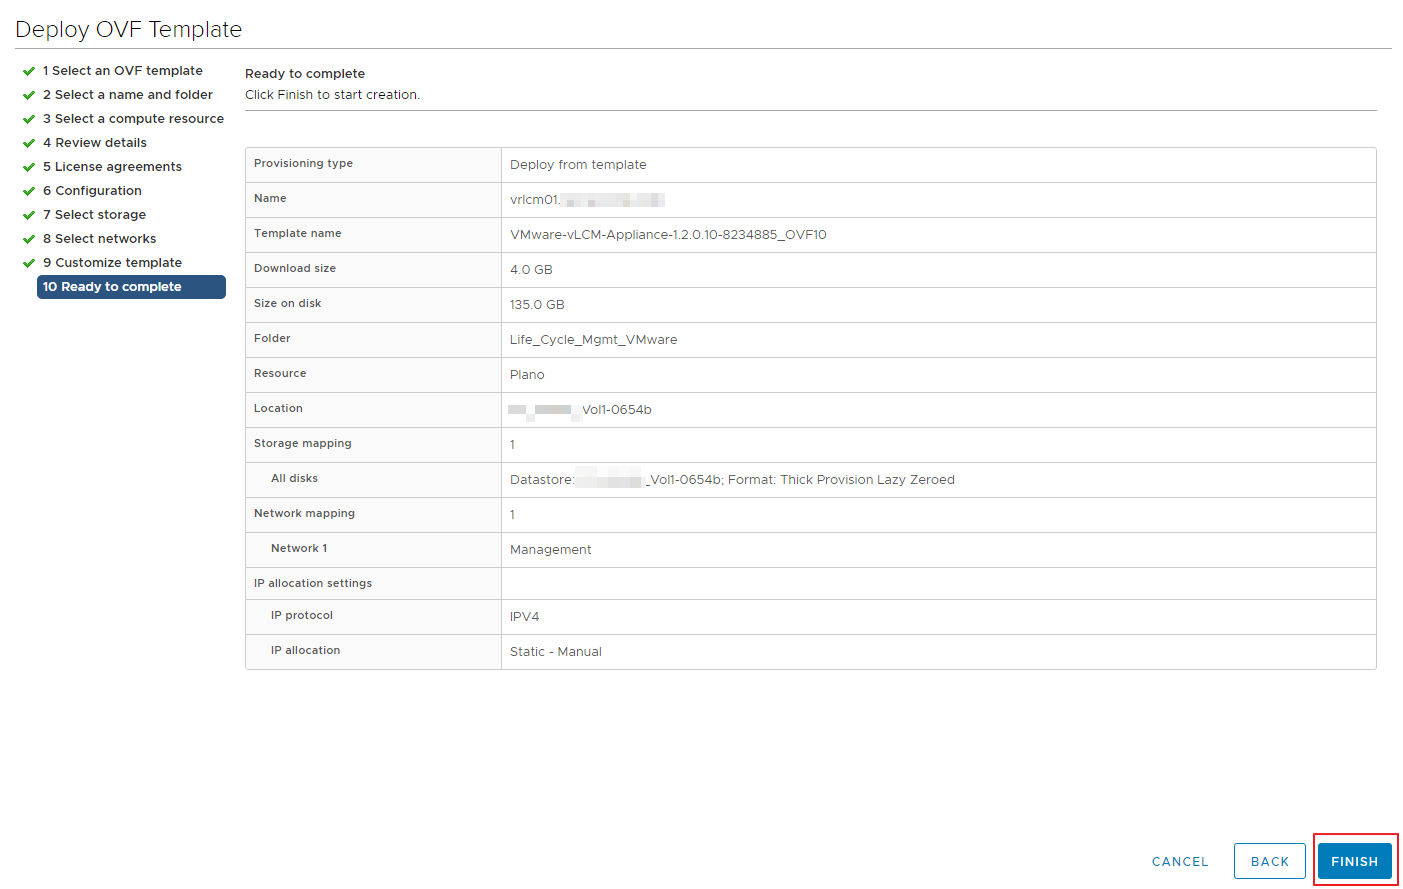
Click Finish to finalize the settings and to deploy the Life Cycle Manager Appliance
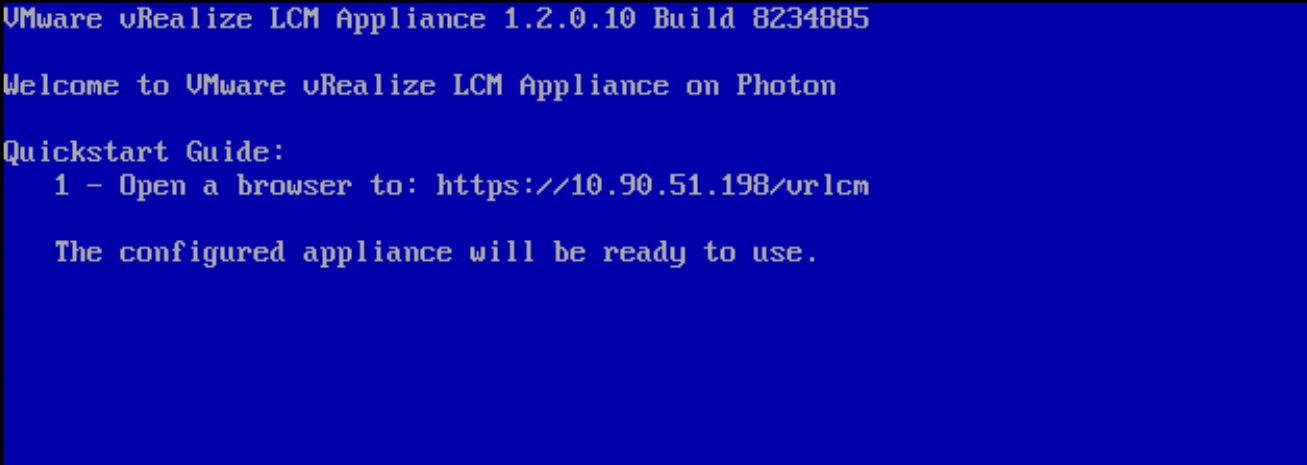
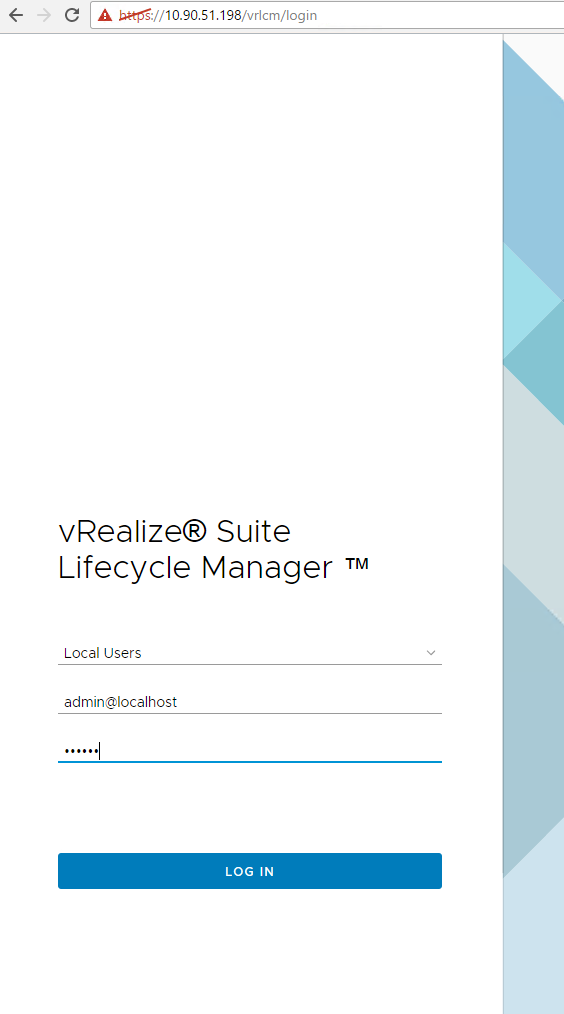
Once the vm has been deployed and powered ON, you will have to go to a web browser to configure the appliance.
use the following credentials to login into the life cycle manager web UI
username: admin@localhost
password: vmware
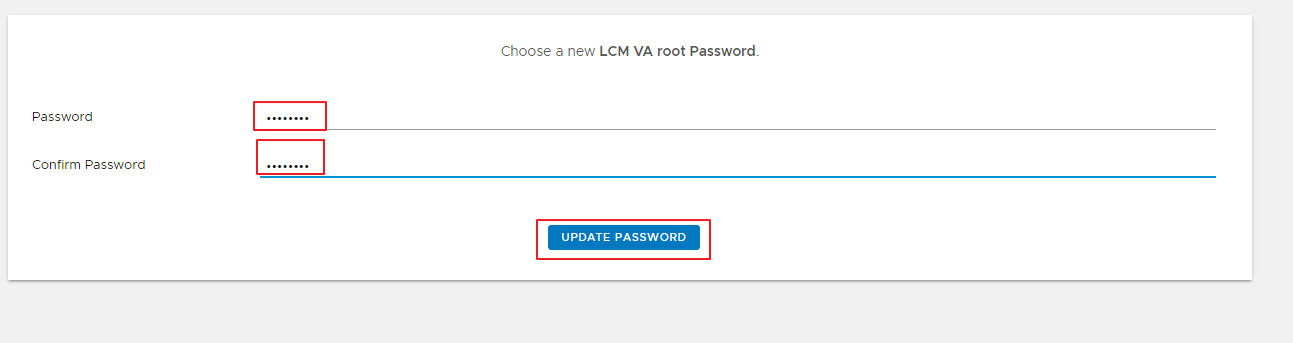
The first thing you get after logging into the web UI is to update the root password
Click start to get started with the Life Cycle Manager
Once you click Next, it will say Done!
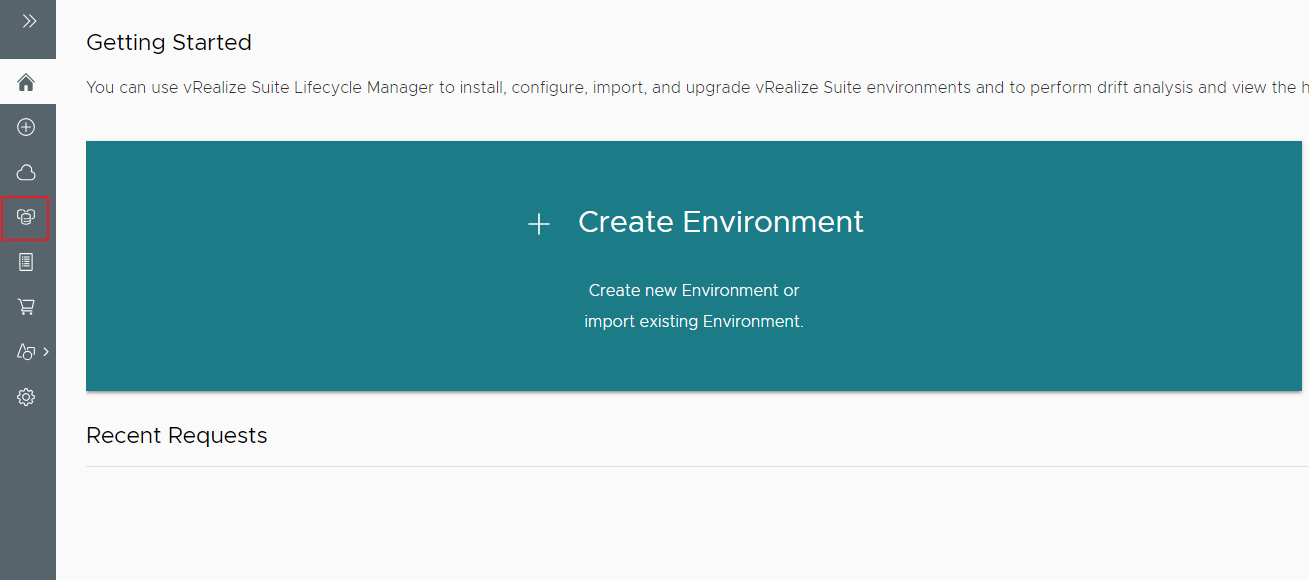
Now, we will create a New Environment in the lab
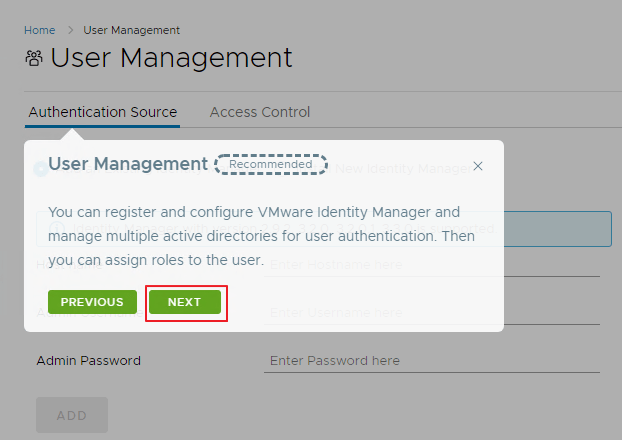
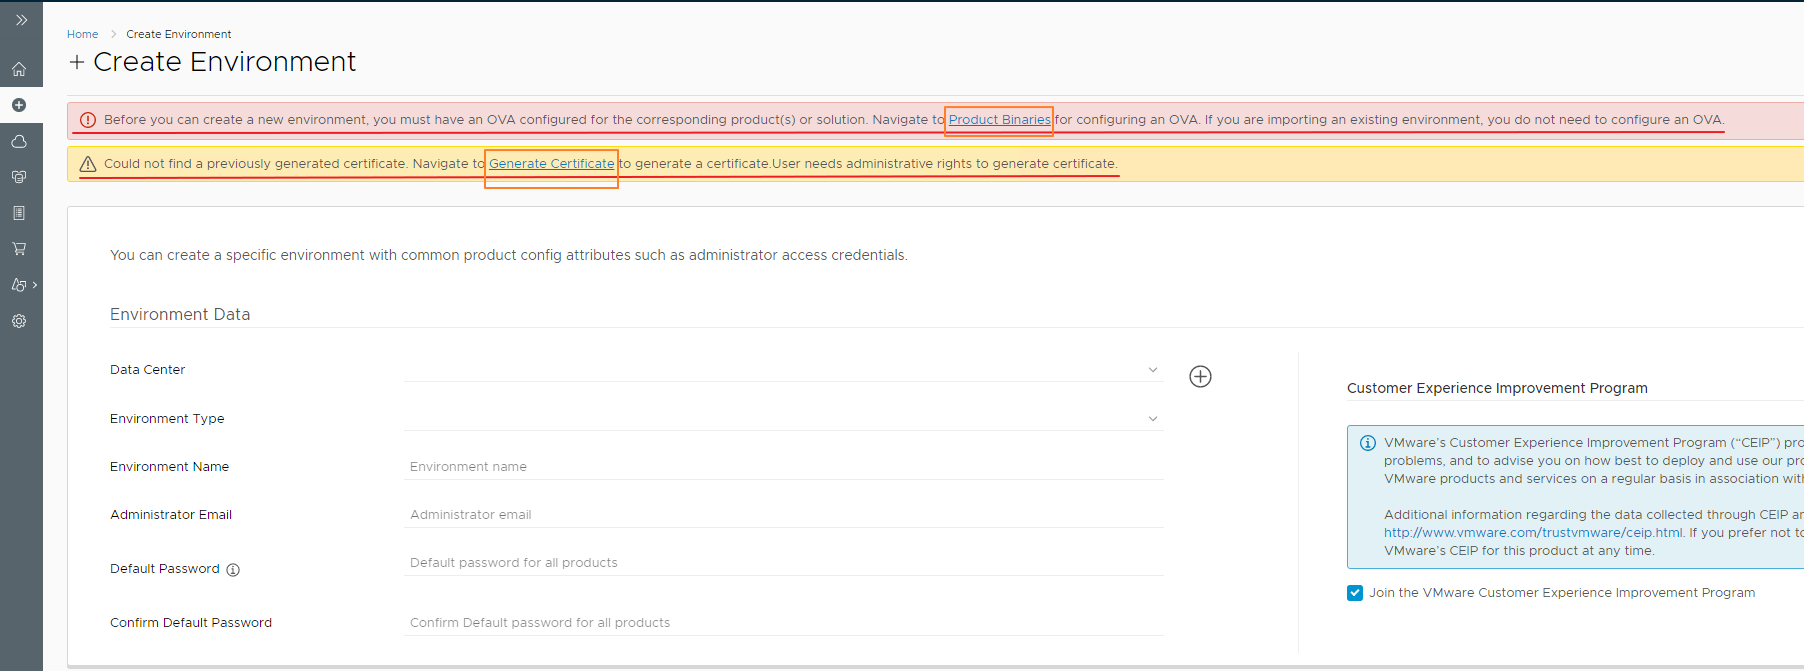
Click on Create Environment option to get started
Once you click on Create Environment option, you will be taken to a tab where it mentions that you will need to take care of a few things before you create the environment.
Let us take care of the Product Binaries first.
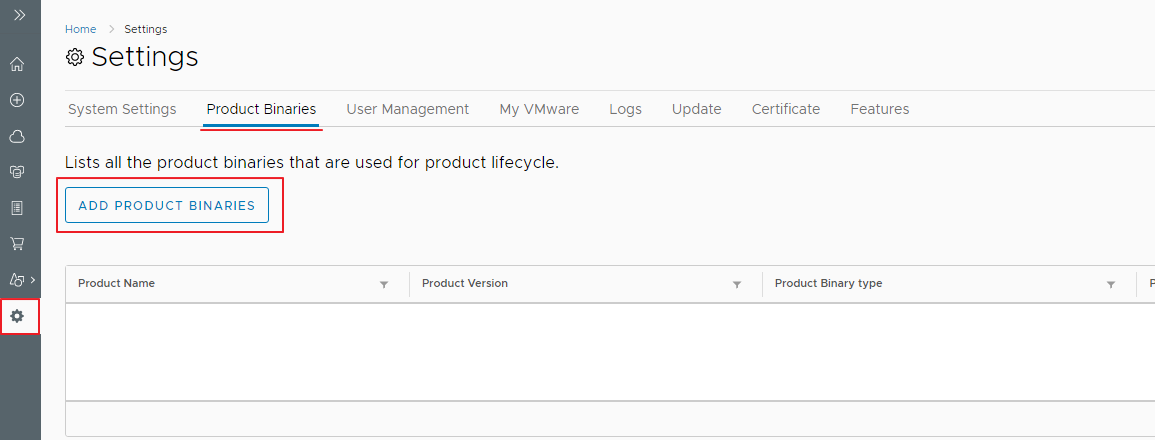
Click on Product Binaries option on the tab
I have used my VMware portal credentials to get the product binaries as I couldn’t get the local and NFS to work to get the product OVA’s.
Once you add the product binaries, let’s go and create a Certificate
Once these two pre-requisites are done, Let us move ahead …
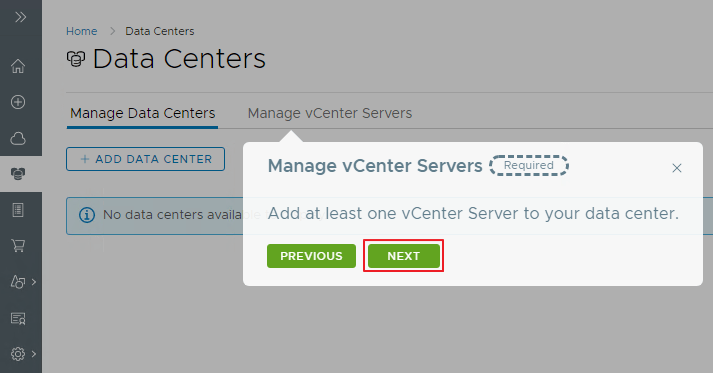
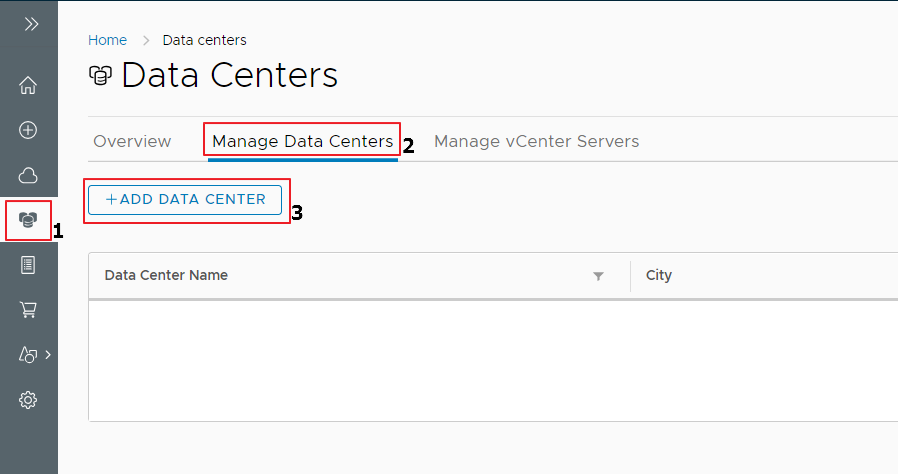
On the main page, click on the Datacenters option on the left-hand side to create a Datacenter before we create the environment
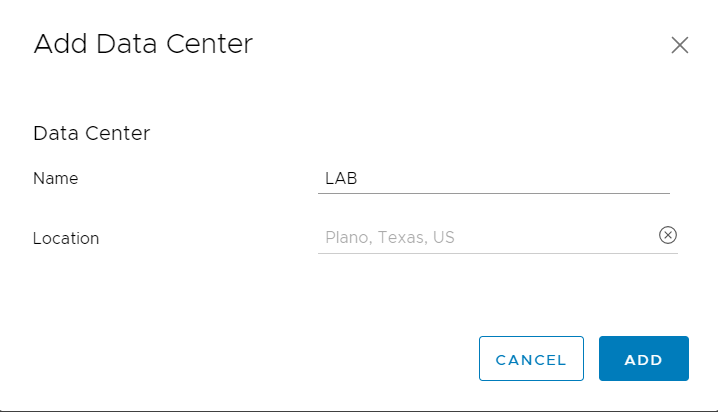
Click on Add Data Center to provide a name for the Datacenter
Next, we add the vCenter server
Now, Let us go ahead and create an Environment
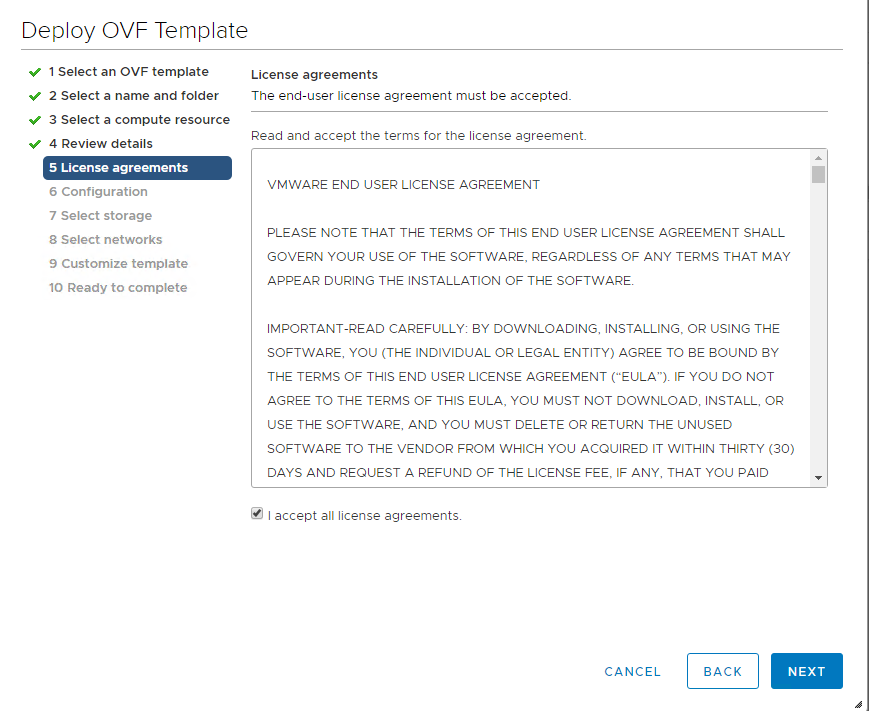
Accept the EULA Agreement by scrolling down, once you accept it, the NEXT button will appear
Provide all the required information. I have provided an existing SQL server and IAAS server, I have used 1 IAAS server for DEM Worker, Orchestrator, Proxy service
Click on RUN PRE CHECK option to perform the pre-checks before it deploys the environment
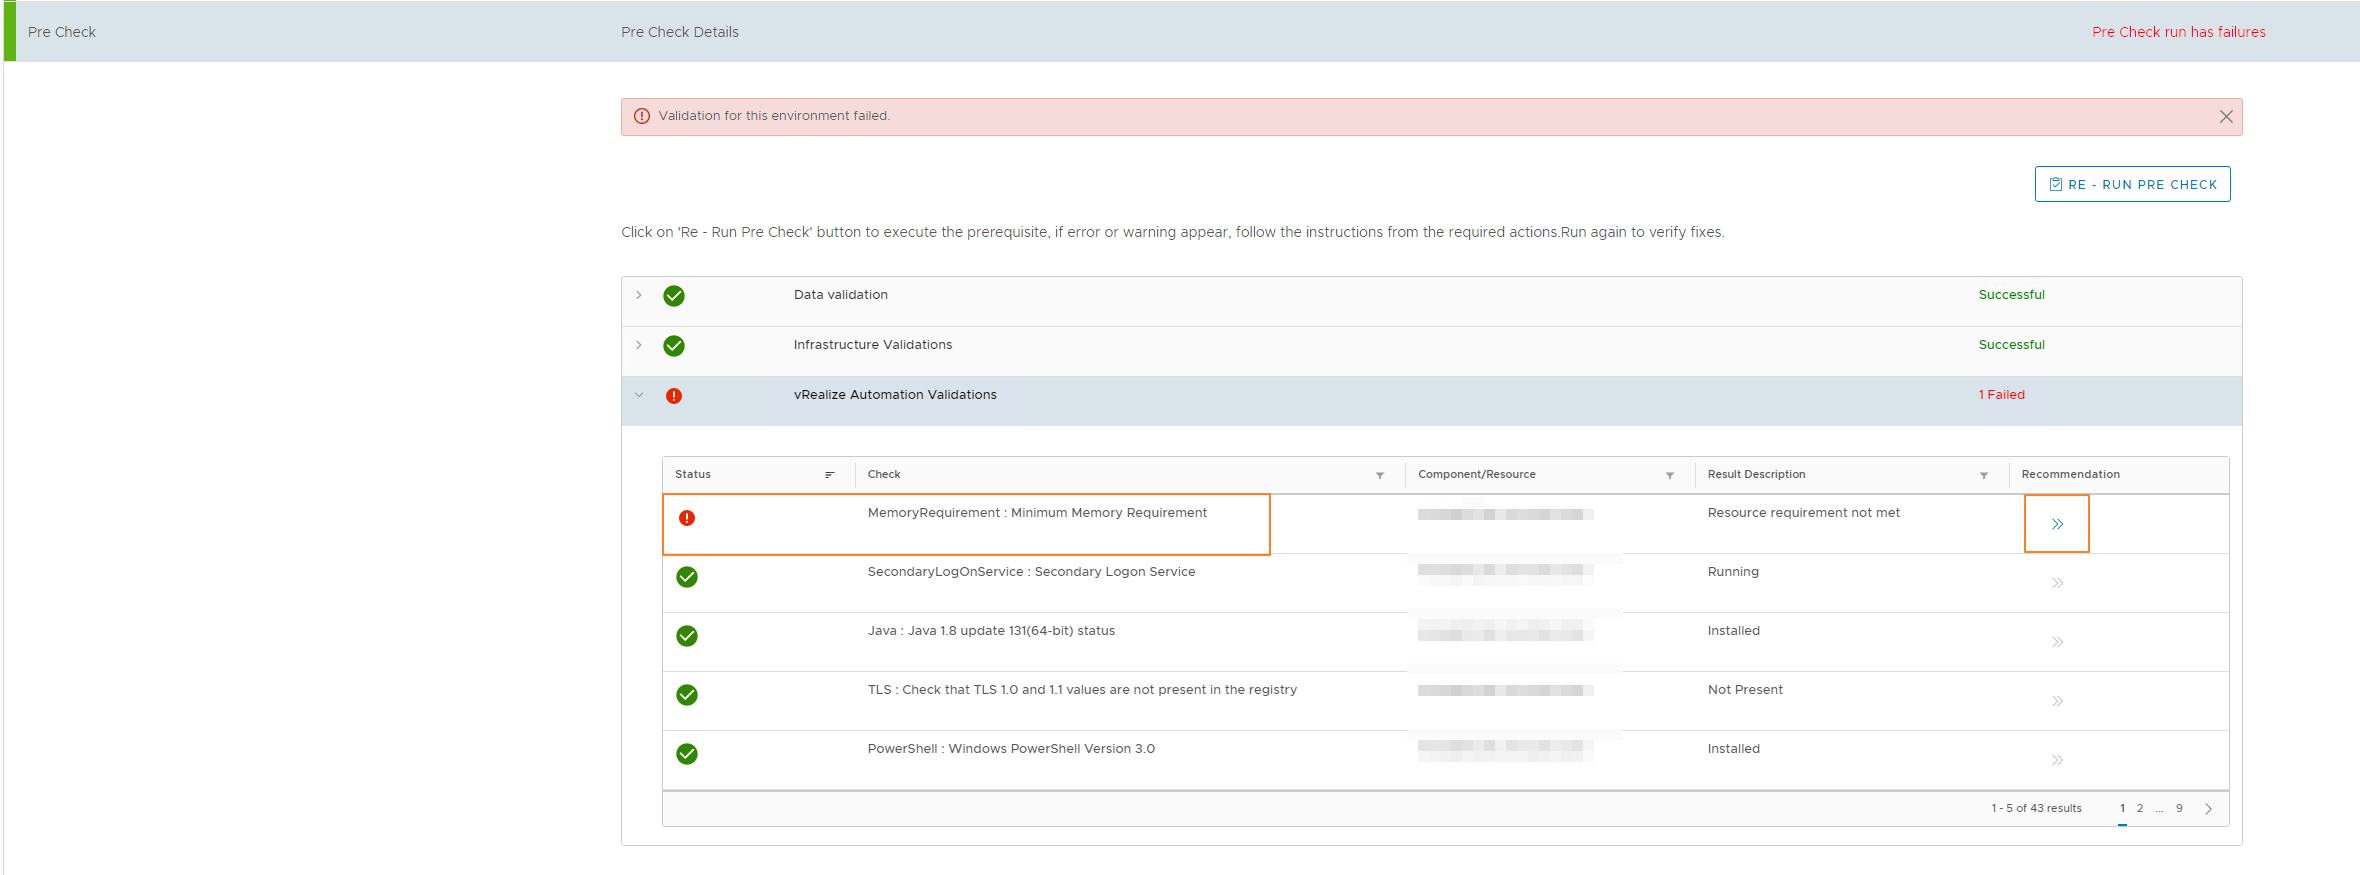
In this pre-check, you could get a validation failure which will need to be rectified before you run the pre-check again. its like shown in the picture below
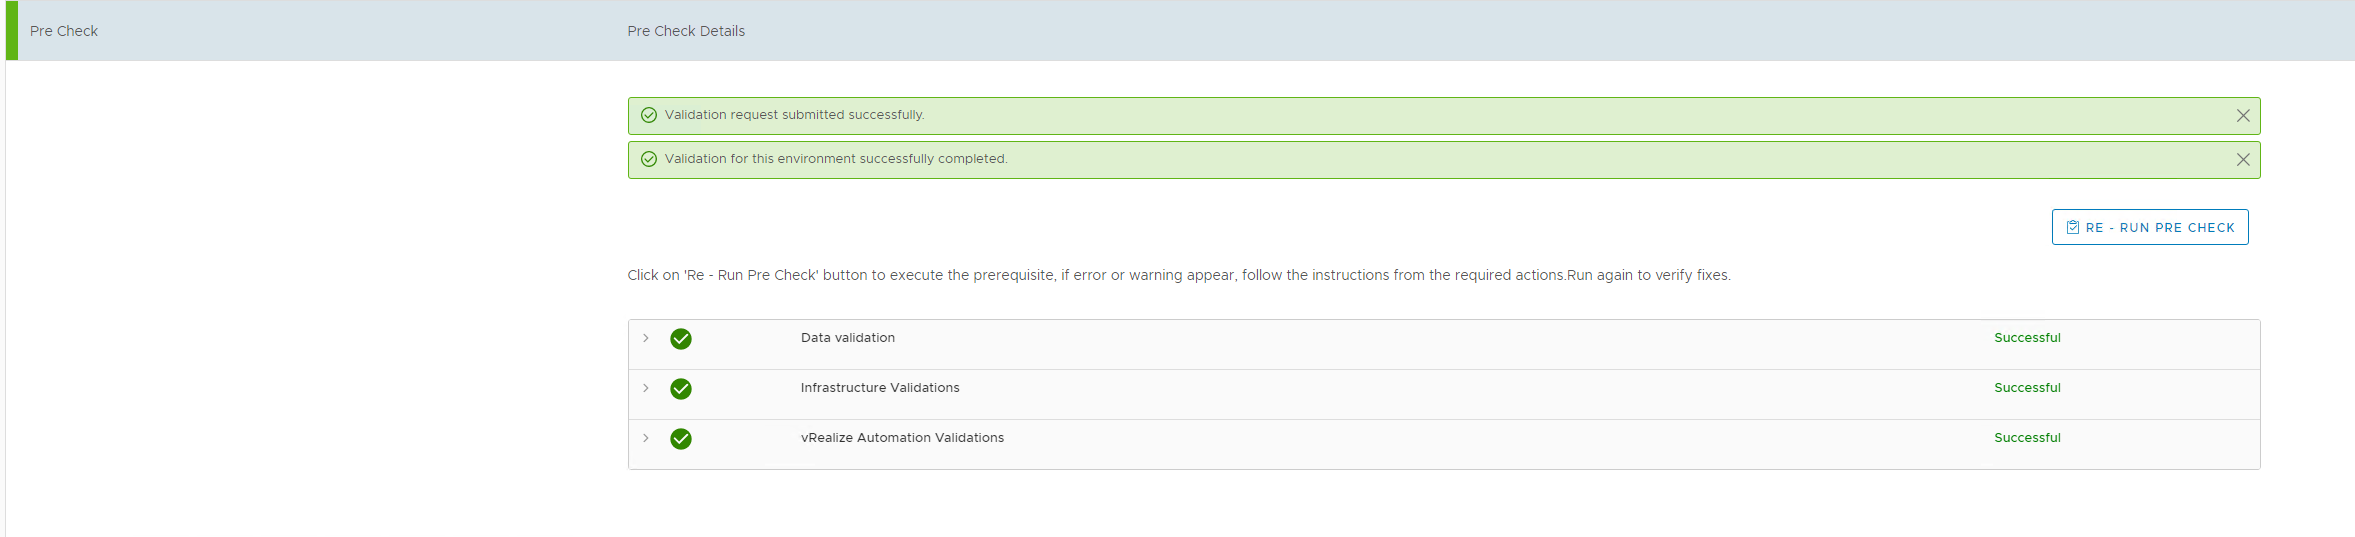
Once you rectify the issue, run the pre-check again
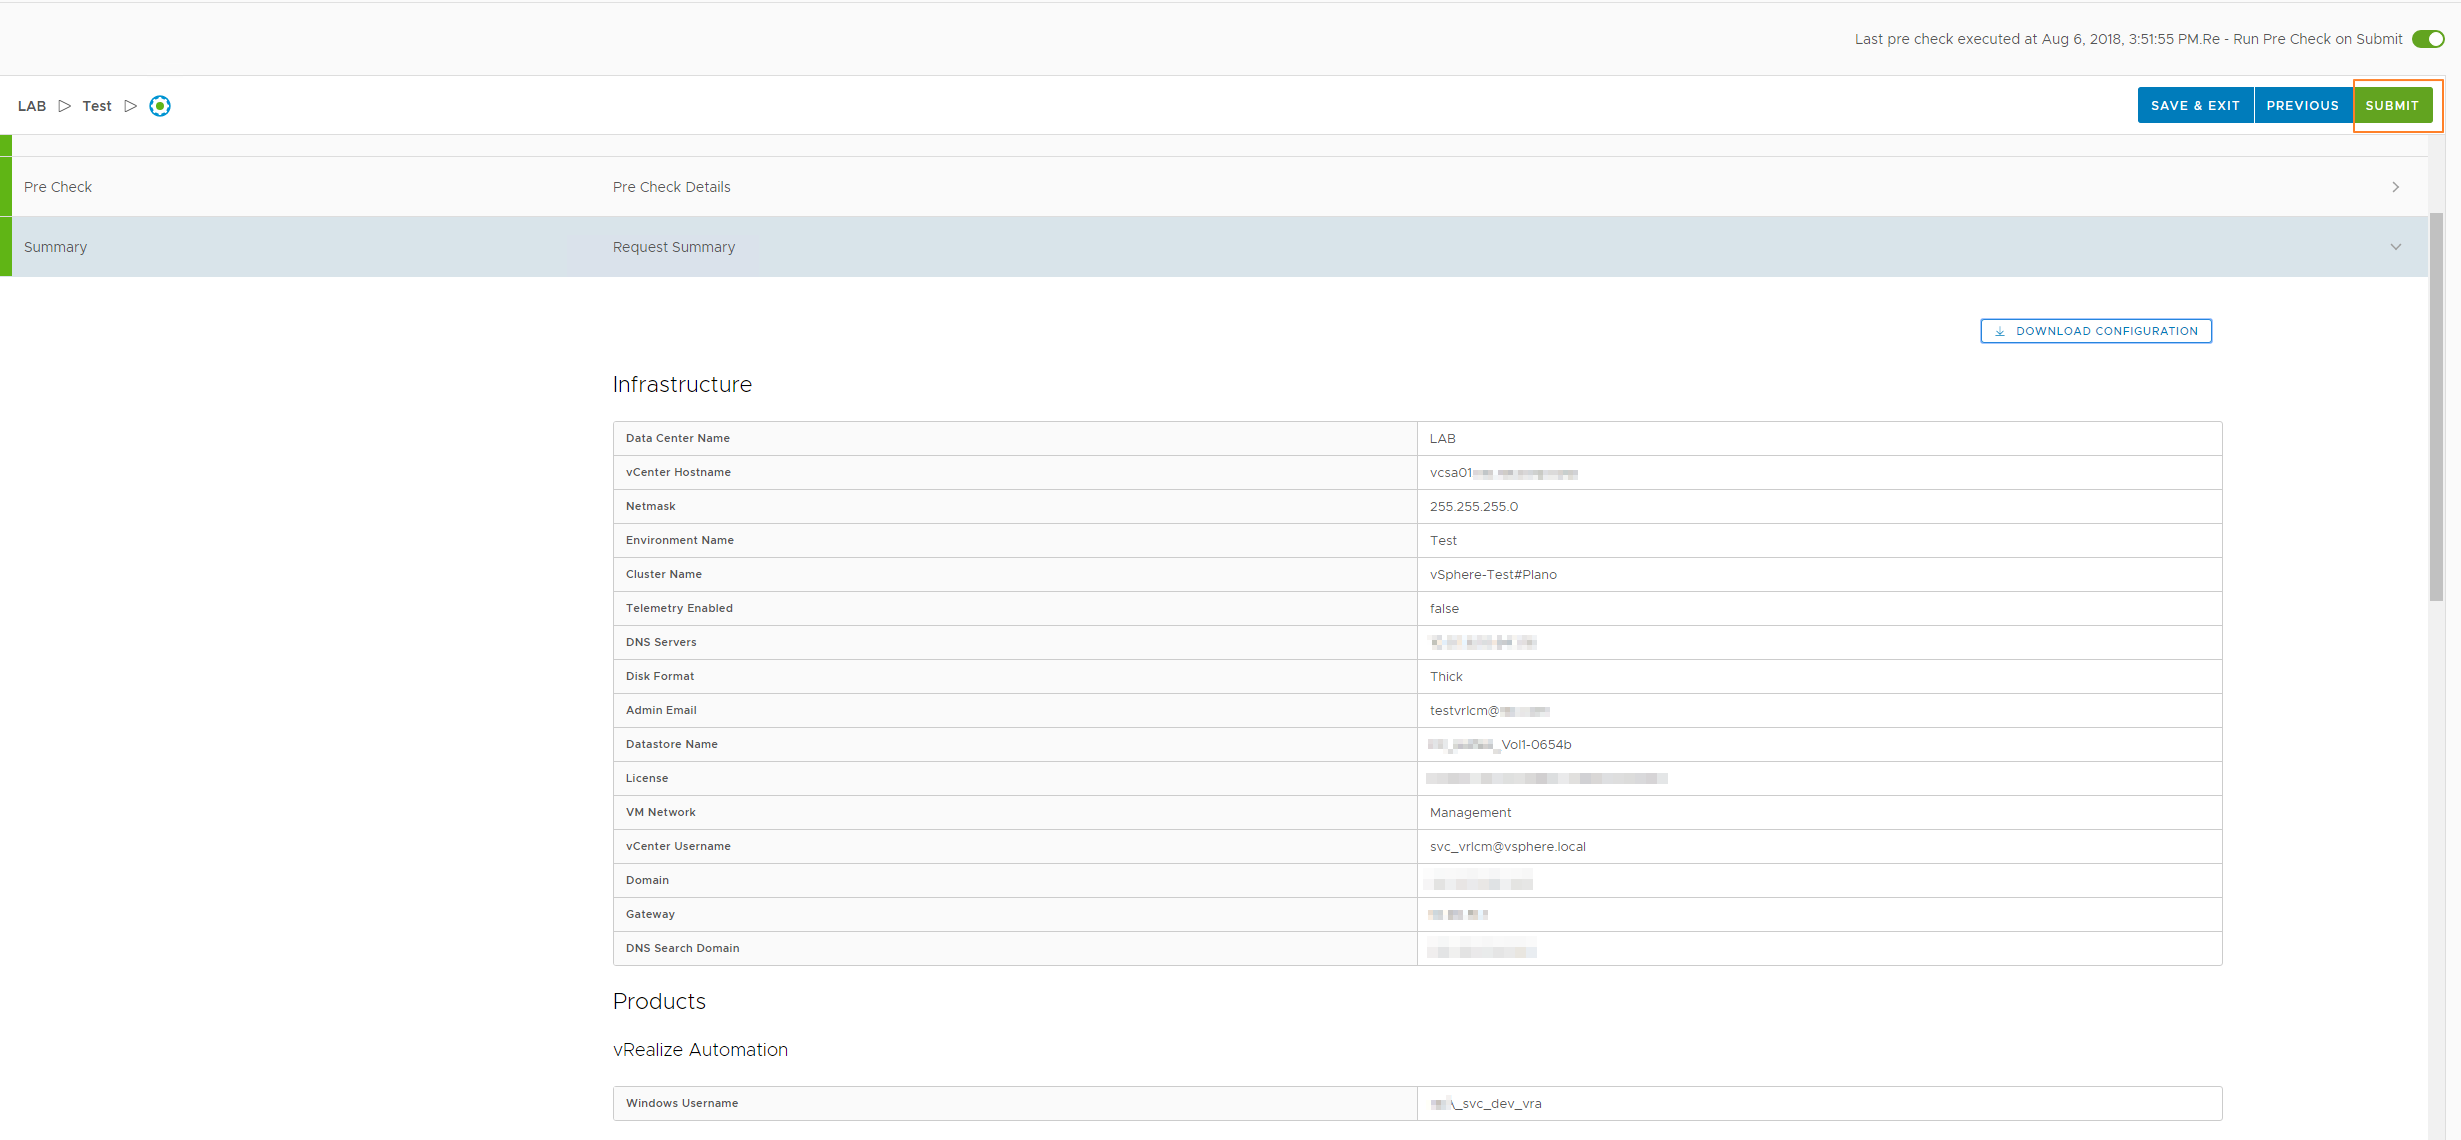
Once the pre-check comes back clean, click on Next to move ahead
Click Submit and the life cycle manager will do the rest.
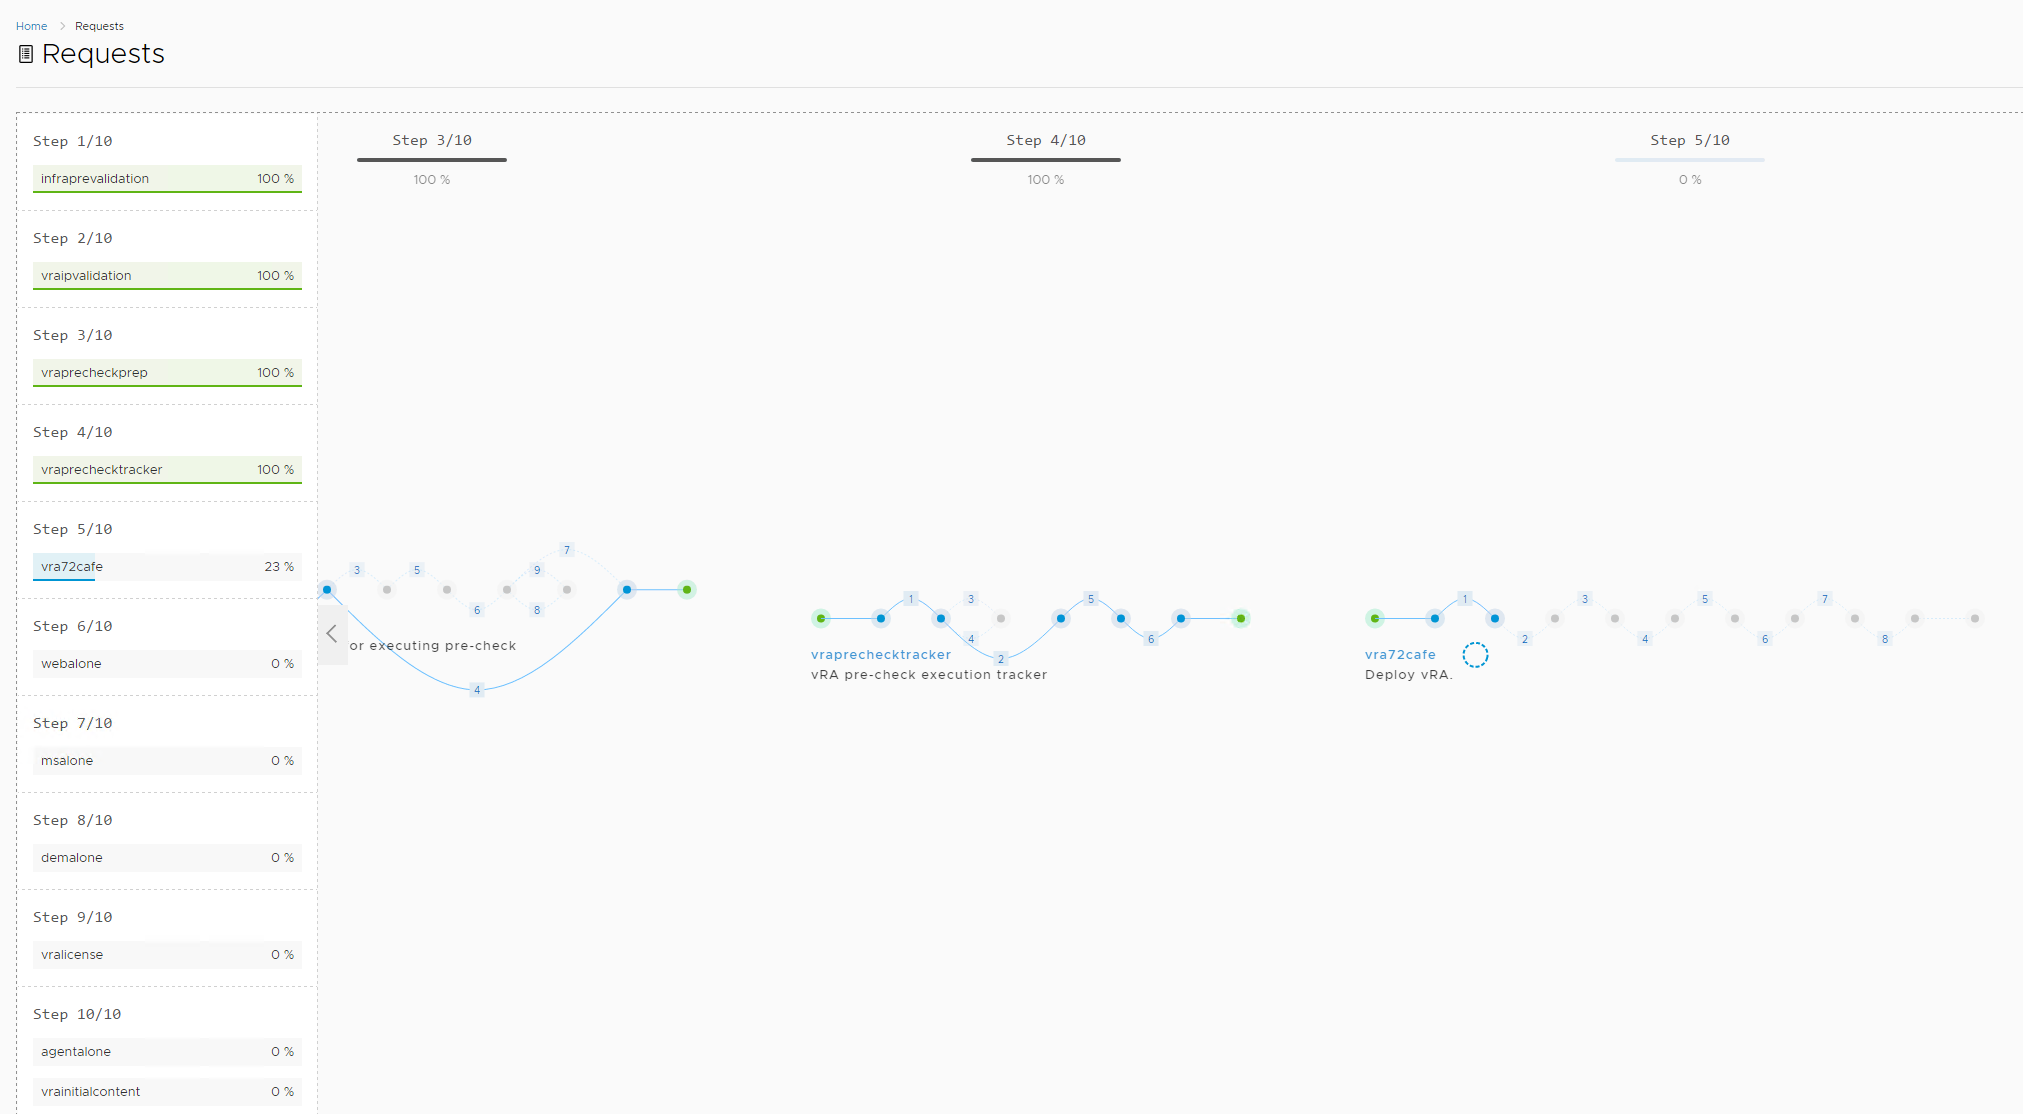
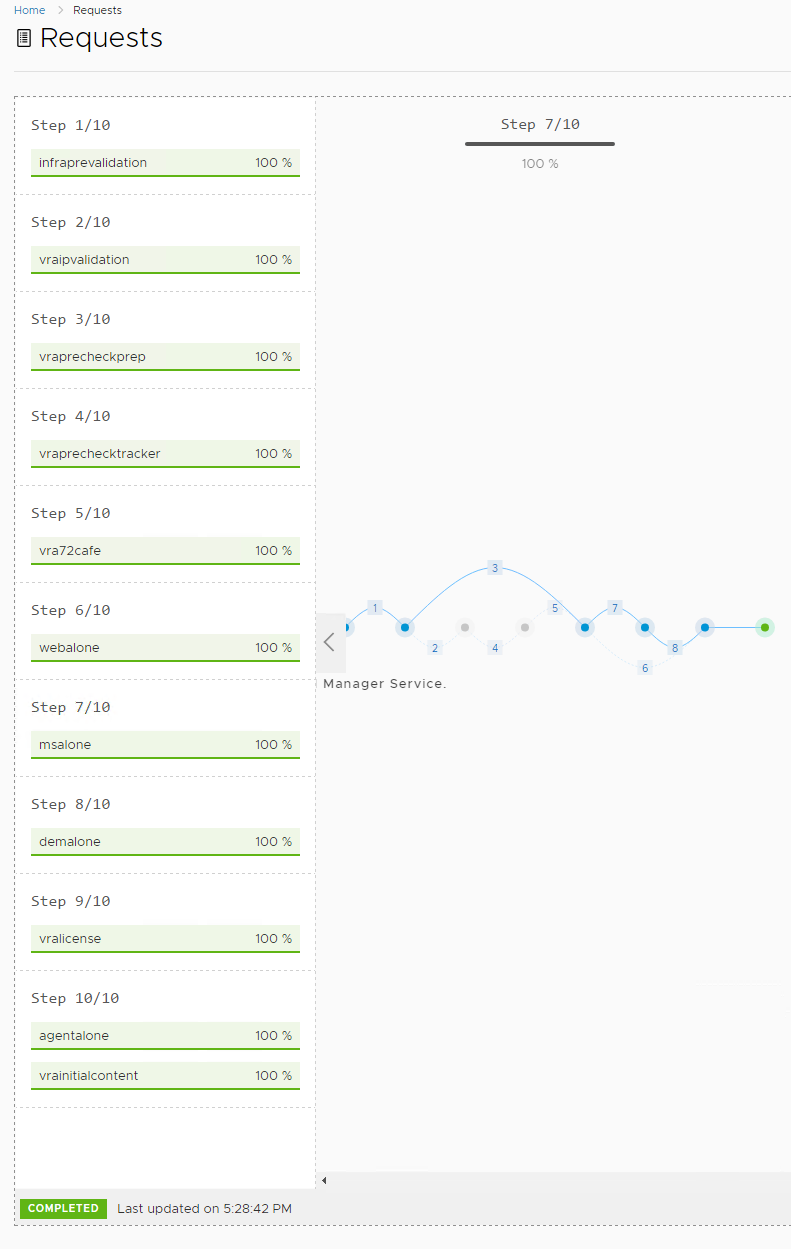
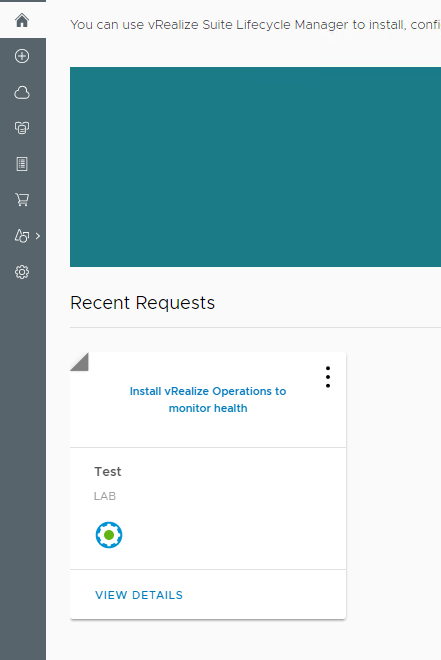
to check the progress, you can click on Requests icon on the left side of the page and clicking on in progress as the pic below
This process will take a long time … go, get some tea/coffee and it will still be deploying the environment …
This shows how to Install and configure vRealize Life Cycle Management and to create a vRA 7.4 environment.